As busy moms, we’re all about shortcuts and saving time, money and energy where we can, especially when it comes to party planning. And Halloween is no exception! If you’re stuck throwing a Halloween party this year and you’re already pulling your hair out wondering how you’re going to get it all done, breathe a big sigh of relief!
We love a haunted house theme for a Halloween party and if there are kids involved, it doesn’t have to be so spooky that you break out into a cold sweat when you walk through your own home. In fact, a haunted house Halloween party is the perfect theme to get the balance between creepy and cute just right! You also don’t need to spend a fortune to create that wow-effect. Your cake can actually be the main attraction and set the scene for the party!
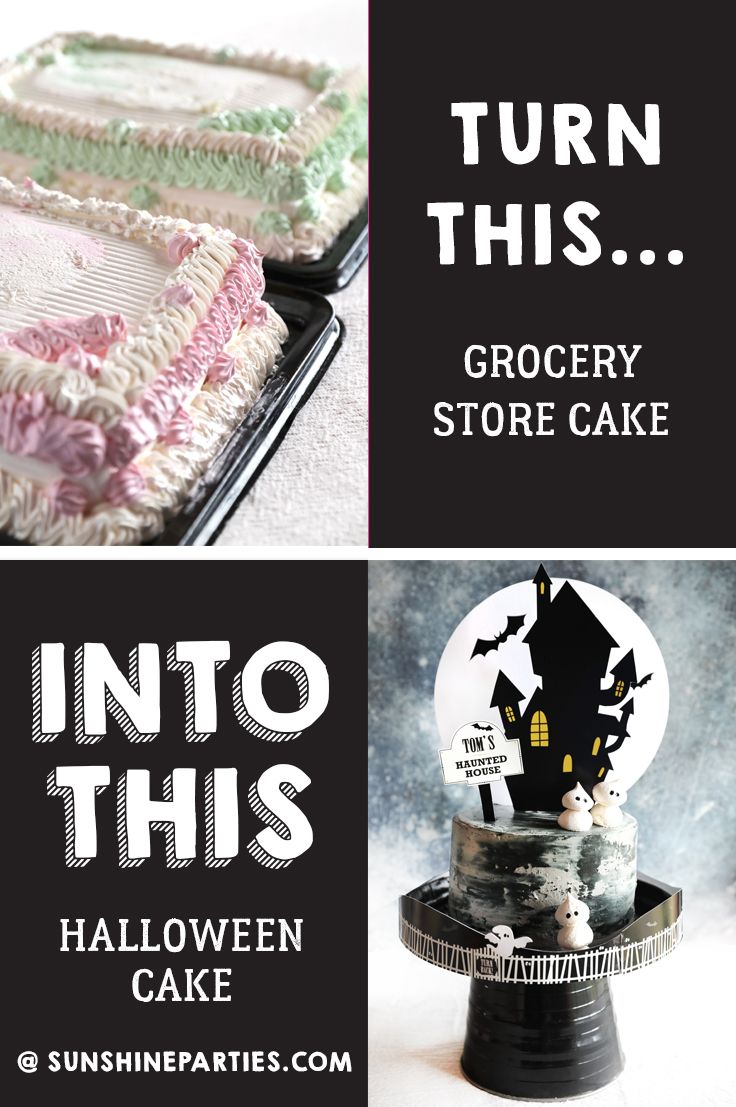
You may be rolling your eyes at the thought of baking a cake BUT, this haunted house cake requires zero baking! Yup you heard right, we used a store-bought cake and transformed it into quite a spectacular centrepiece for our Halloween party.
Here’s how to create your Haunted House Cake from a Store bought cake:
You will need:
- 2 x Rectangle Store bought cakes
- 8in Round Cake Cutter
- 1x Blackfood coloring (we used gel food coloring)
- 4 Tablespoons cocoa-powder
- 7 x white small meringues
- 3 x toothpicks
- 1x small paint brush (to paint on the ghosts eyes)
- SunshineParties Haunted House Printable Cake Topper
- Scrape off all the store frosting off the cakes with a pallet knife and place in a bowl for later.

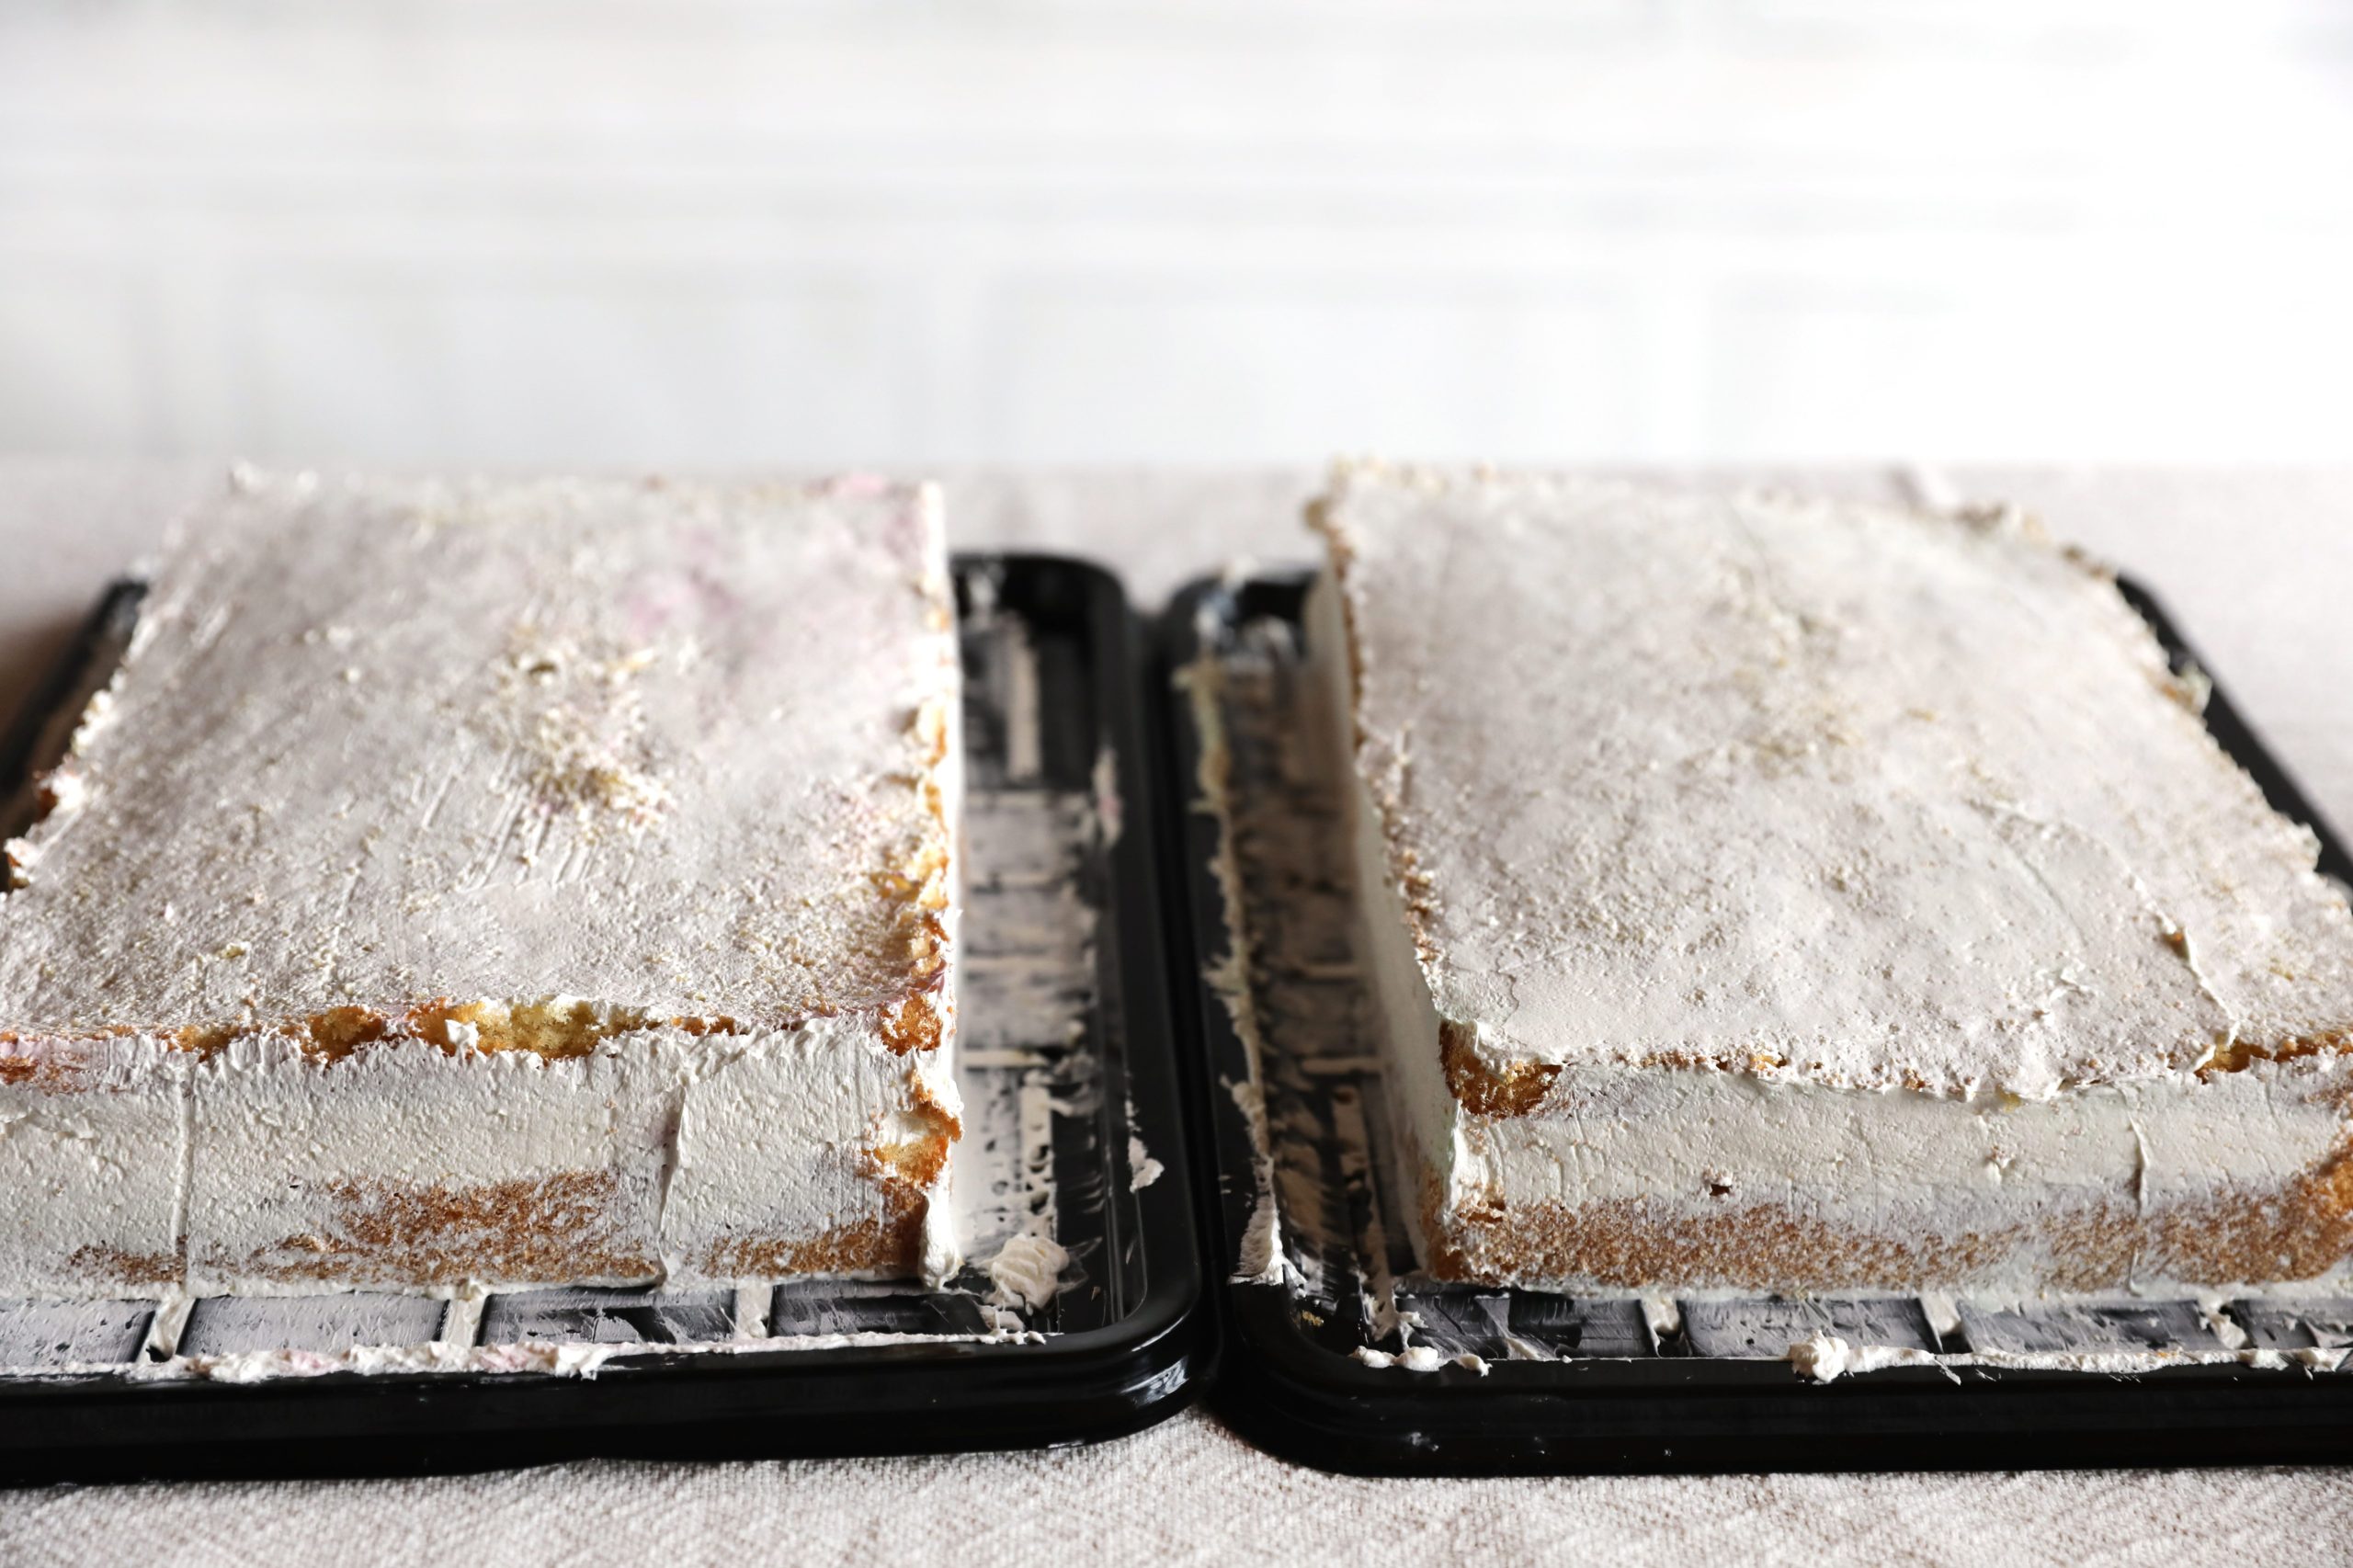
2. Now mix 4 Tablespoons of cocoa powder and warm water with some black food coloring to all the frosting you scraped off to give you a grey frosting.

3. Use a cake round cutter to punch out 2 round cakes (We used a 8inch round)
4. Now stack one cake on top of the other. We recommend putting a layer of the grey frosting you have now mixed up between the two cakes.
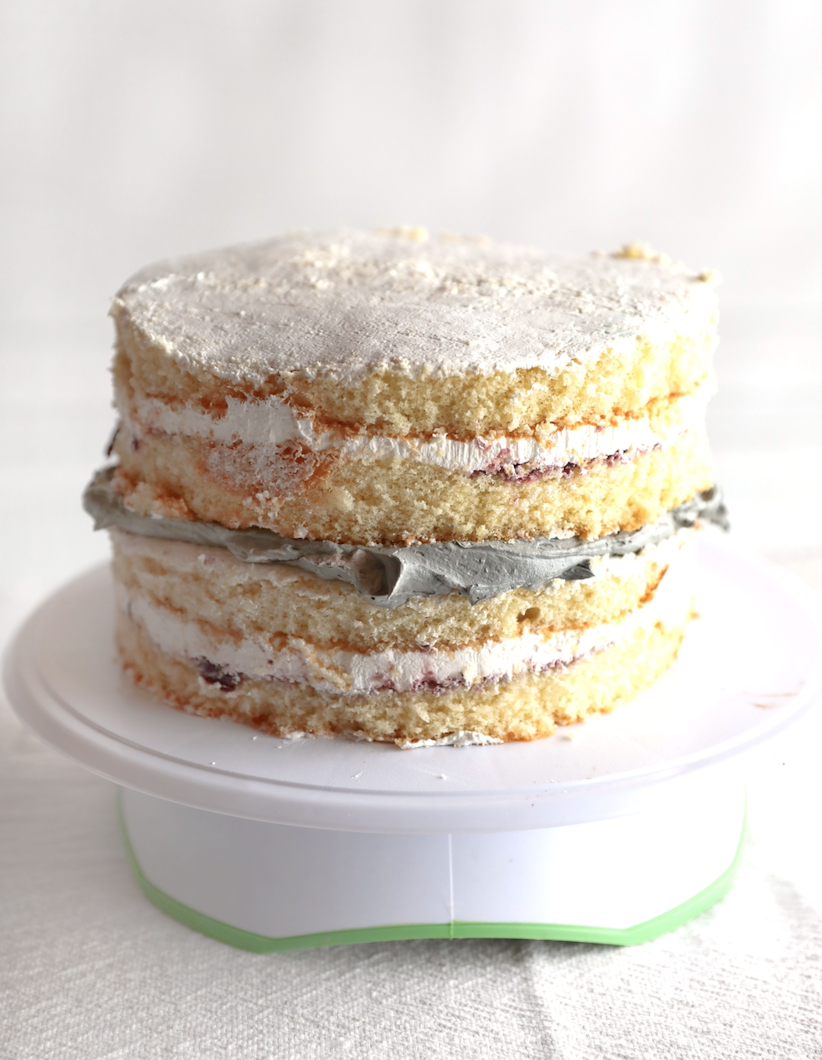
5. Place the second layer on top of the first and do a crumb coat.
6. Once you have done this first coat of frosting, place the cake in the fridge for 30 minutes to firm up, it makes the final icing layer much easier to apply and you get a much smoother finish.
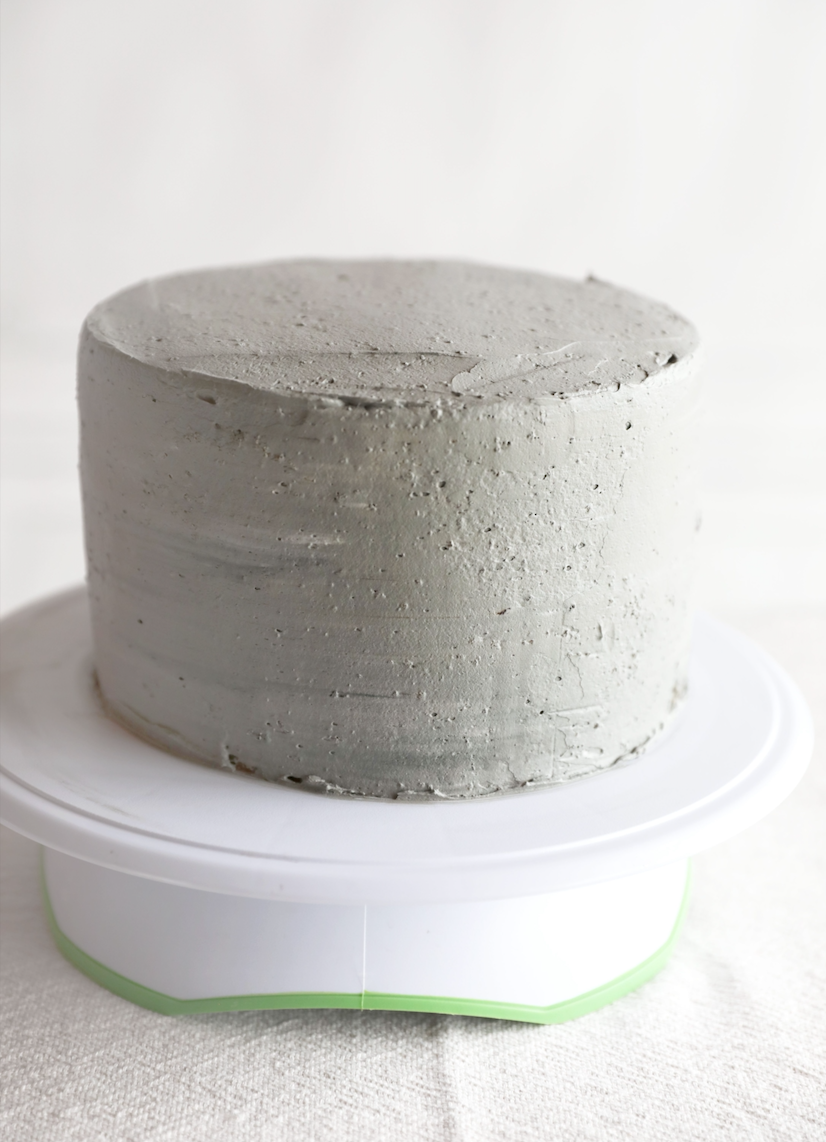
7. While your cake is chilling in the fridge for 30 minutes, you can cut out all your printable decorations that you have printed out from our Haunted House Cake Printable set.
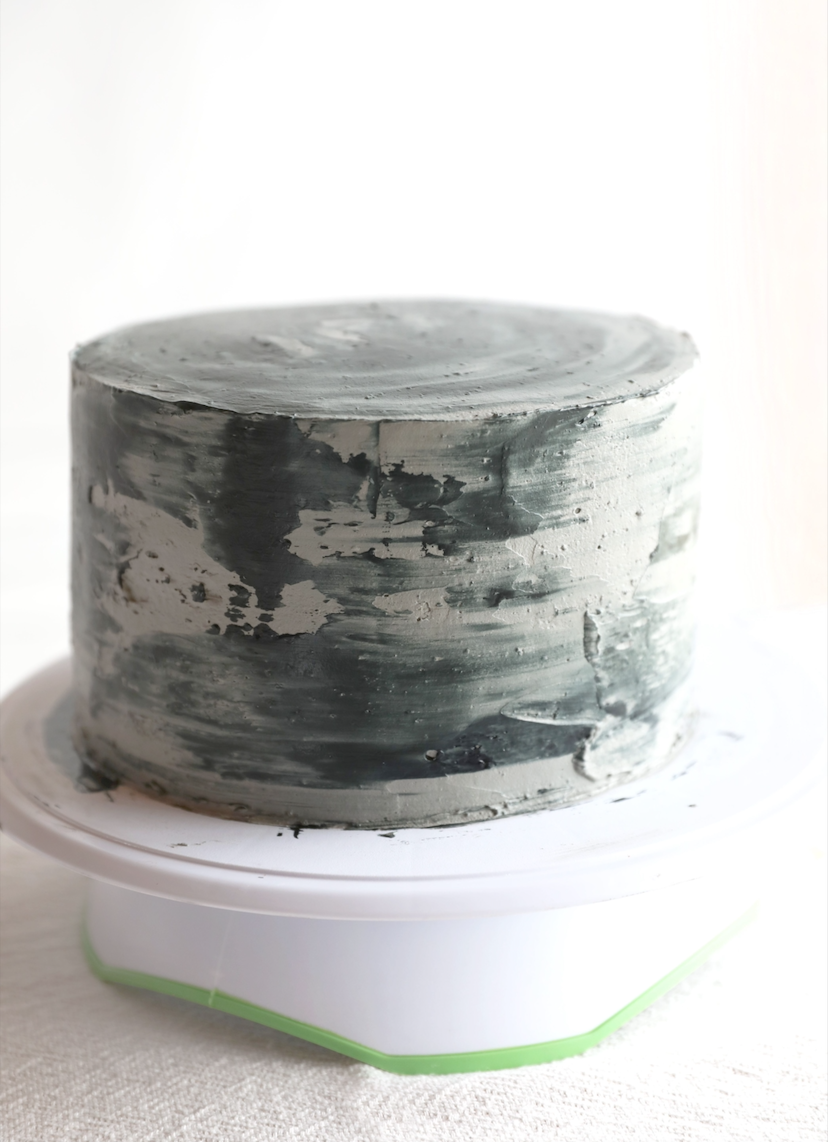
8. Now take your cake out of the fridge and do your second and final layer of frosting.
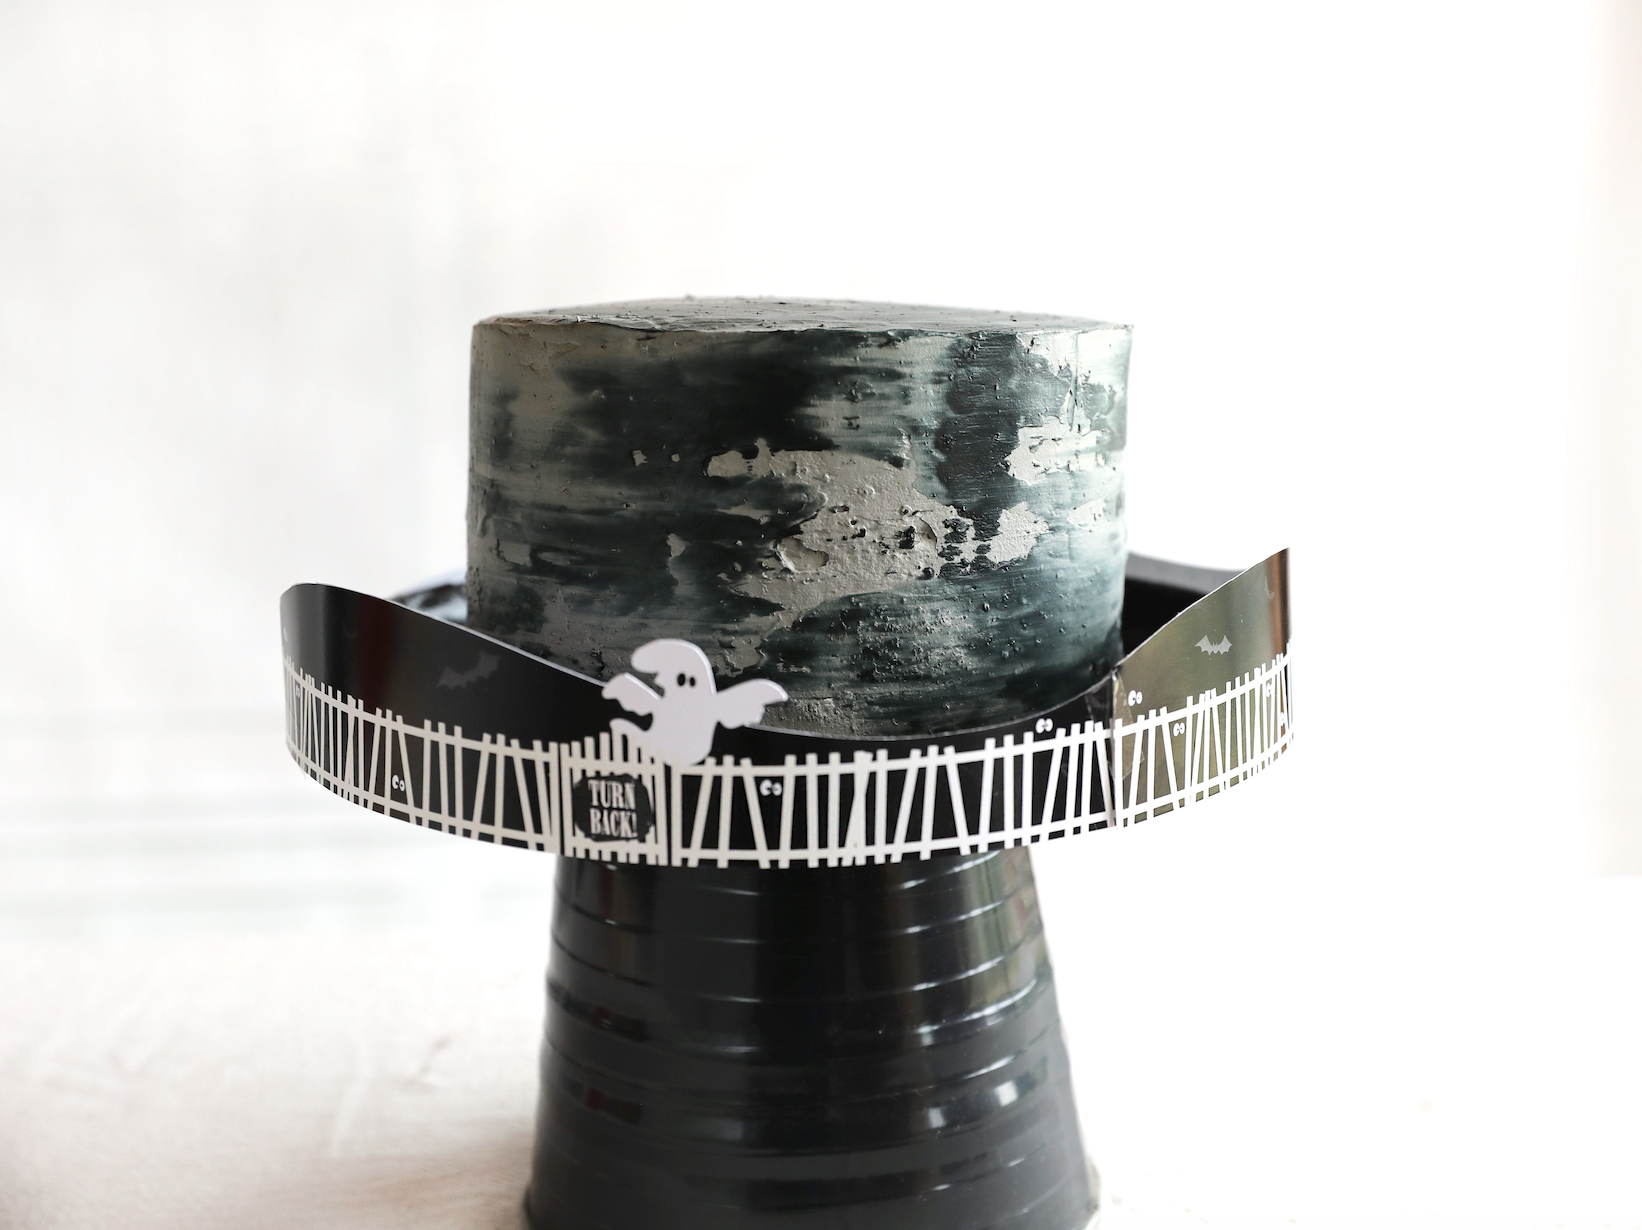
9. Now place a few drops of black food coloring on the cake or you icing spatula and spread it over the top of the cake to give the mottled effect of the darker shades on the cake.
10. Place the cake on a black cake stand. If you do not have a black cake stand, do what we did – cover your existing cake stand in black electrical/vinyl tape.
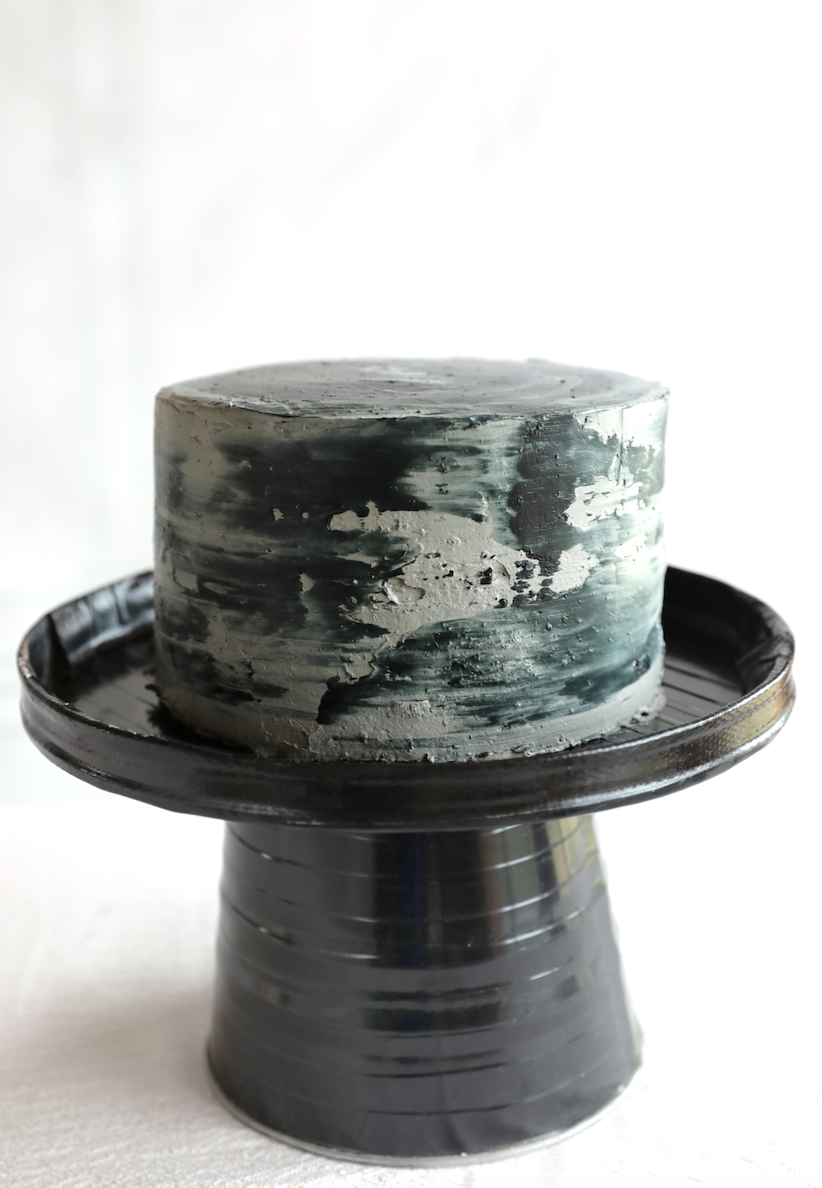
11. Then add your printable decorations onto the cake.
12. Now time to make your little ghosts as the finishing touch…there are 3 ghosts. 1 Ghost made with three meringues and 2 ghosts made with two meringues.
13. Take 3 meringues that will be the heads of your ghosts and paint two little eyes on each one with a small paint brush and a dab of black gel food coloring.
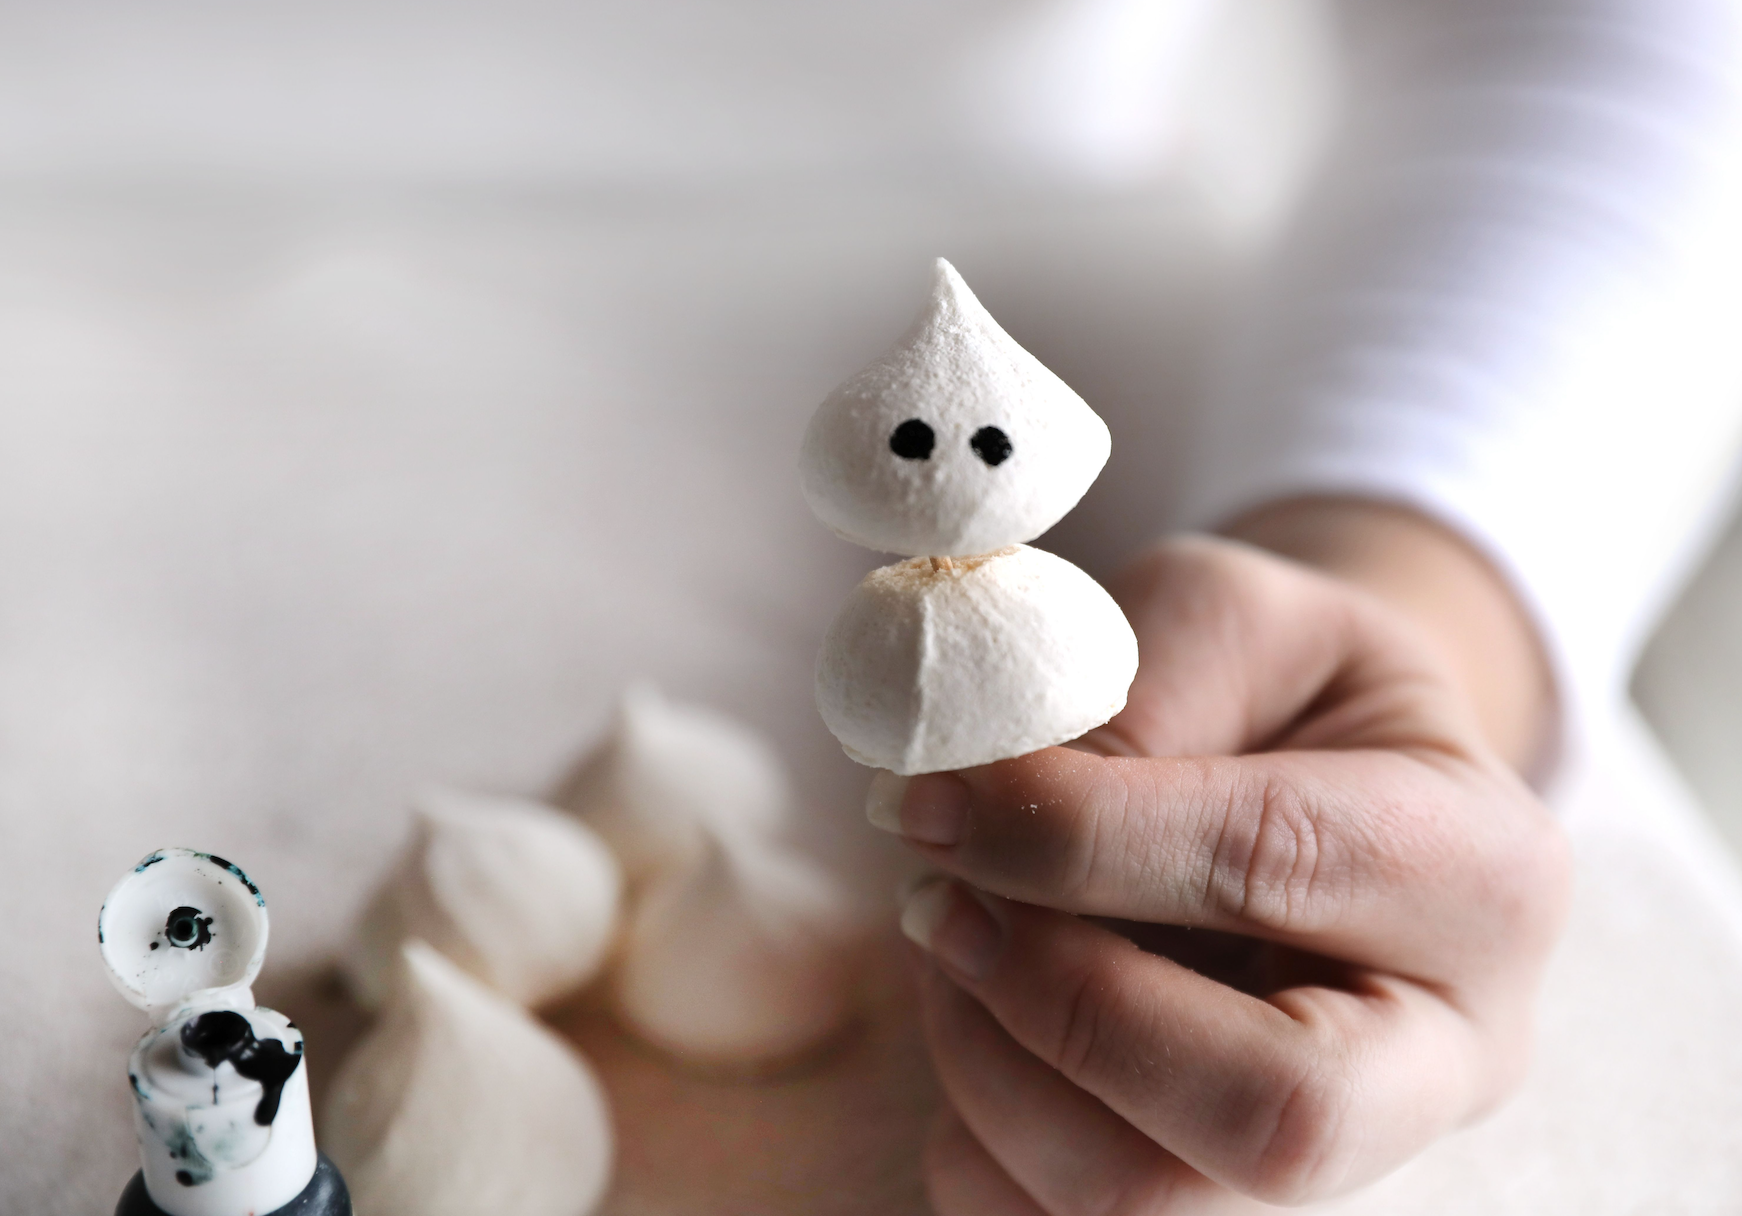
14. Then with a toothpick slide the head on top the top and then slide and second plain meringue underneath to complete the body and then place onto the cake, and repeat for the other ghosts.
15. Now you have placed your printables and ghosts into your cake, add a few birthday candles and enjoy your celebration!
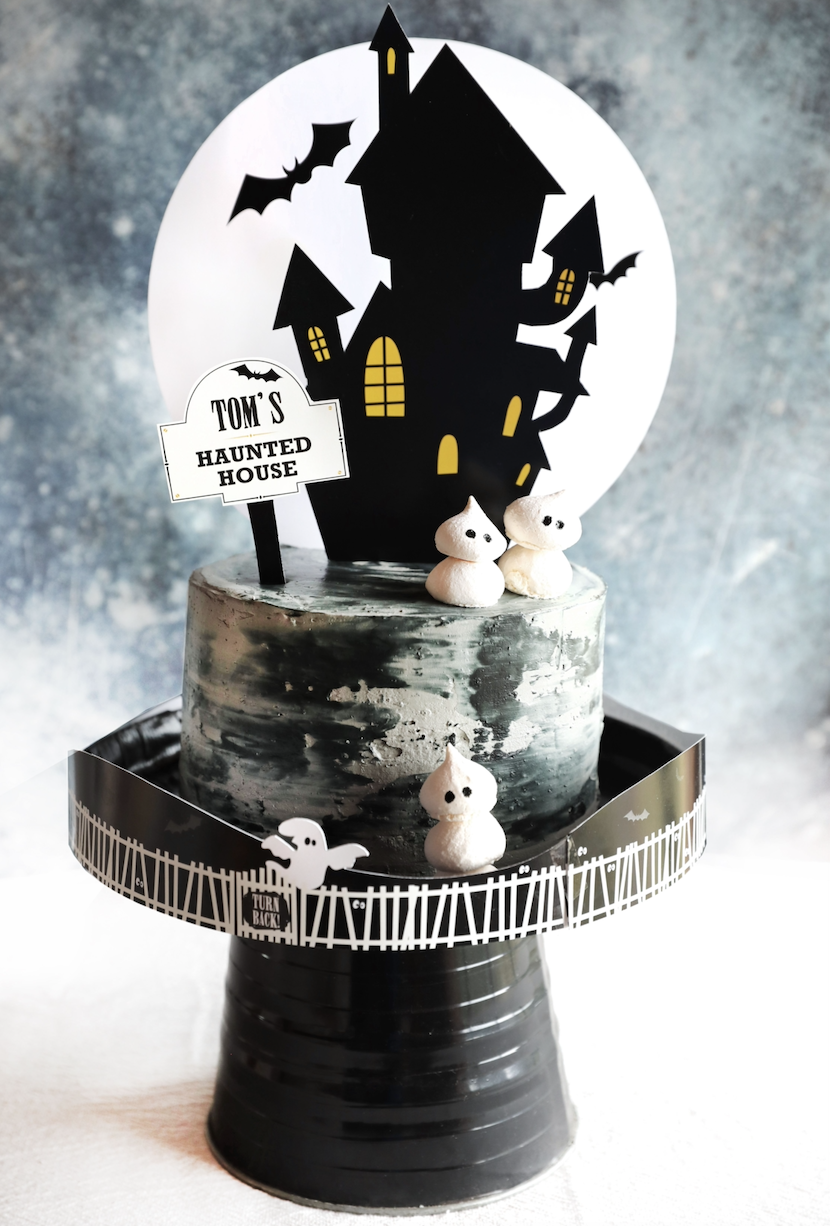
We’ve gone one step further and even created a video tutorial you can follow along to make sure you’re following the steps correctly.
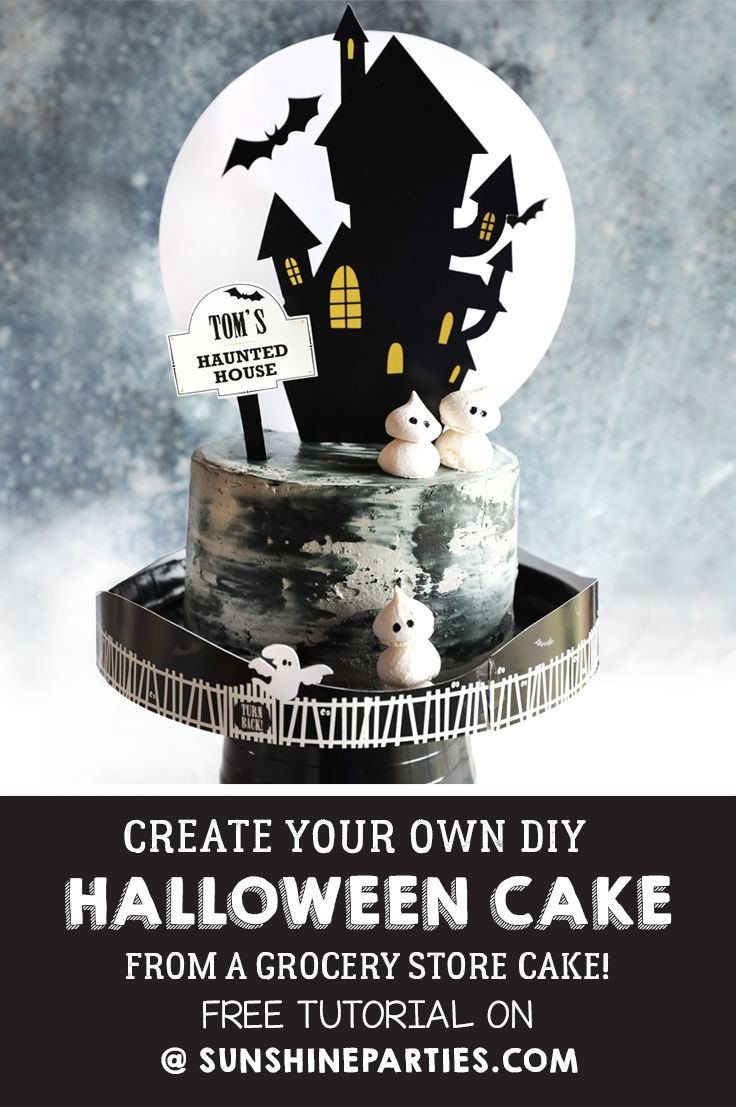
We don’t know about you, but the combination of the mottled-looking frosting and the spooky printable cake toppers make for a pretty impressive haunted house Halloween cake.
If you’d like to save this for later, click the below images to add to your Halloween party Pinterest board!
