If your kids are anything like ours, the mention of ice-cream, or ice-cream cake sends them into a dizzied frenzy of sheer delight. There’s a reason we all scream for ice-cream – it’s absolutely delicious! ESPECIALLY in Summer! BUT, I always shied away from the idea of an ice-cream party or ice-cream cake. Why? Because it melts, it’s sticky AND it’s messy. BUT, we worked at conquering this and created a perfectly clean, gorgeous and mom-approved ice-cream bar/station/stand. And it looked amazing! Behold…a DIY Ice-Cream Station – Step by Step!
PS – Grab your FREE Ice-Cream Party Invitation HERE.
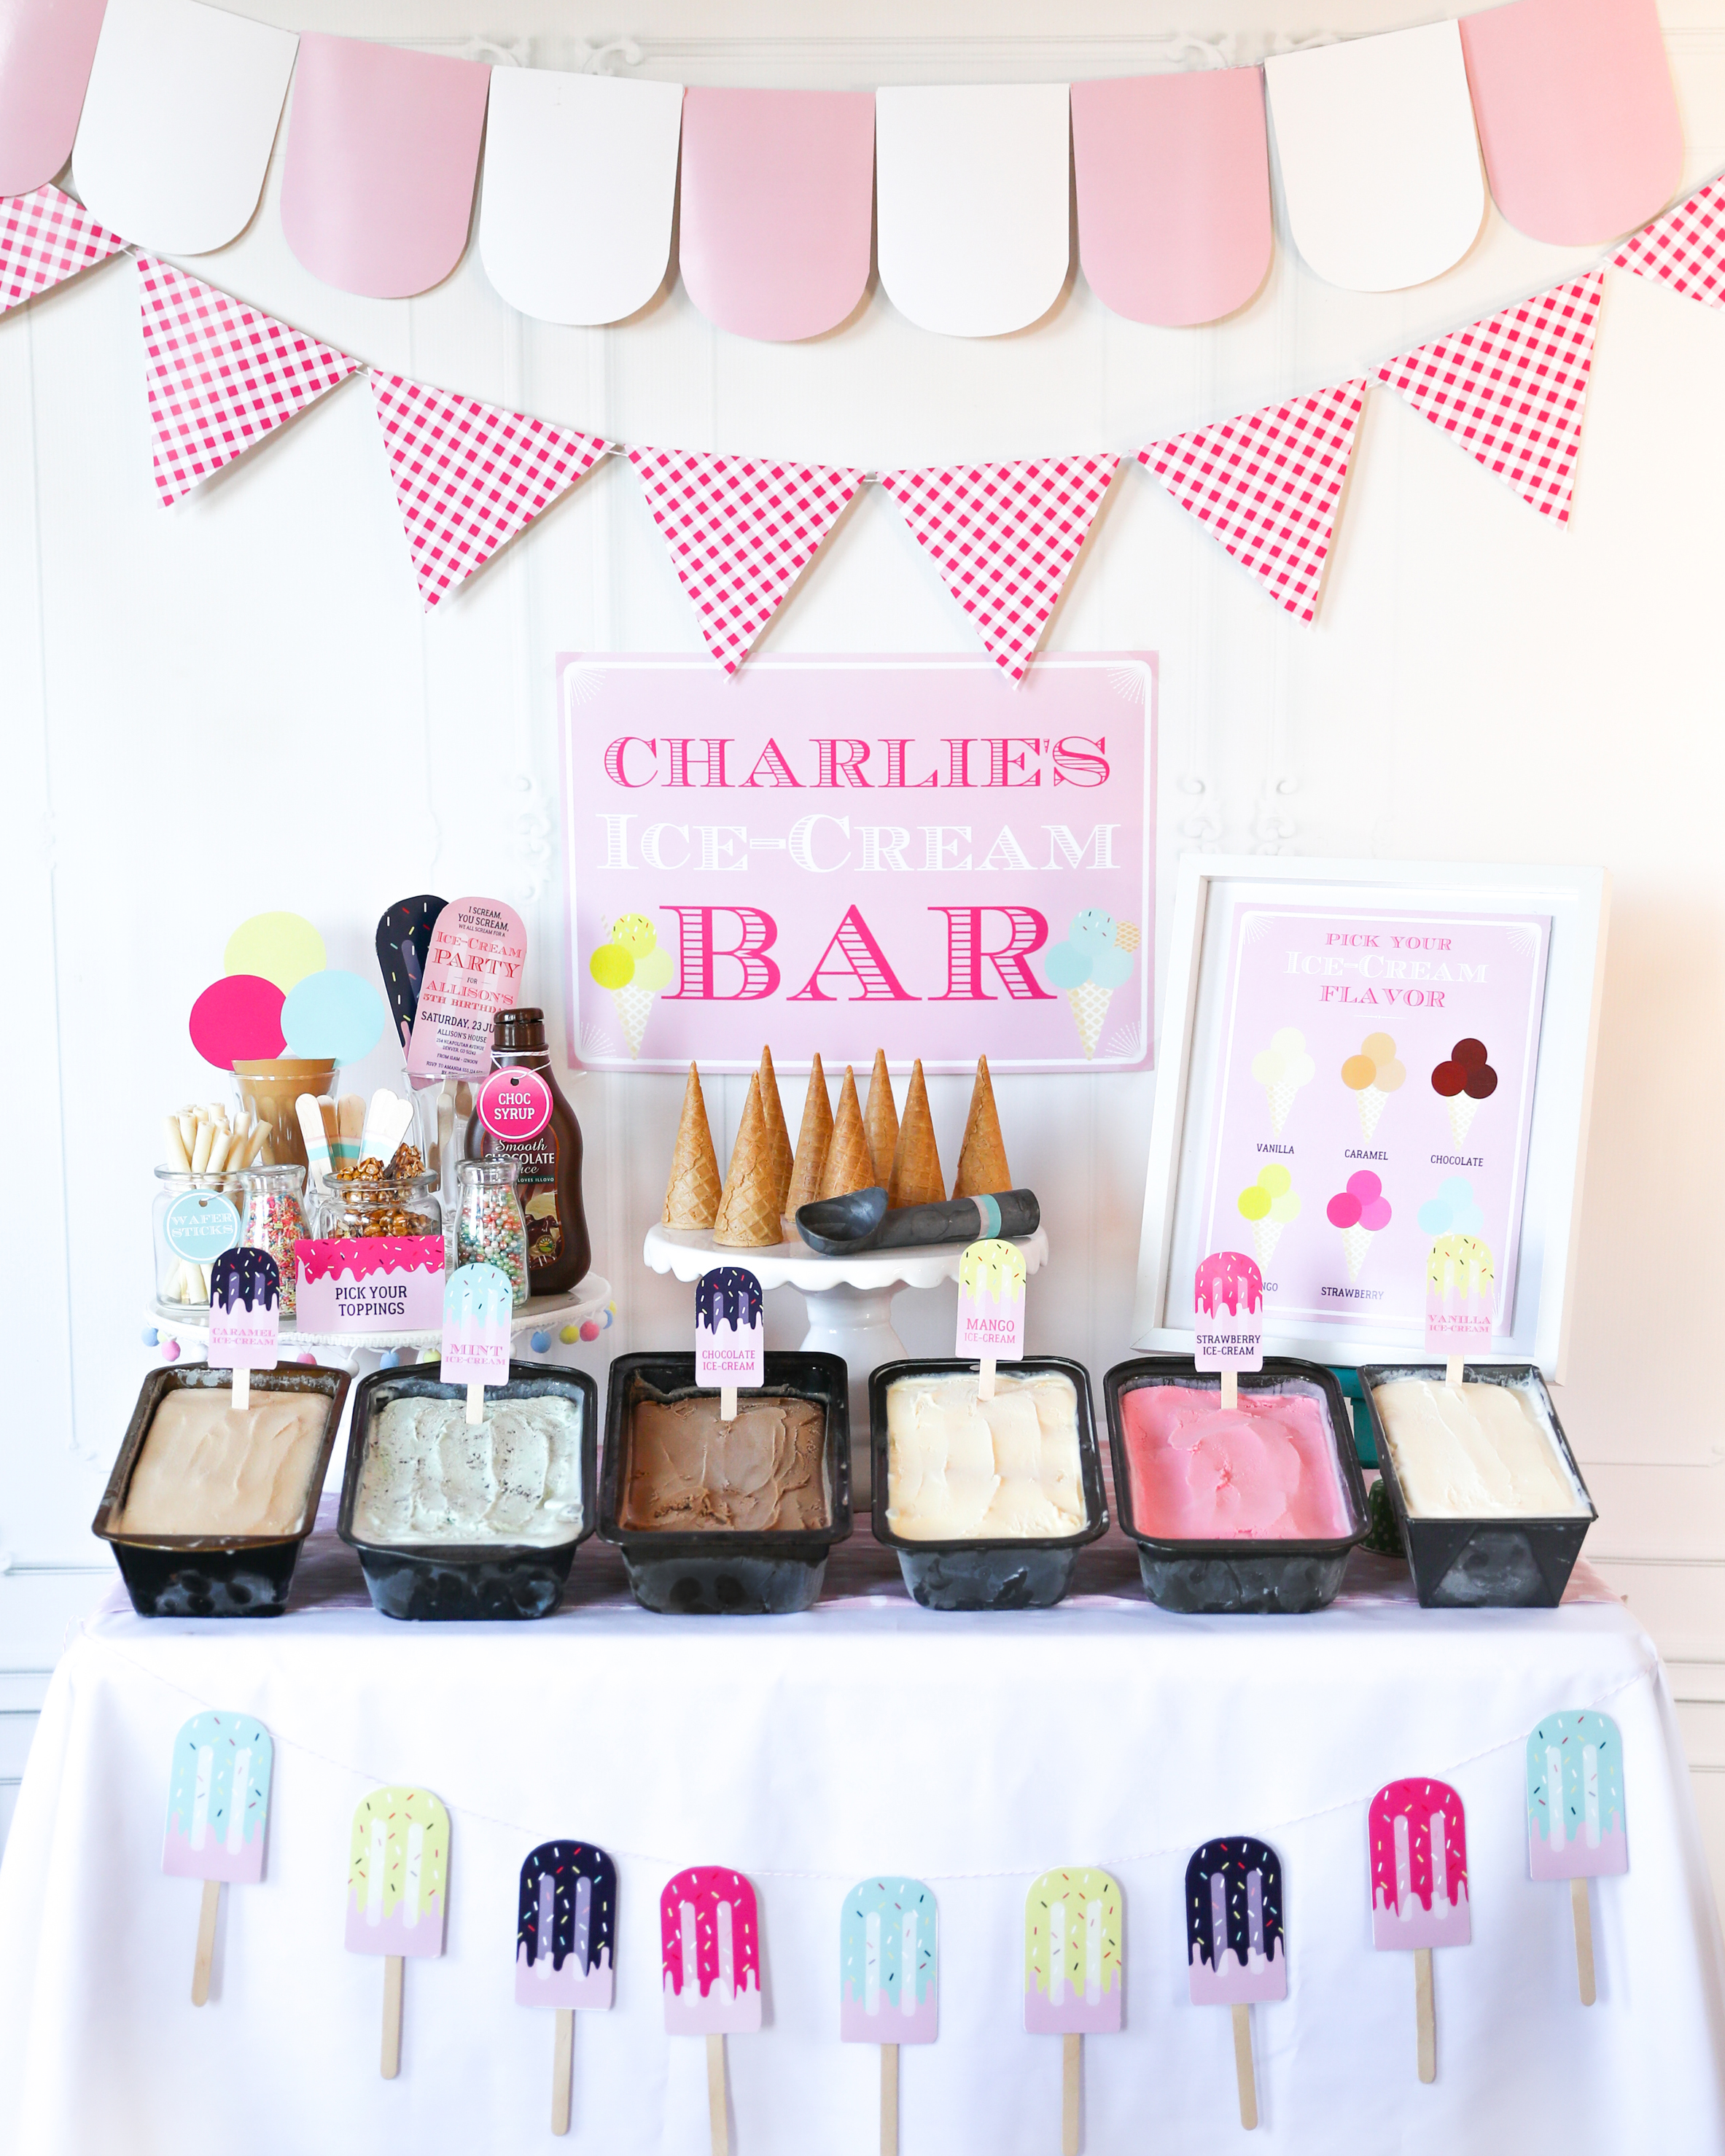
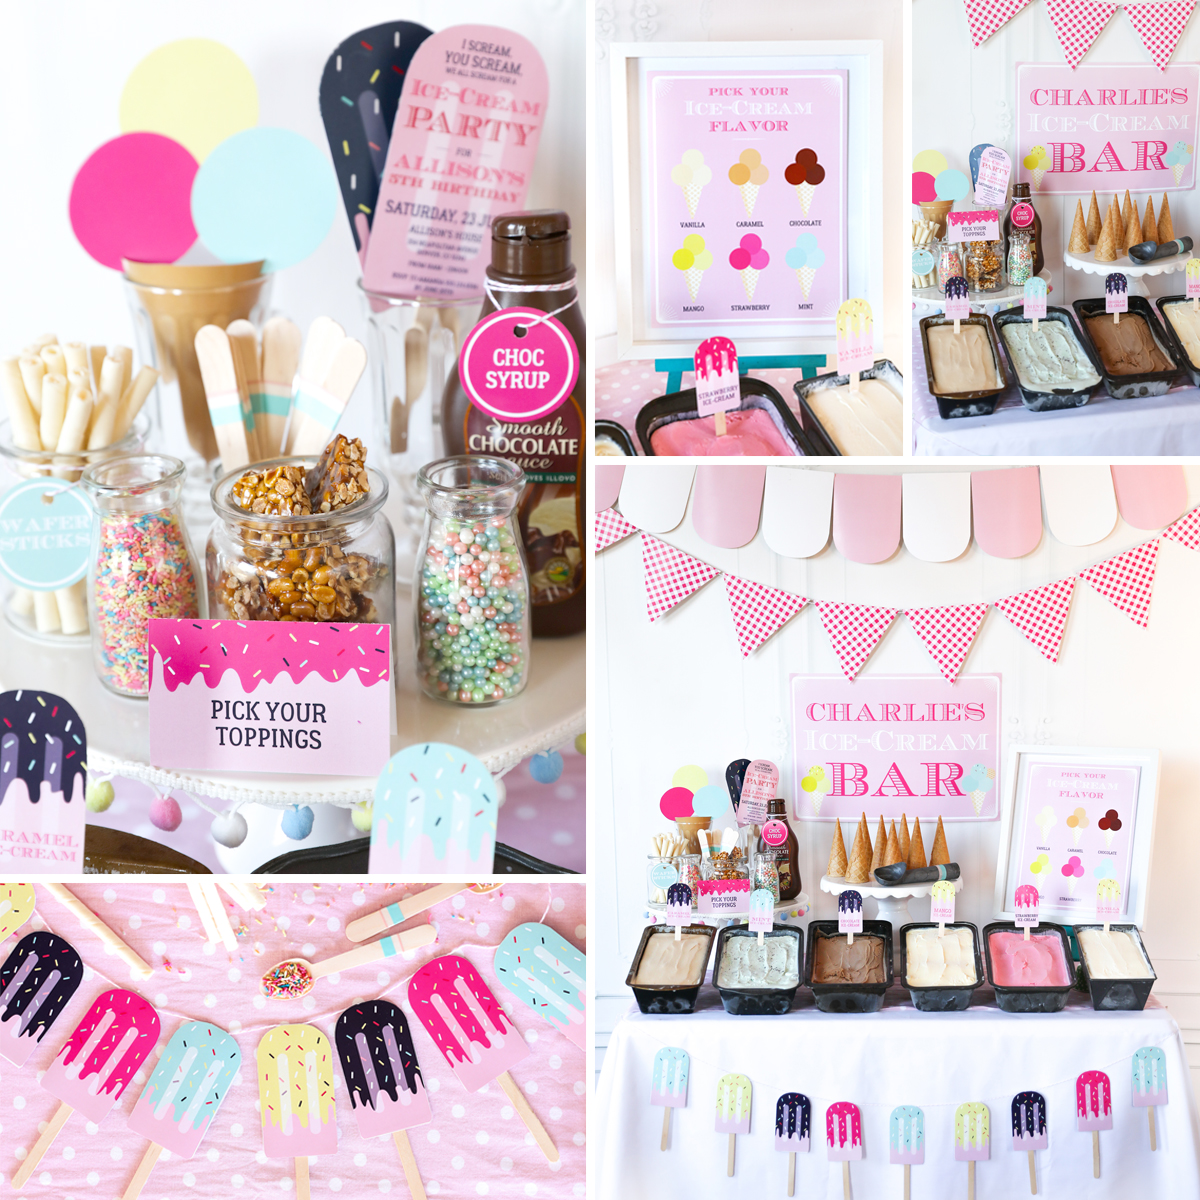
This super sweet, gorgeously cute ice-cream bar is perfect for a summertime party and would suit many ages right into the tweens (honestly, I don’t think adults would complain either). The garlands, posters, labels and decor are what makes it soooooooo damn adorable. And the ice-cream part is REALLY not as hard as we thought! We made it easier for ourselves by doing the following:
- Those tins that house the differently flavored ice-cream? Those are all standard loaf tins, that you use for your banana bread or any other loaf. I didn’t happen to have 6 loaf tins, I mean, who does? BUT I just put the word out to my Mom, and some friends, and voila – 6 loaf tins! Money spent: $0!!!!!
- Once you have chosen your 6 (or how ever many flavors you are going to have) ice-cream flavors, take them out the freezer for a few minutes, so that the ice cream is ‘scoop-able’ but NOT liquid. Scoop the ice cream into the loaf tins and spread and work into the new container. As soon as it is done and looking good, put the loaf tin and ice-cream in the freezer until serving time.
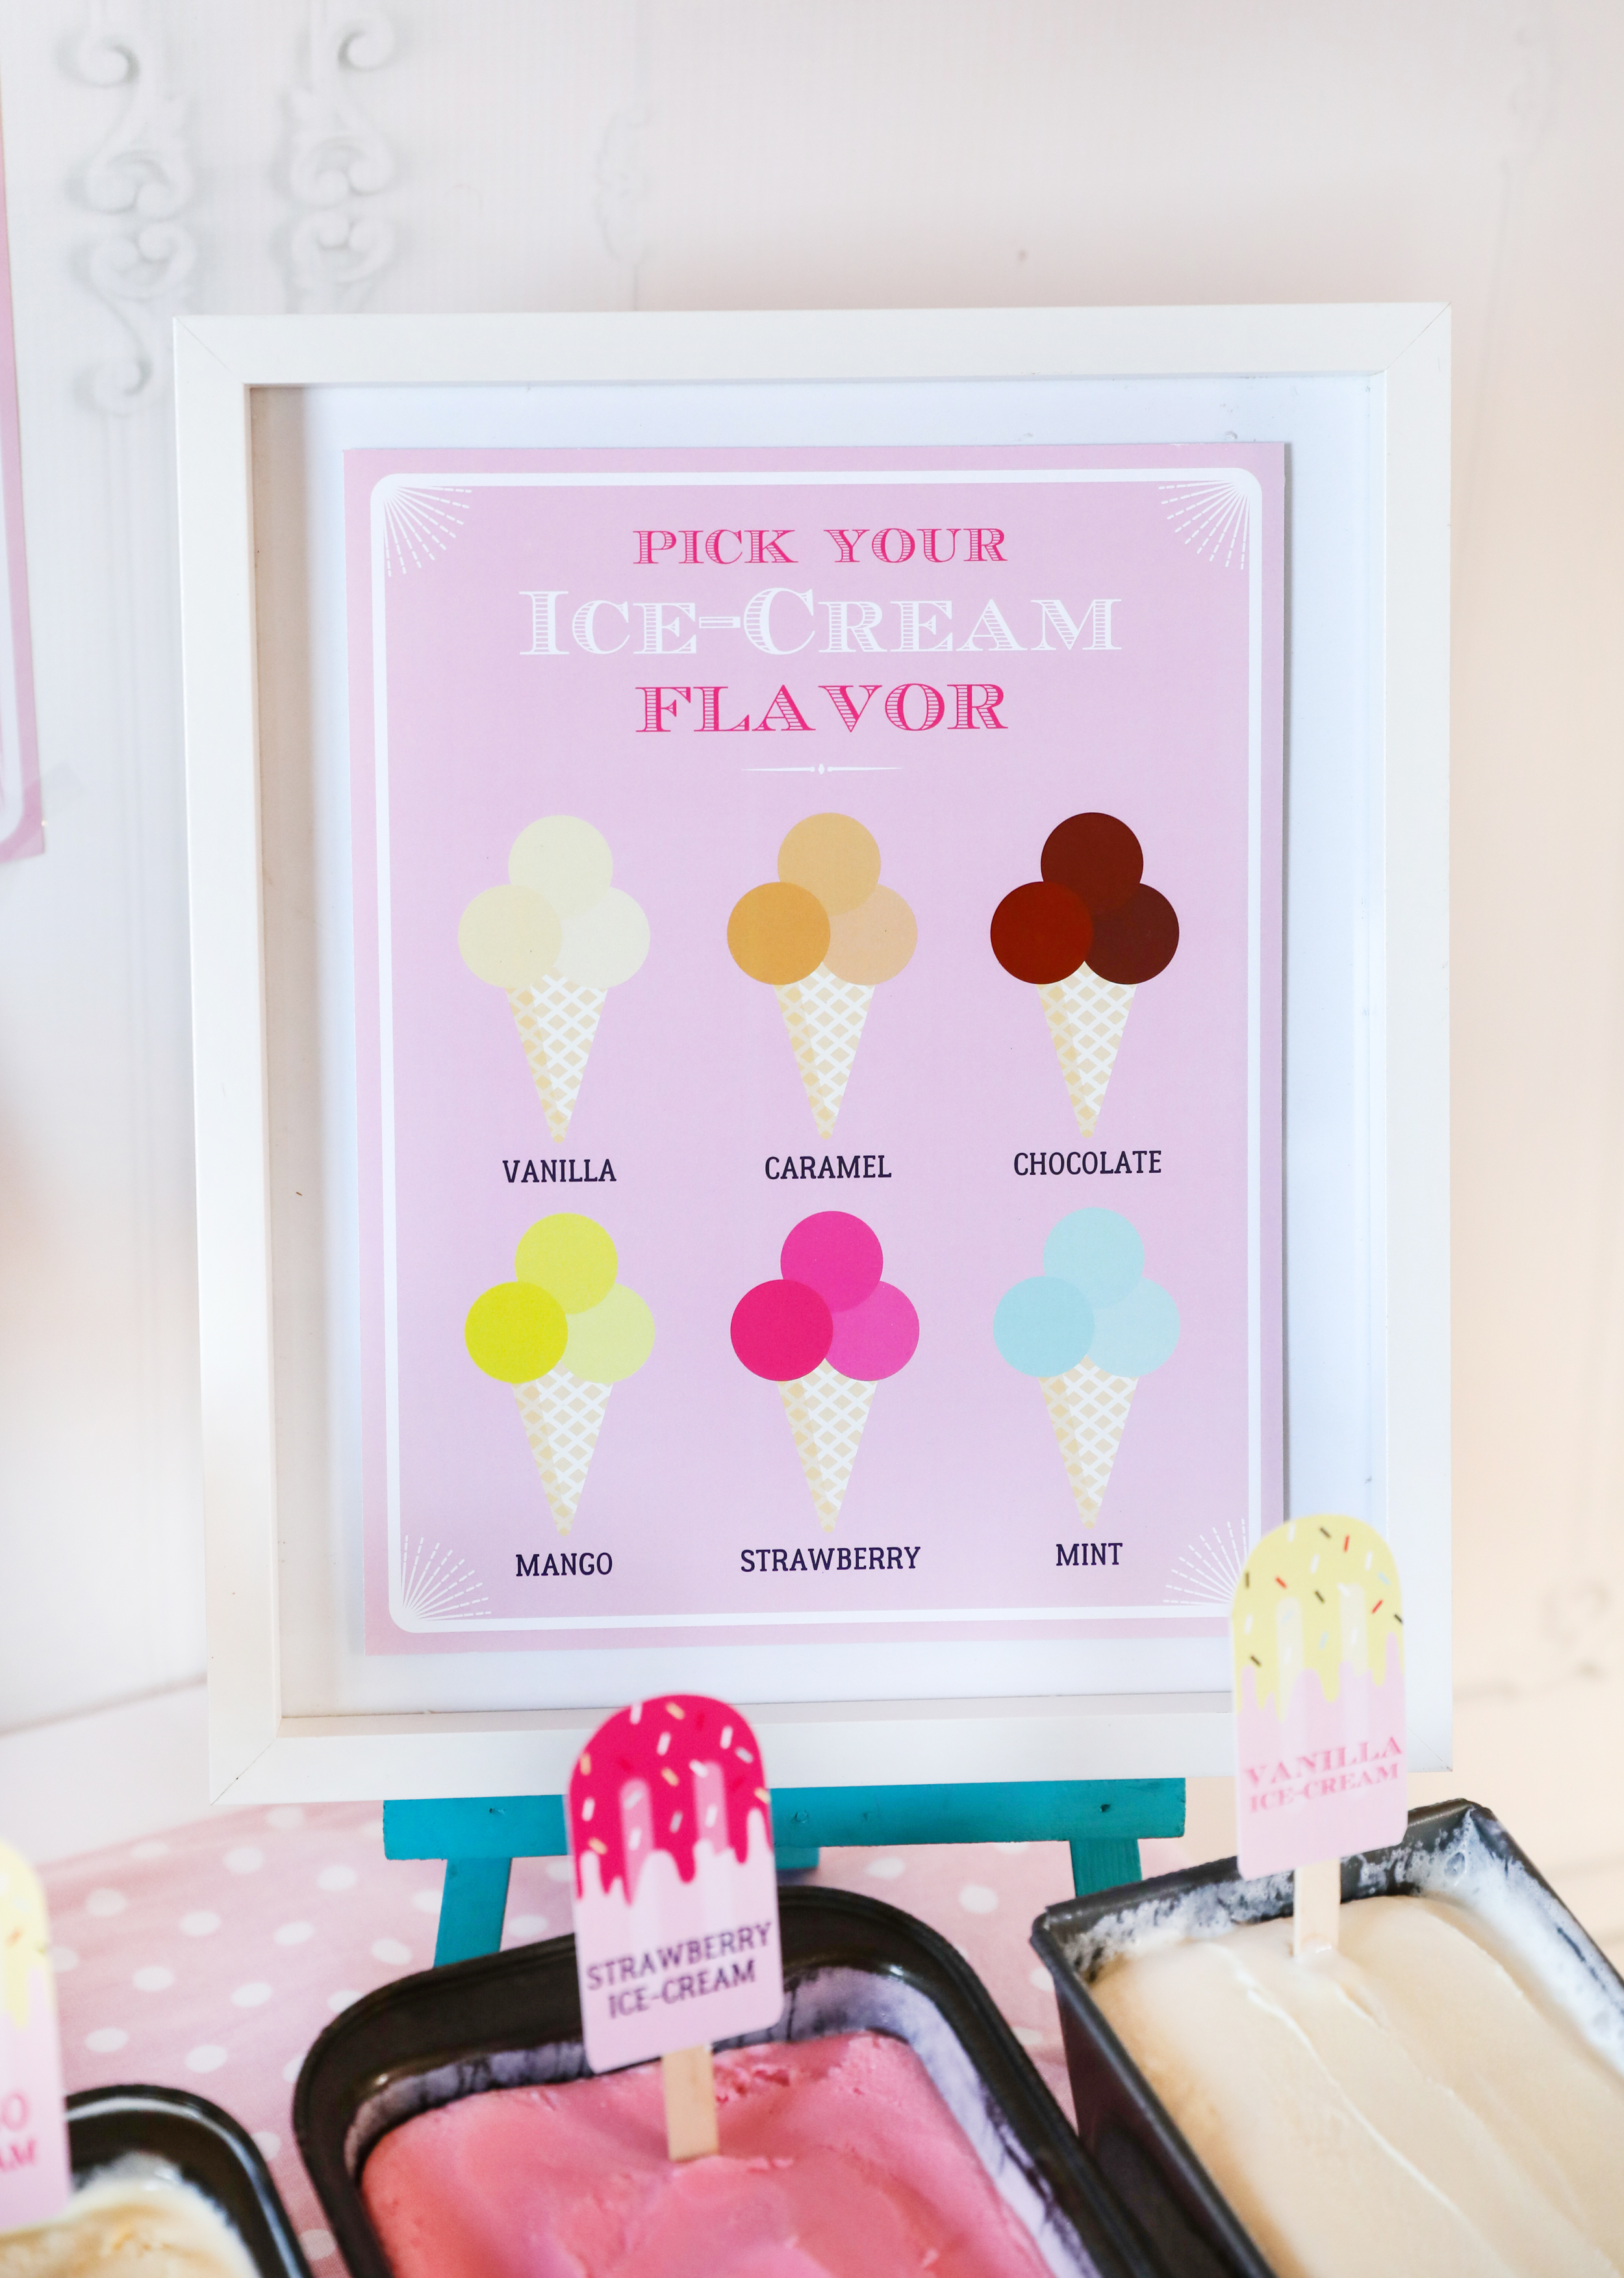
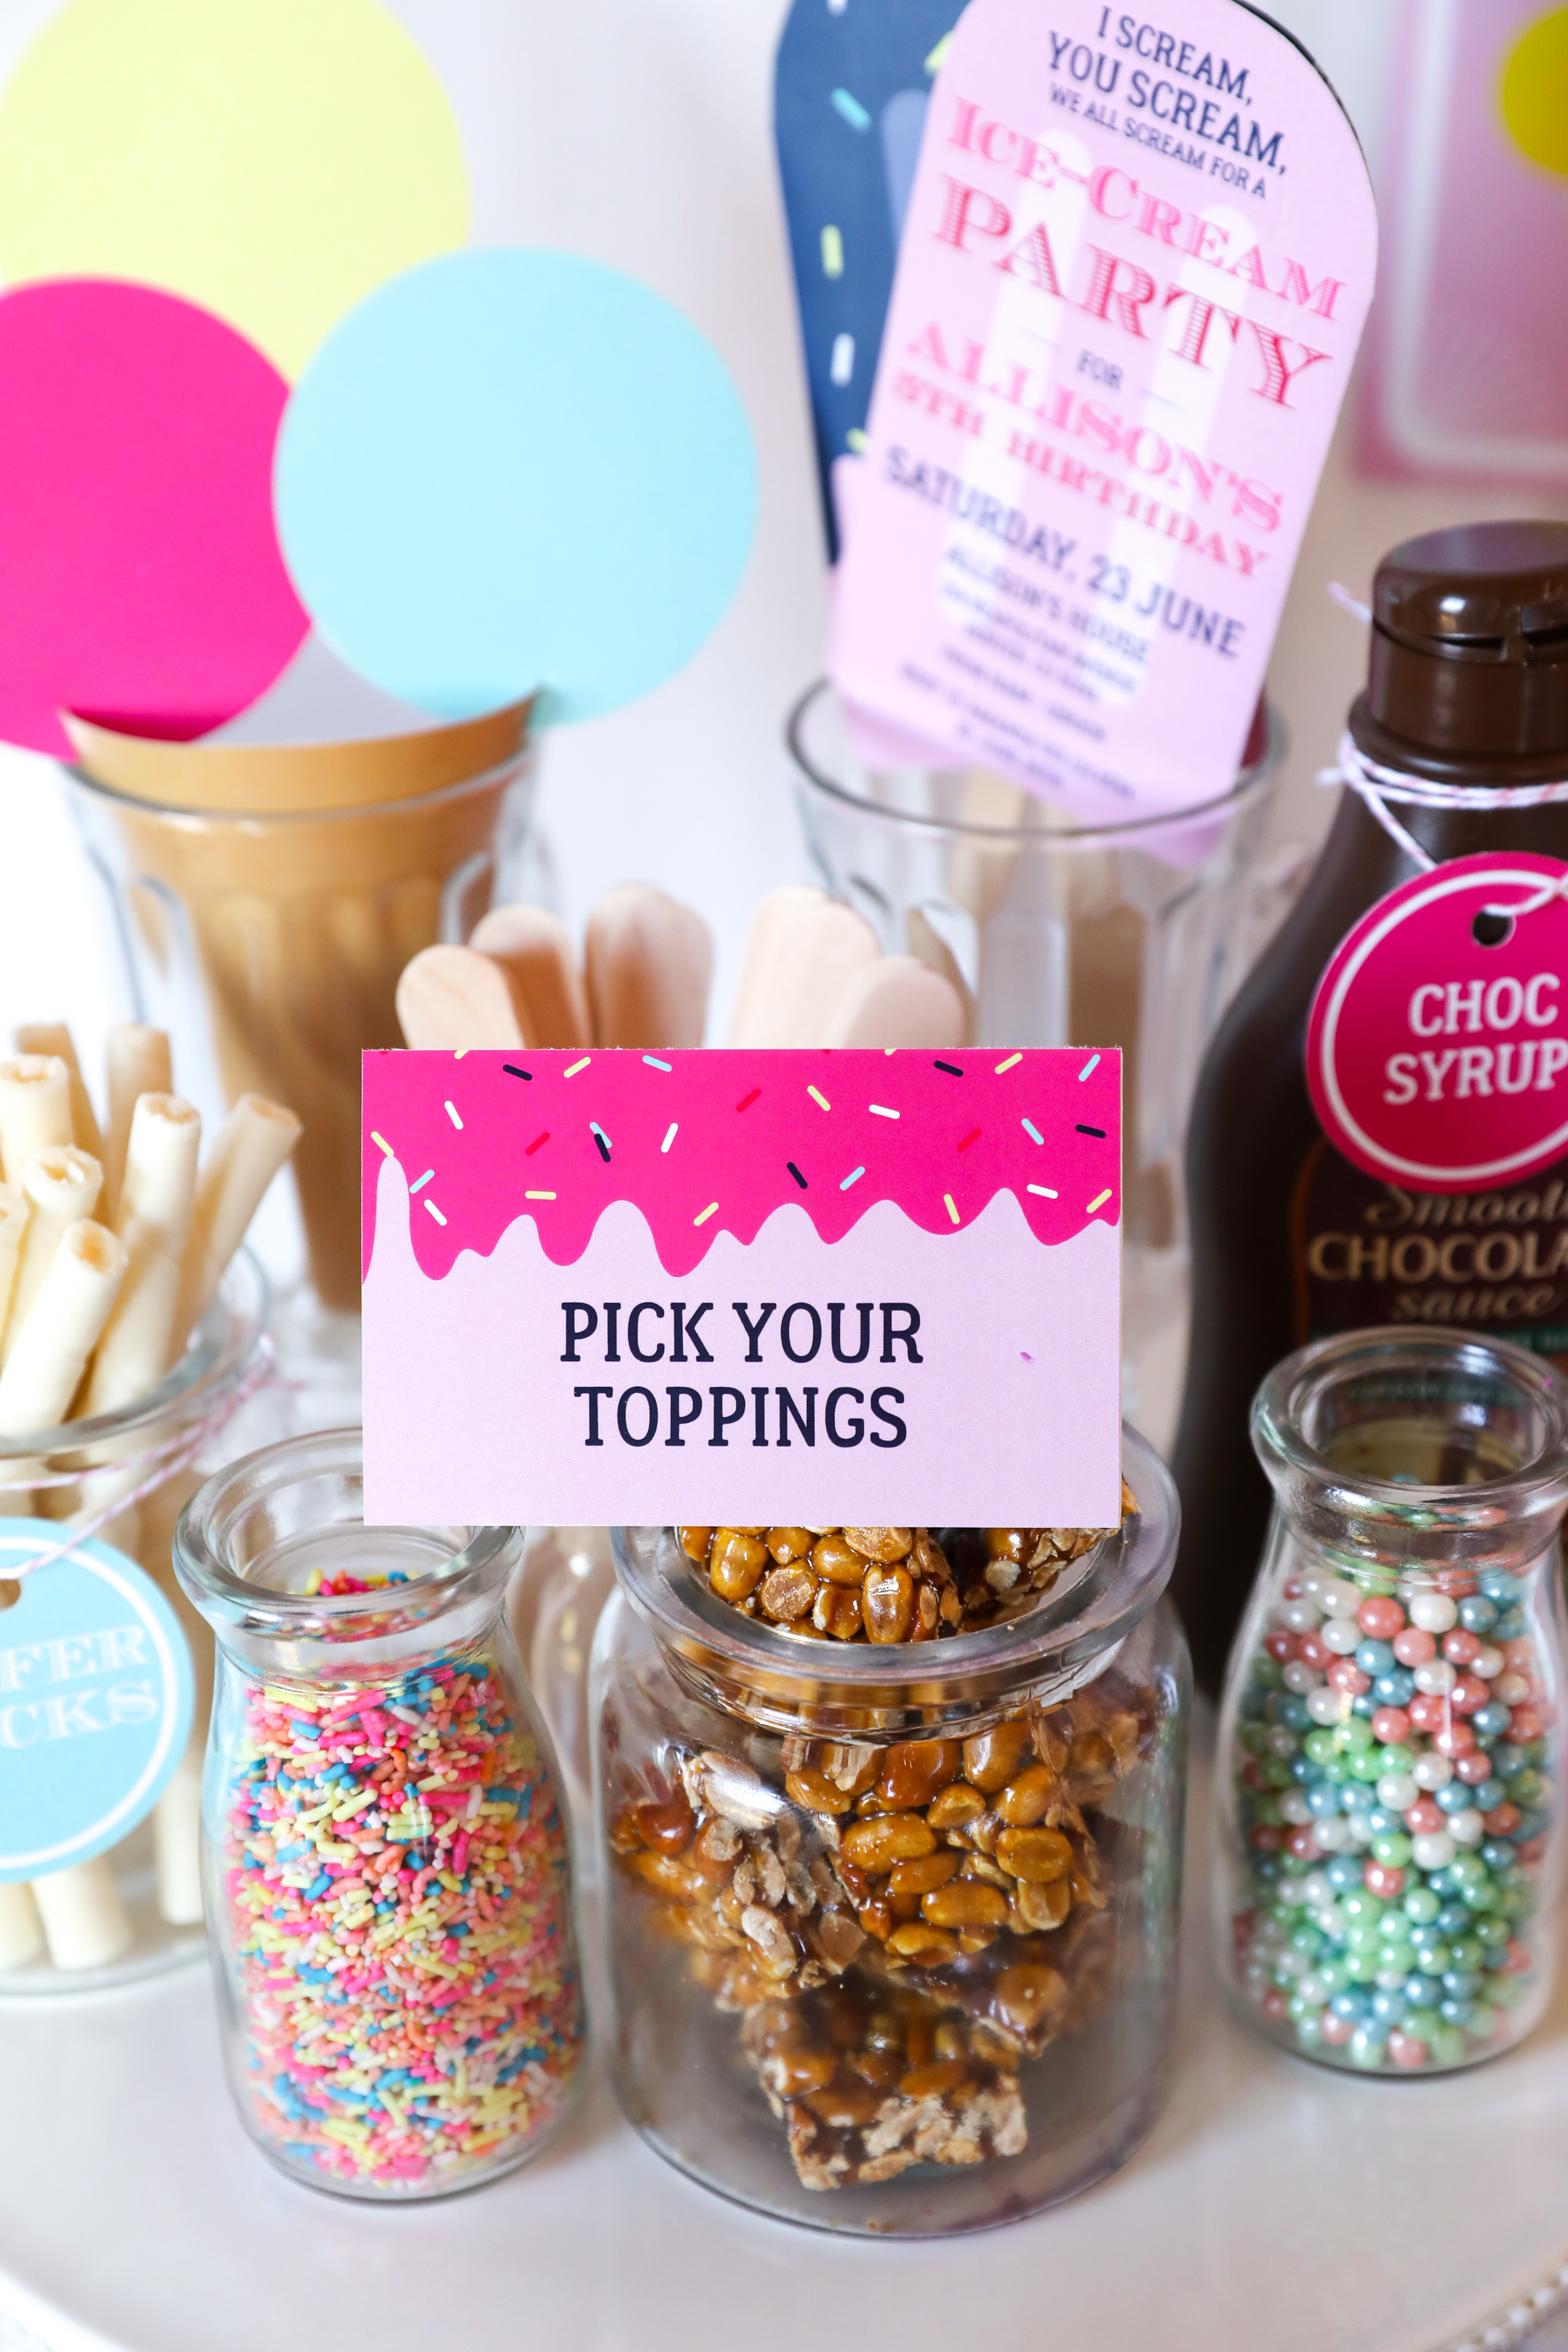
- The rest of the ice-cream station is easy! You grab your ice-cream bar printables, edit your different food labels according to the sauces, sprinkles, wafers and sweets you want to use as toppings, as well the cones. Edit your party and flavor posters, then print! You can involve the birthday girl (or boy) in the process by roping them in to help you cut out the garland shapes and glue onto the string together, for some super fun bonding time!
- Don’t you just LOVE the popsicle banner across the bottom of the station? This is part of the printable set, and we glue gunned a popsicle stick to each one – sooooooo simple and effective!
- Use some glass containers for your sweets and sprinkles, and don’t forget to use a few cake stands or boxes to create different heights for your table.
- Once everything is set up and your party peeps have arrived, take the ice-cream out the freezer and serve!
Be rewarded with squeals of delight!
If you just LOVE this idea, then don’t forget to pin to your party board so you can access it whenever you need it!



supper great idea!!!!!
How did you make the pink/white backdrop banner?
Hi Alaina! The pink and white banner is part of the ice-cream party printables set, you simply download, print and cut out and thread or glue onto a string. Please see the set available for download here.
https://sunshineparties.com/products/ice-cream-bar-ice-cream-party-for-girls
Have a great day! Sunshine Parties