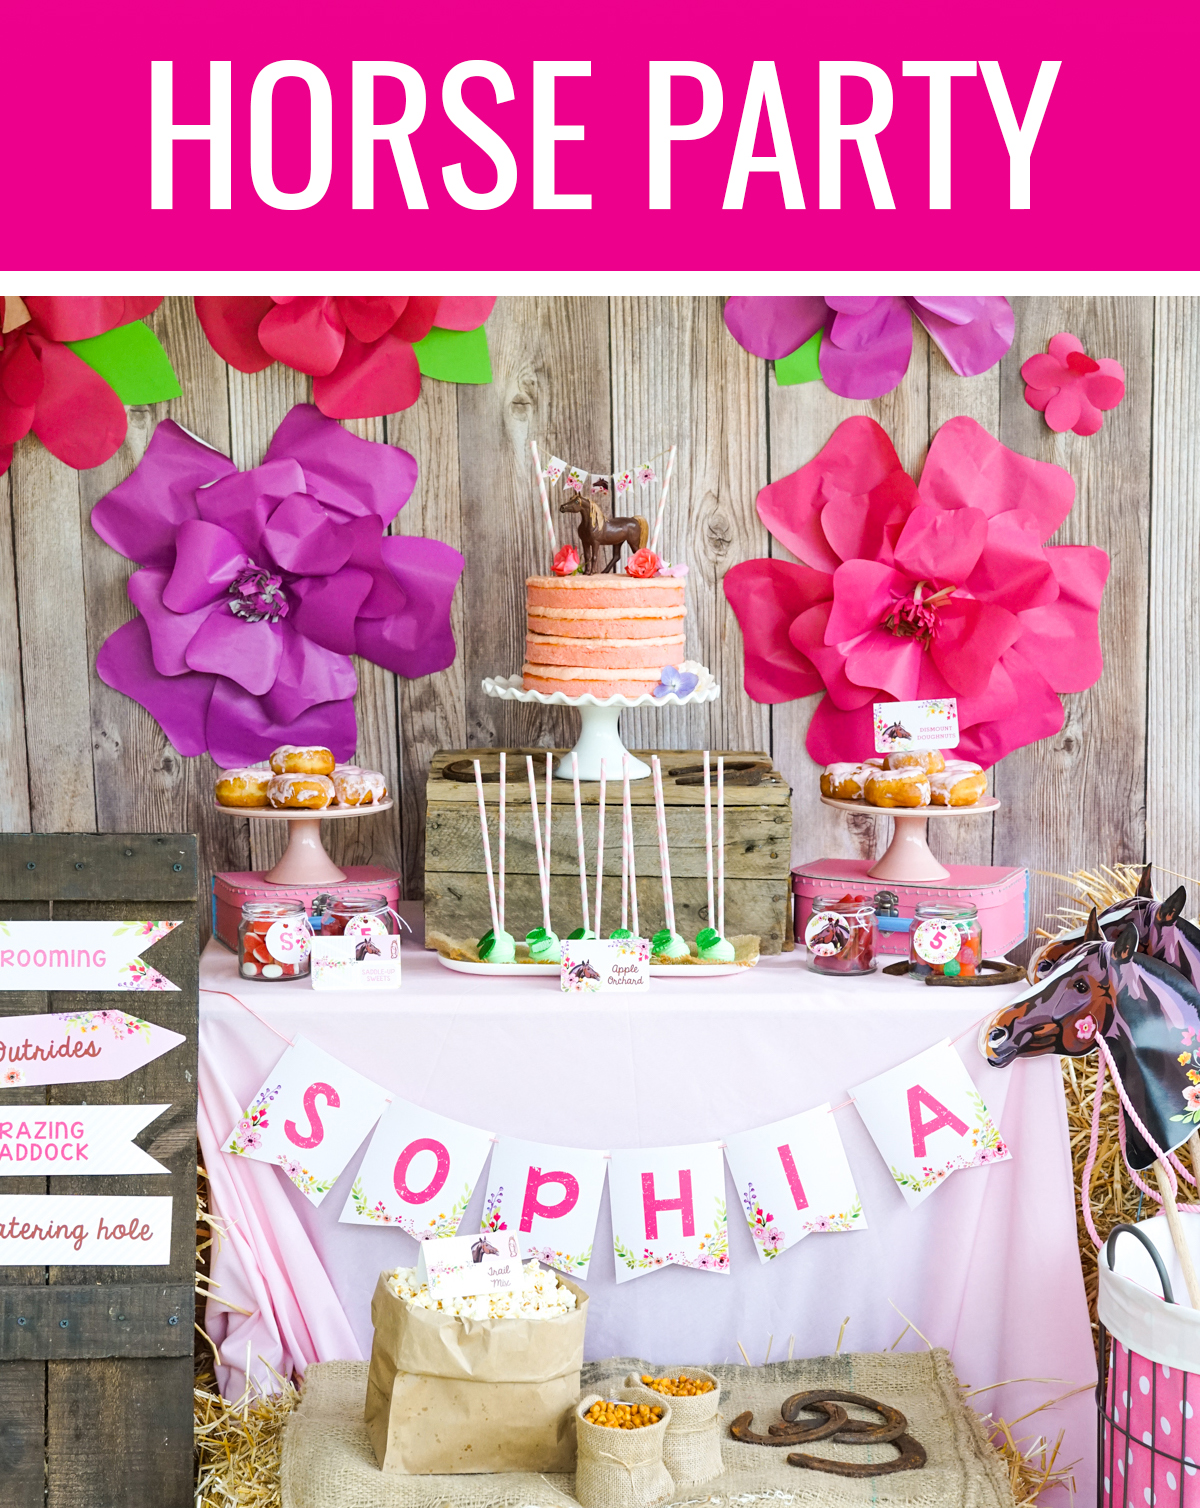
Just look at this beautiful, bright, and oh-so-effective tissue paper flower! If you are having a shindig, fiesta, birthday party, Mother’s Day celebration or pet naming ceremony, you MUST use this Fiesta Flower Tutorial to make your own tissue paper flowers. They are SOOOOOOOOOO easy. Really, really, properly easy, and I’m not just saying that so I sound all crafty and stuff.
Beautiful and super cost-effective – it’s a no-brainer. Make some right now, I’ll show you how!
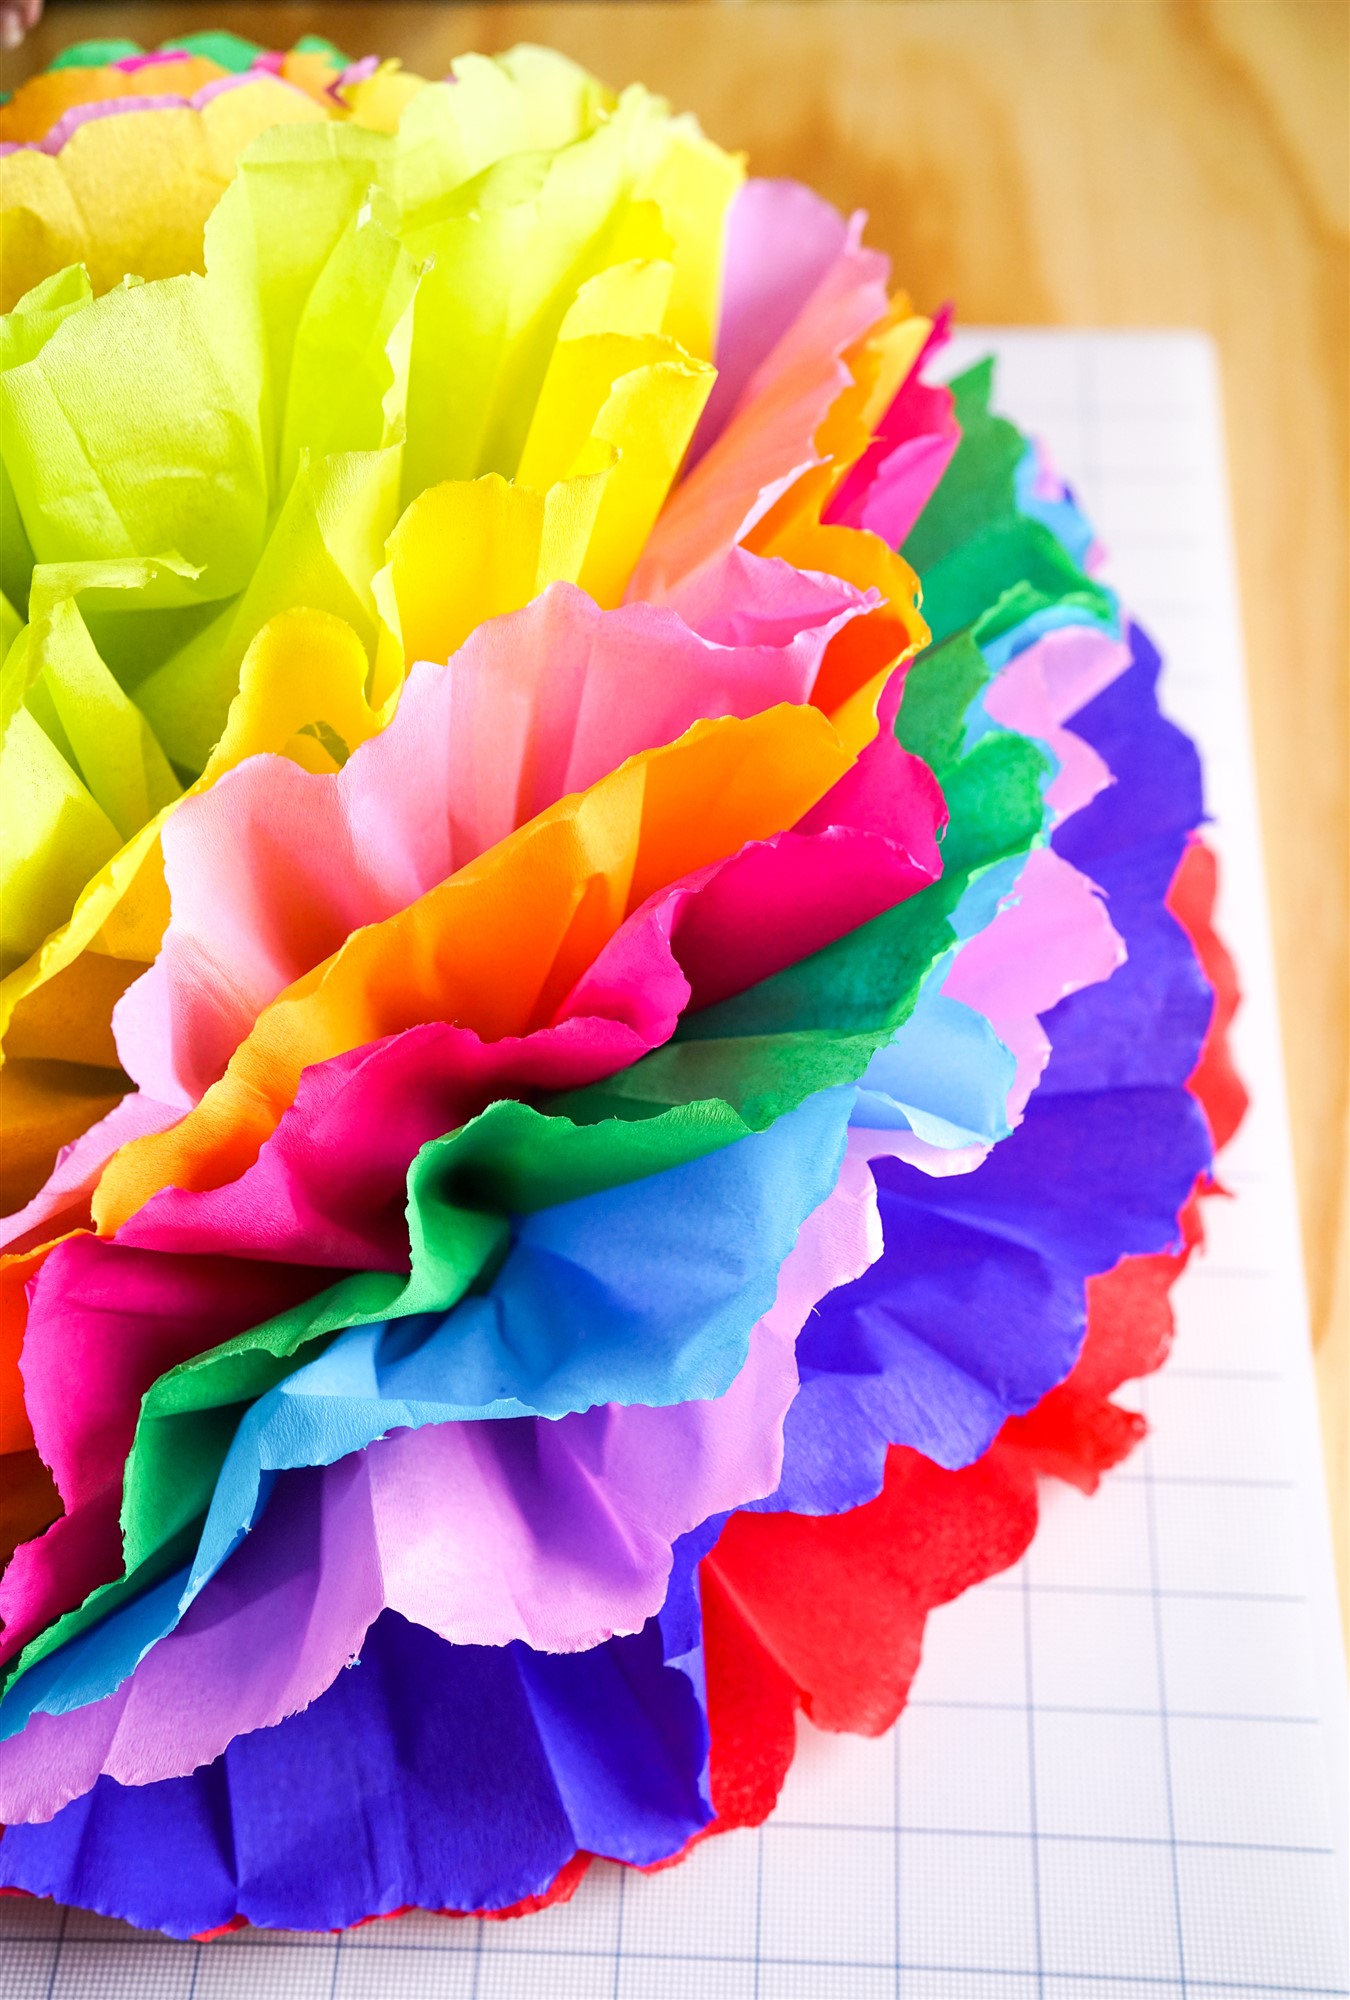
Step 1 – Grab some sheets of tissue paper in your chosen colors. For these, we went bold and bright with 10 different colors to create this fiesta flower. To get this exact look, we used colors in this order, bottom to top of the tissue paper pile!
- Red (bottom to top)
- Dark blue
- Lavender
- Bright blue
- Apple green
- Cerise
- Pumpkin
- Pastel pink
- Bright yellow
- Lime green
Depending on your decor and theme, you will choose colors to match! A single color can work, or two alternating colors, or even a darker to lighter shade variety of the same color. Whether it’s strong and bold, pastel and pretty or anything in between, you get to play with color!
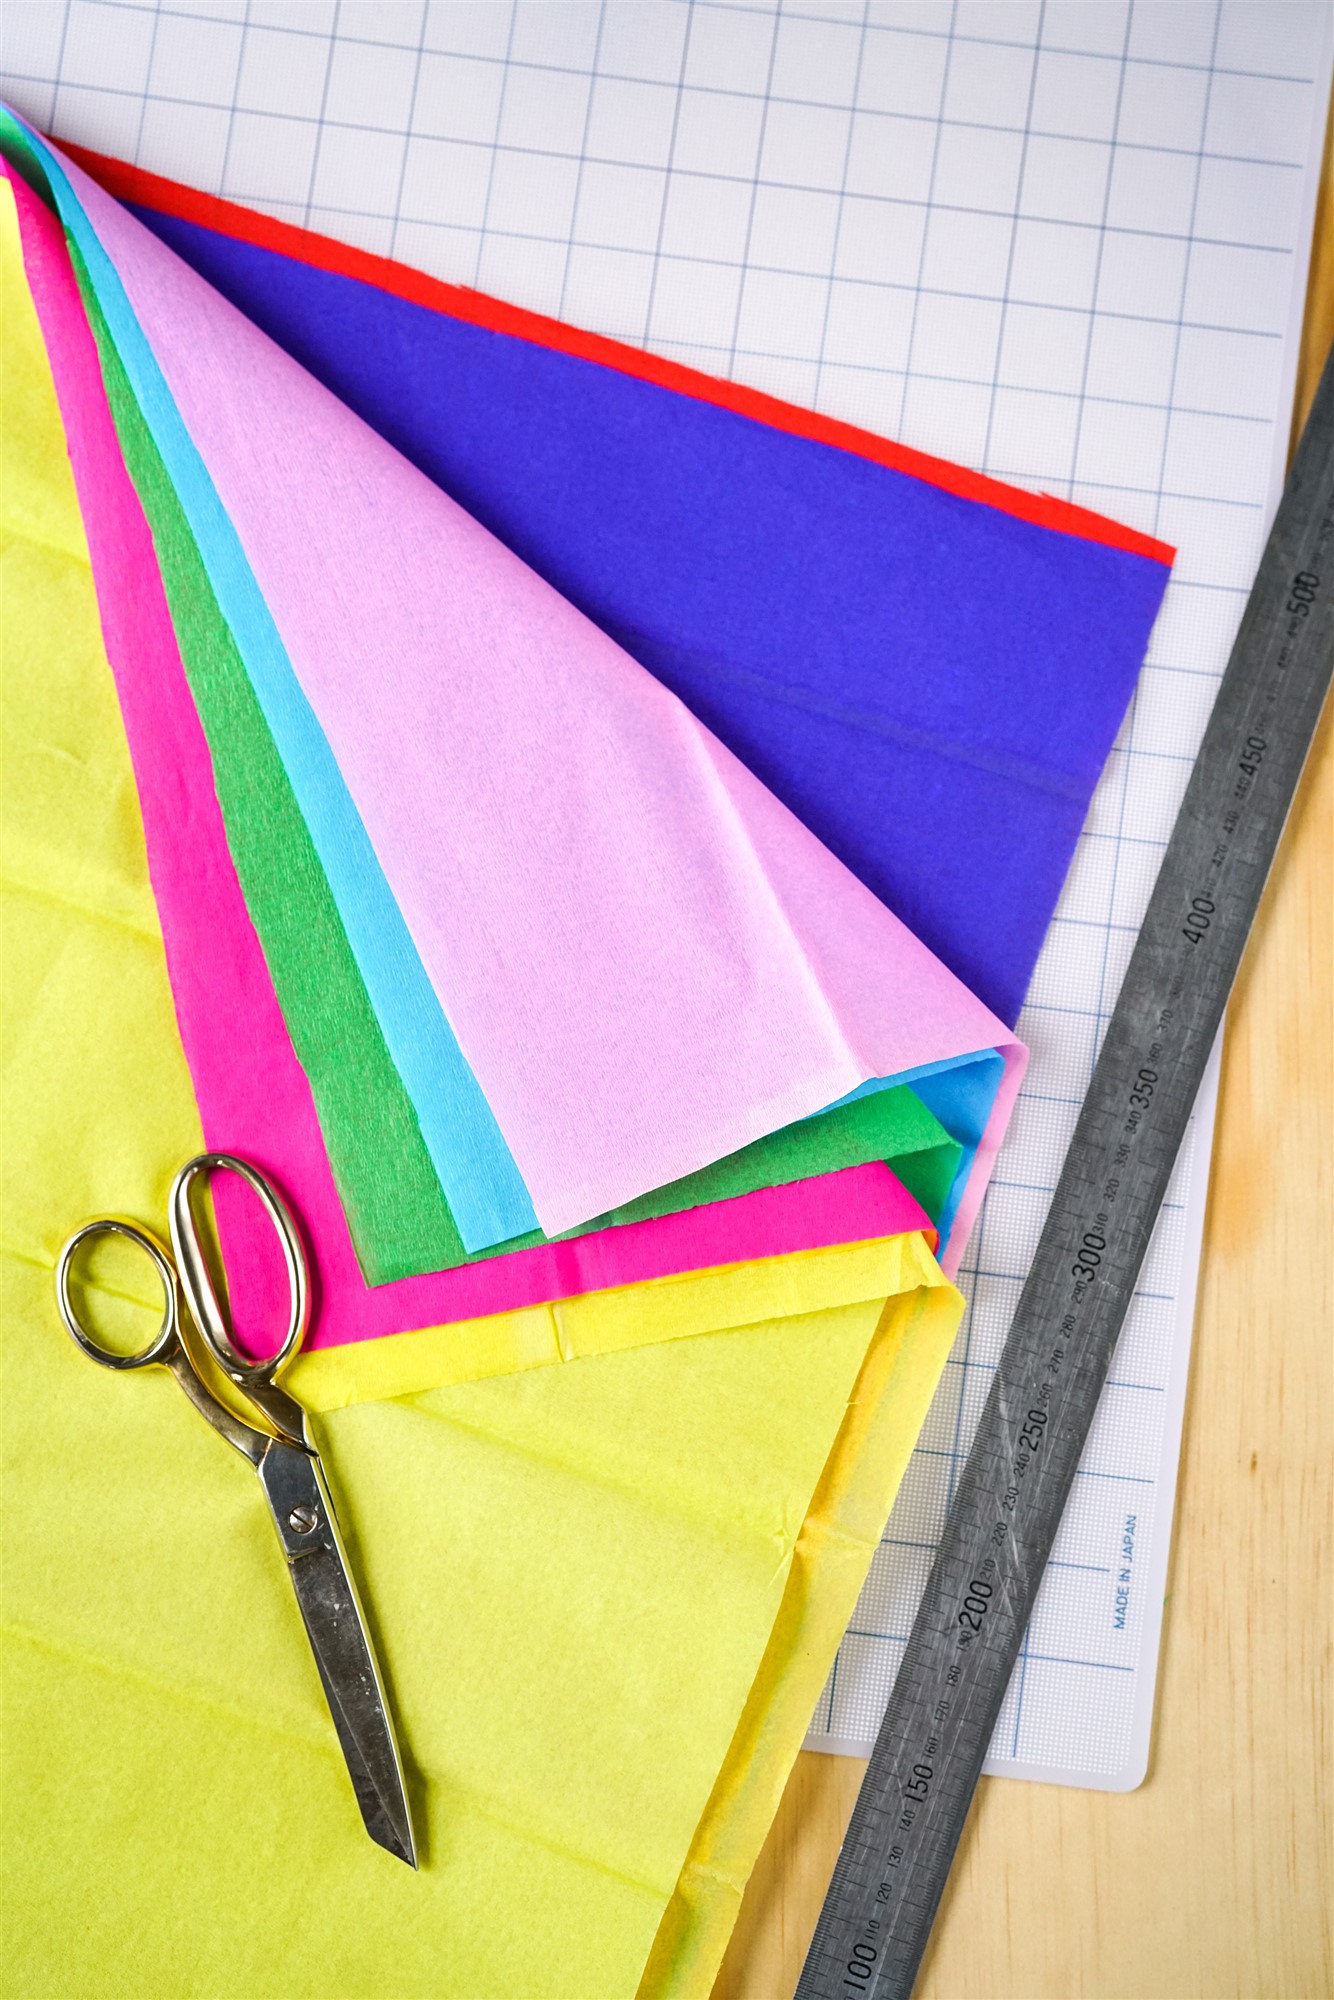
We used 22″ x 20″ sheets of tissue paper to make our Fiesta Flowers. You can use the size you have, but this size worked really well to make these bold ‘statement’ flowers!
Did you know there is a difference between tissue paper and crepe paper? Tissue paper usually comes in sheets and has a smooth surface. Crepe paper comes in rolls or sheets, and has a crinkled, rough texture to it. We used tissue paper for these flowers, but you could use crepe paper, although it might not stand up as firmly as the tissue paper.
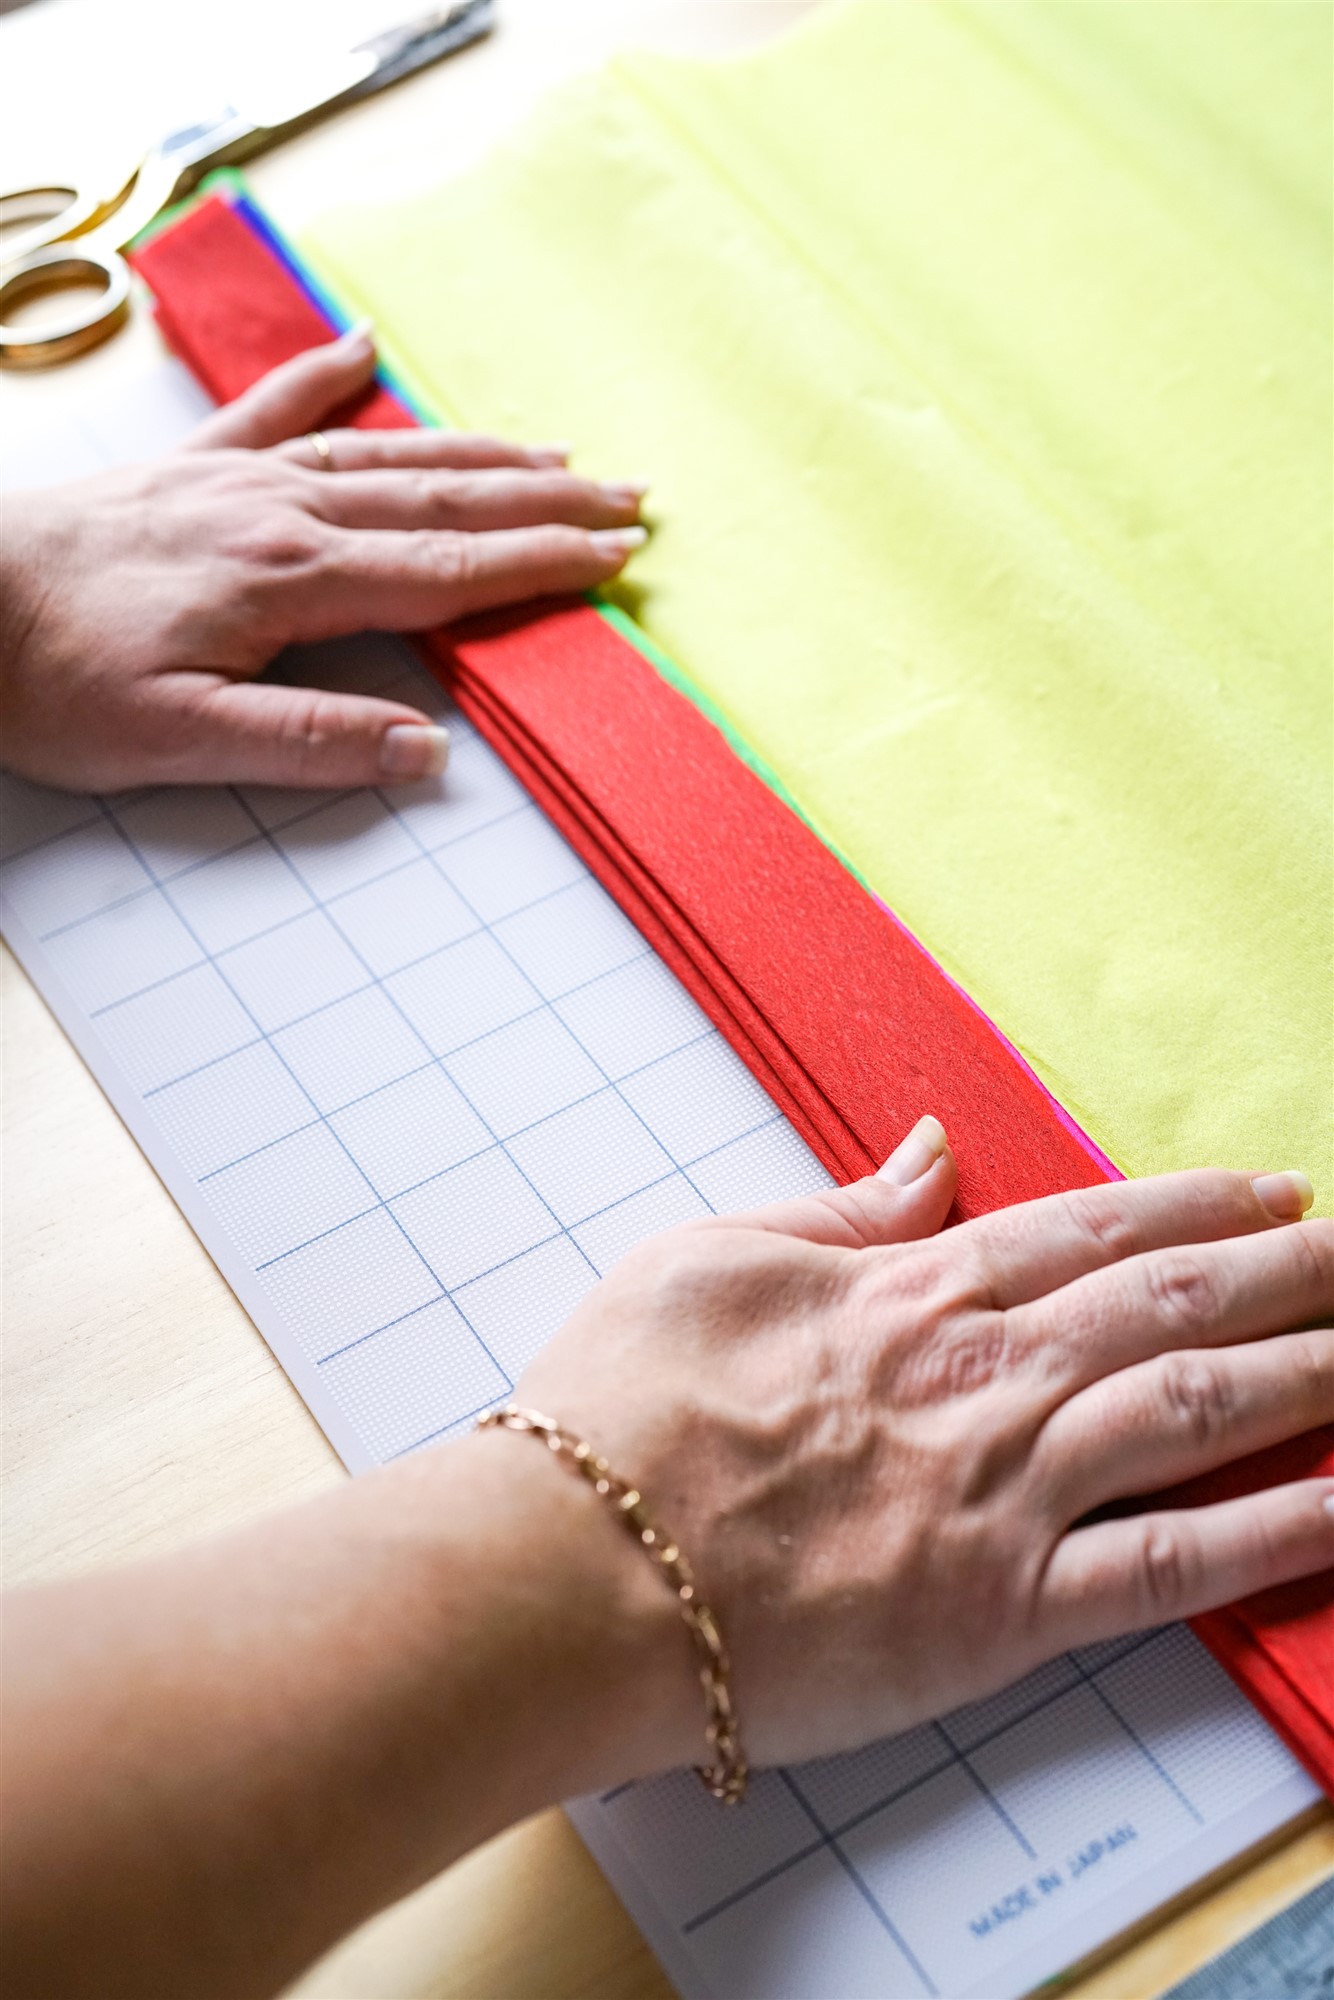
Step 2 – Stack paper on top of each other and fold into 1 1/2 inch sections, in a concertina fashion, creasing with each fold, until the entire sheet is accordian-folded.
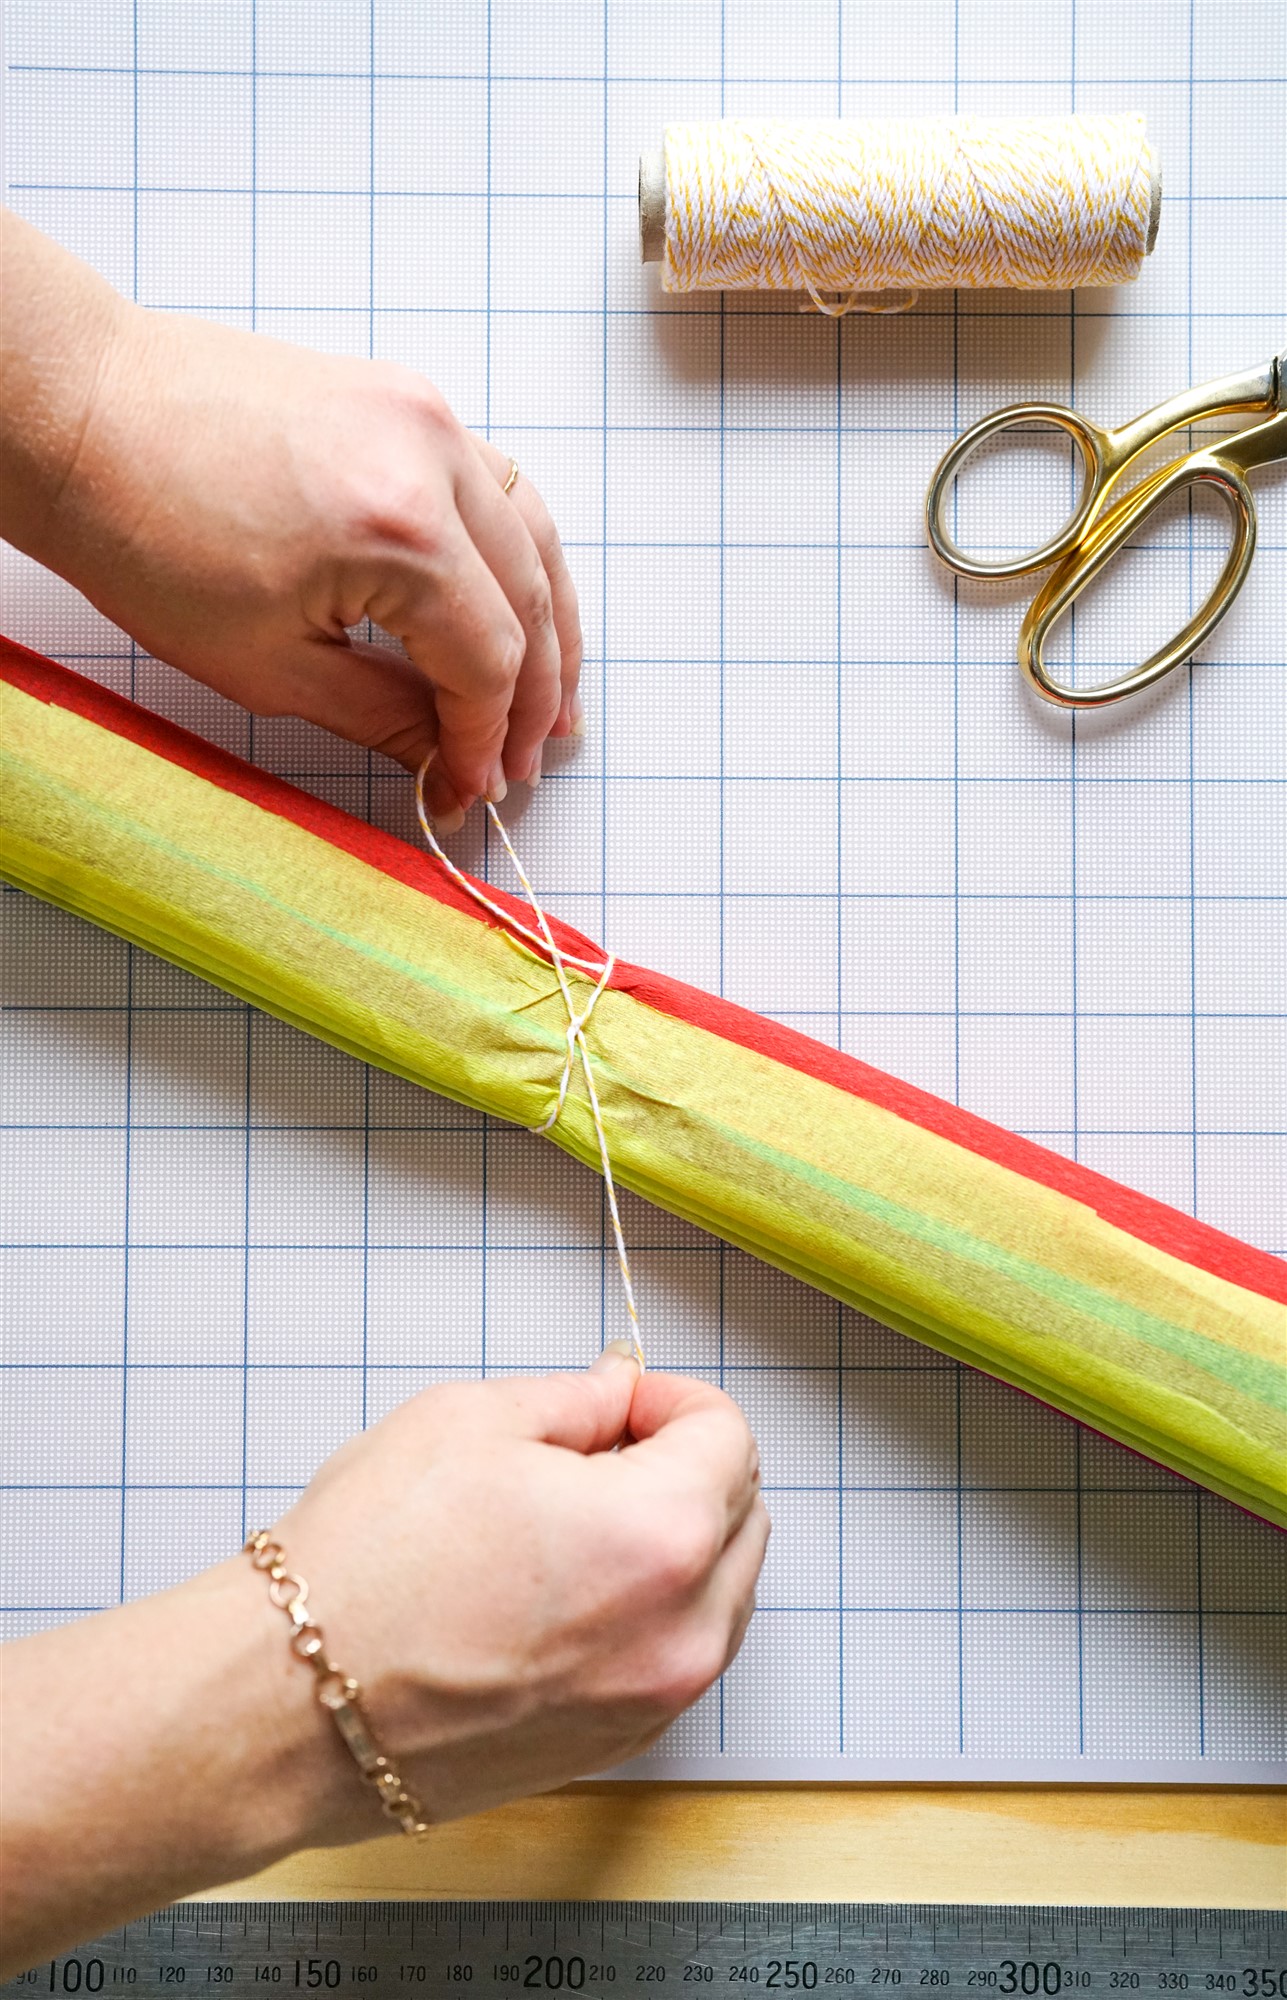
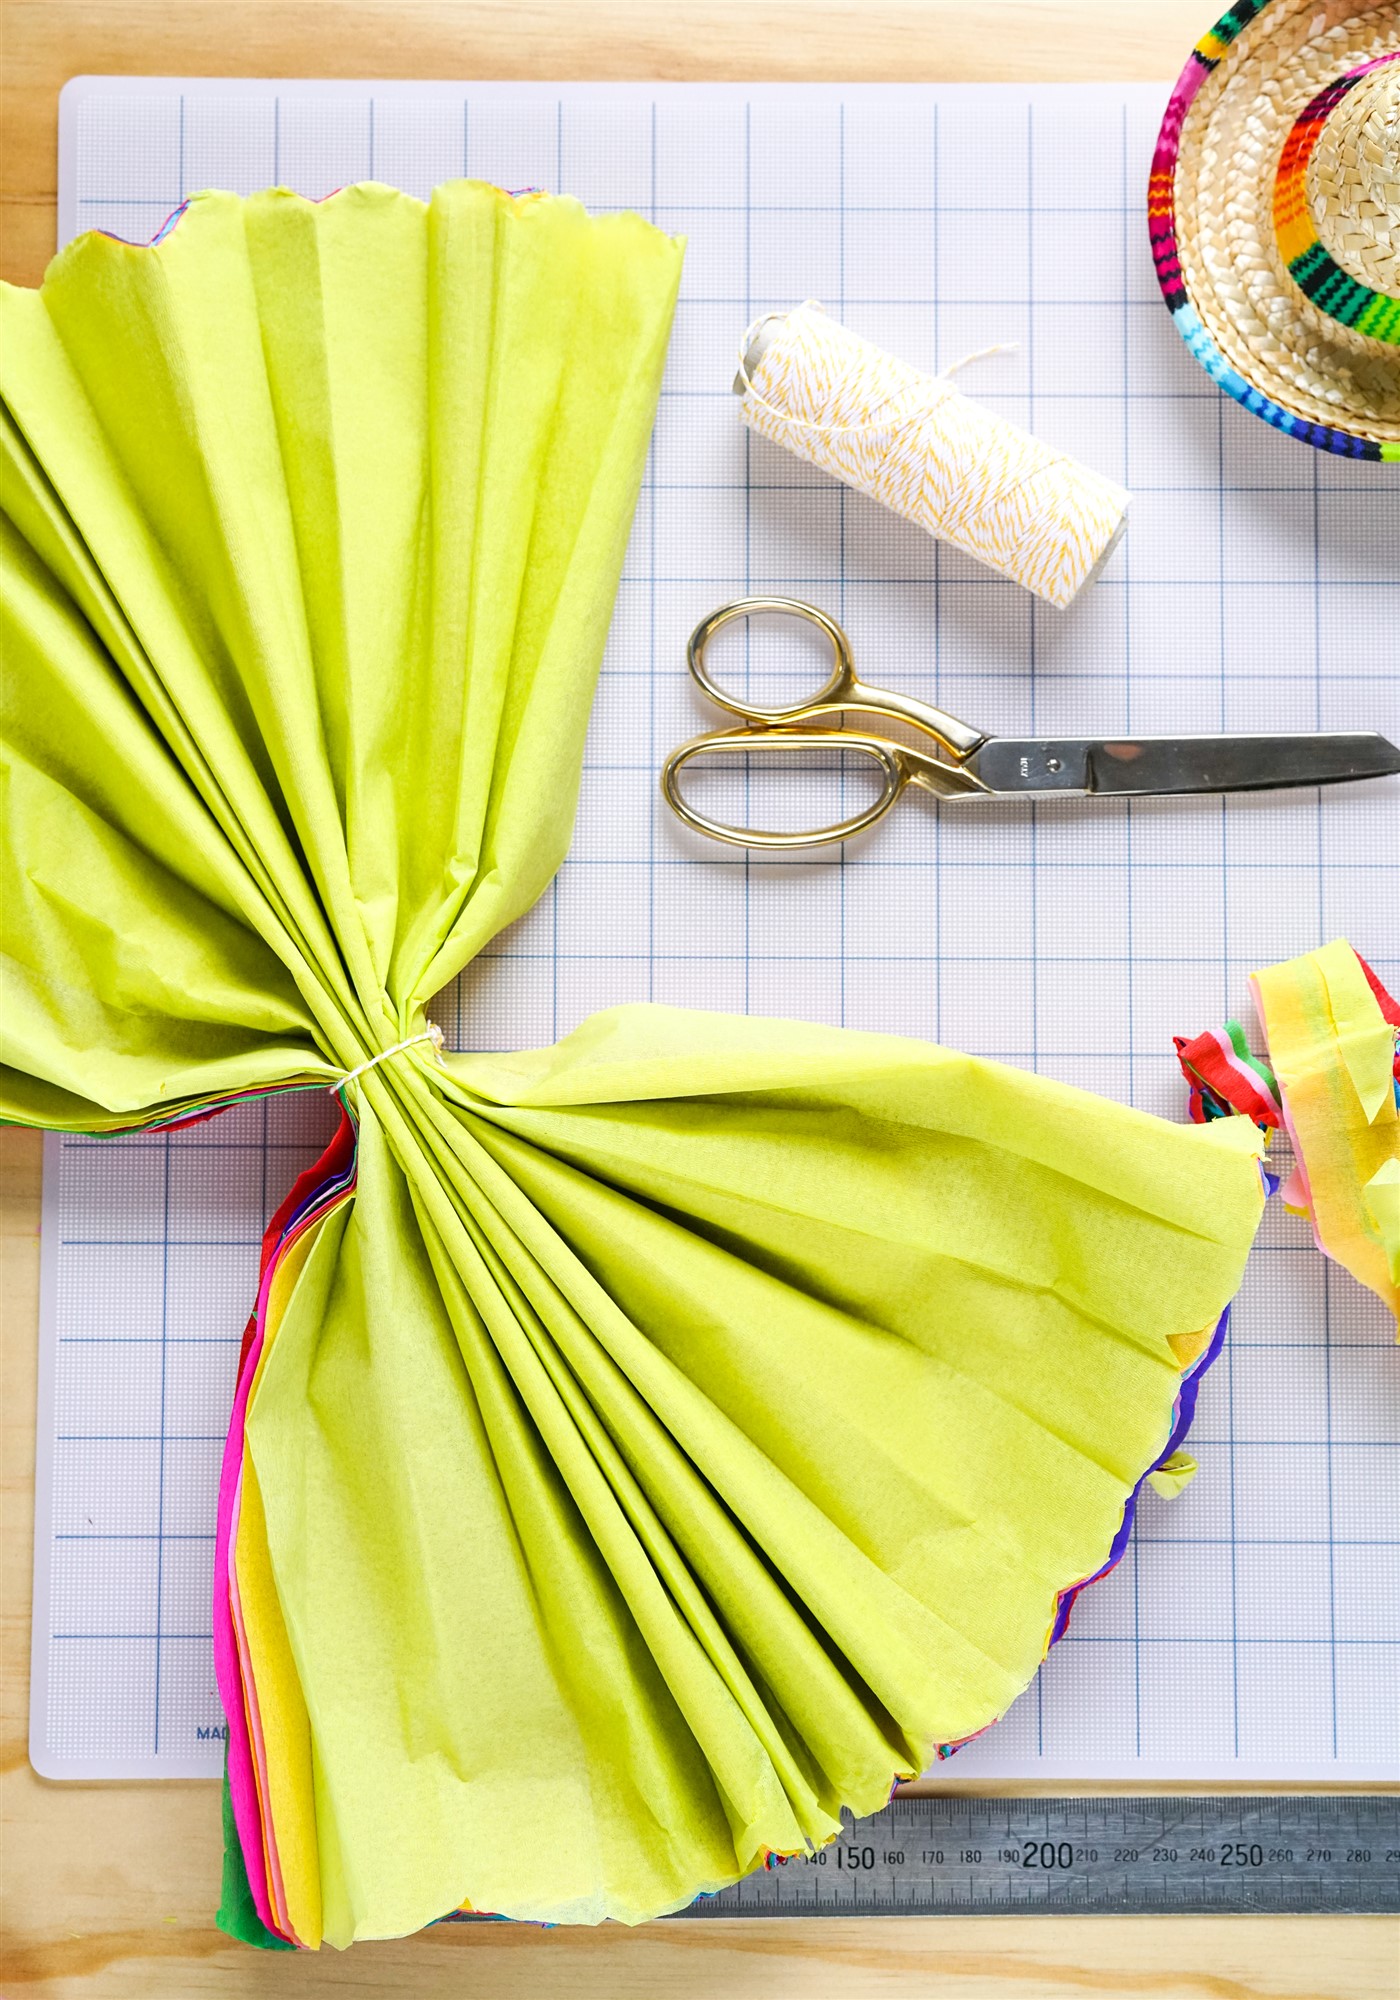
Step 3 – Tie a knot in the middle of the tissue paper, with some string.
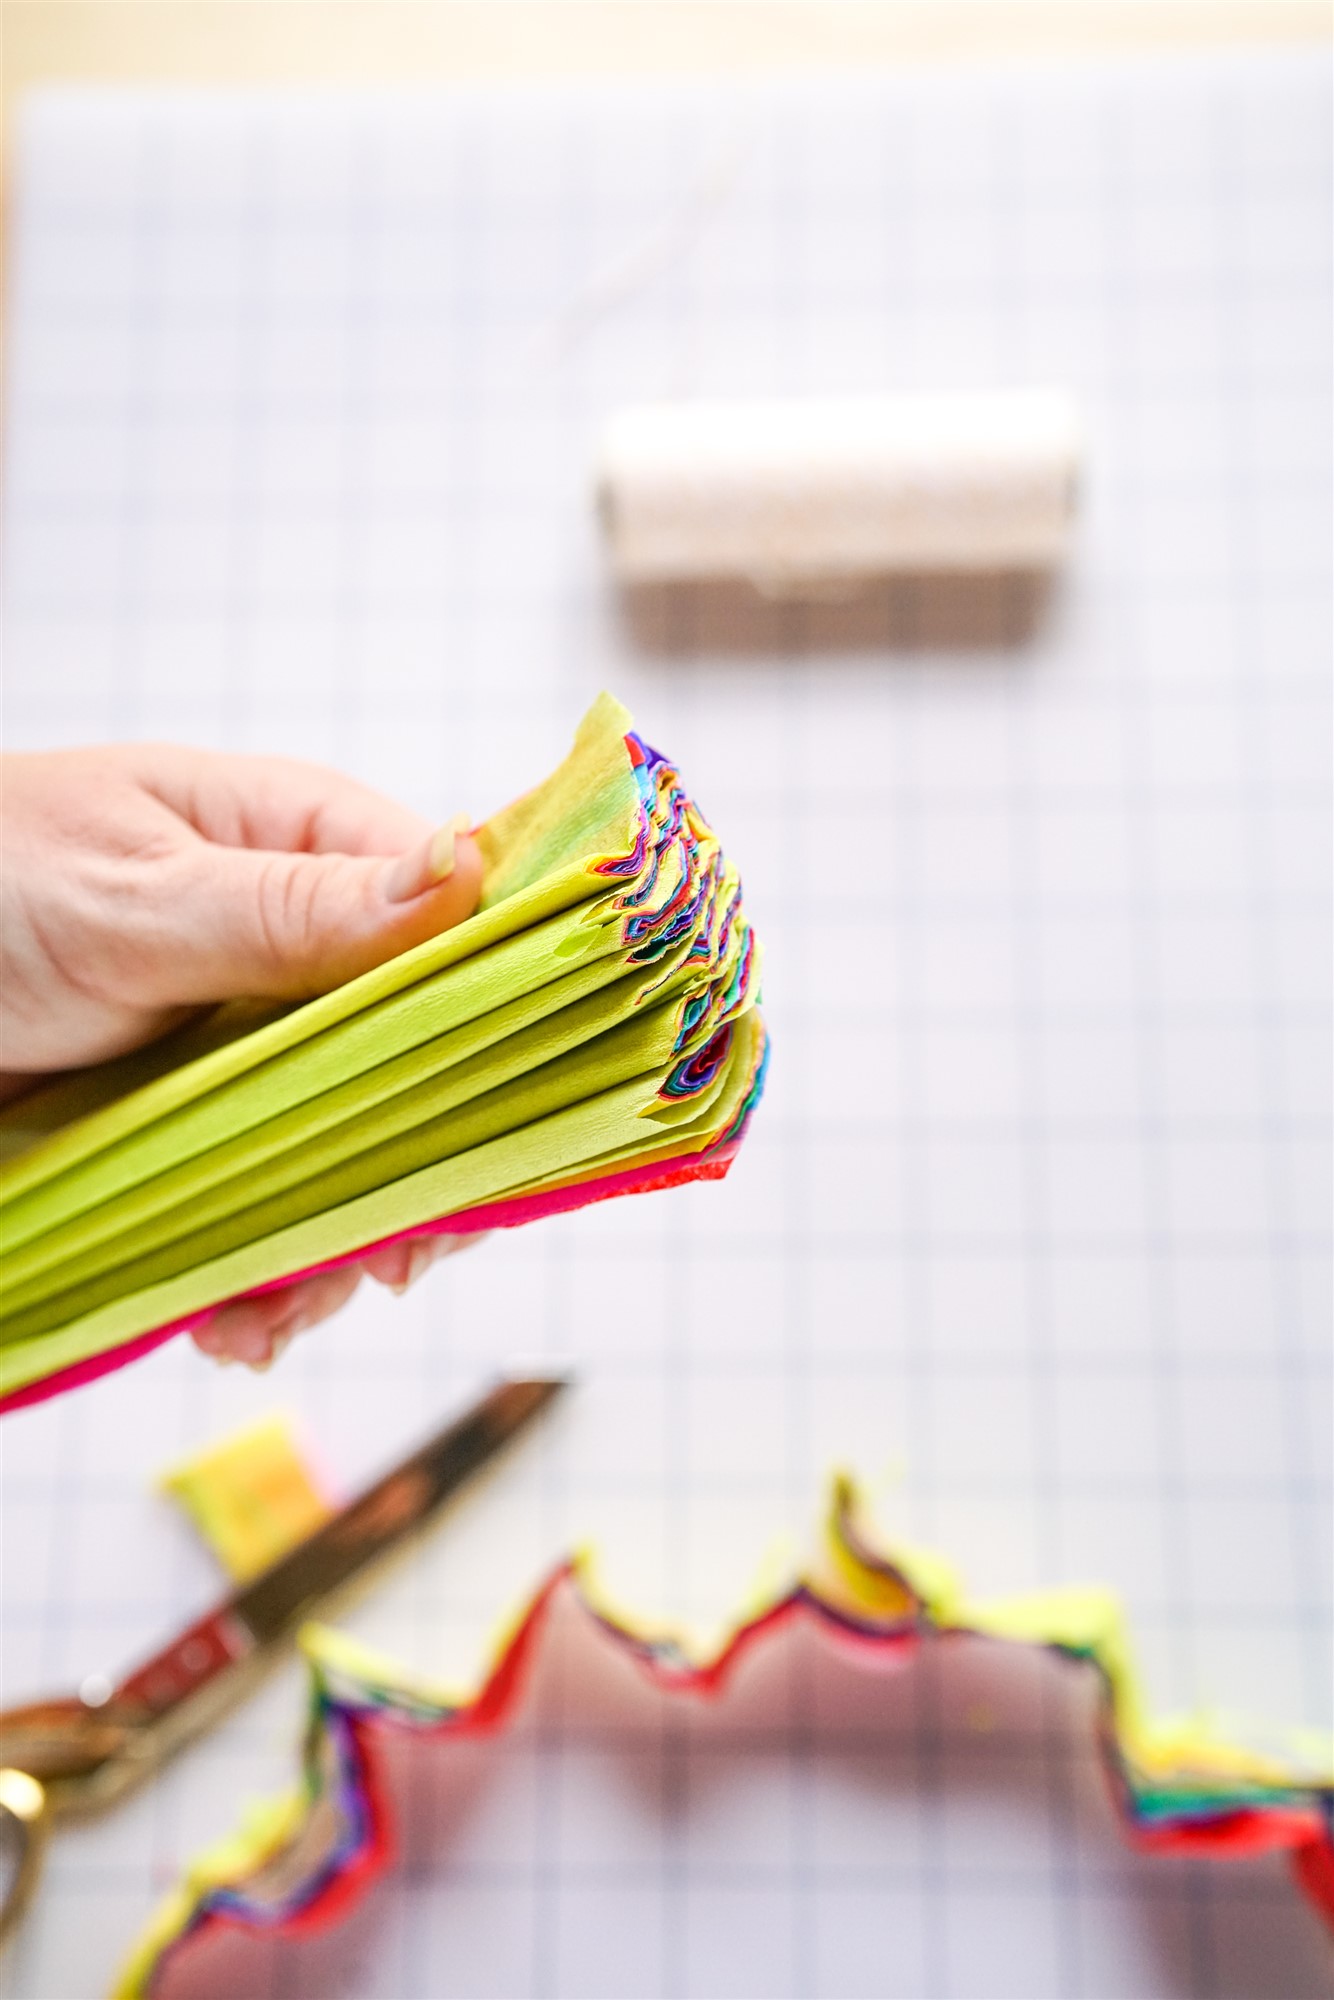
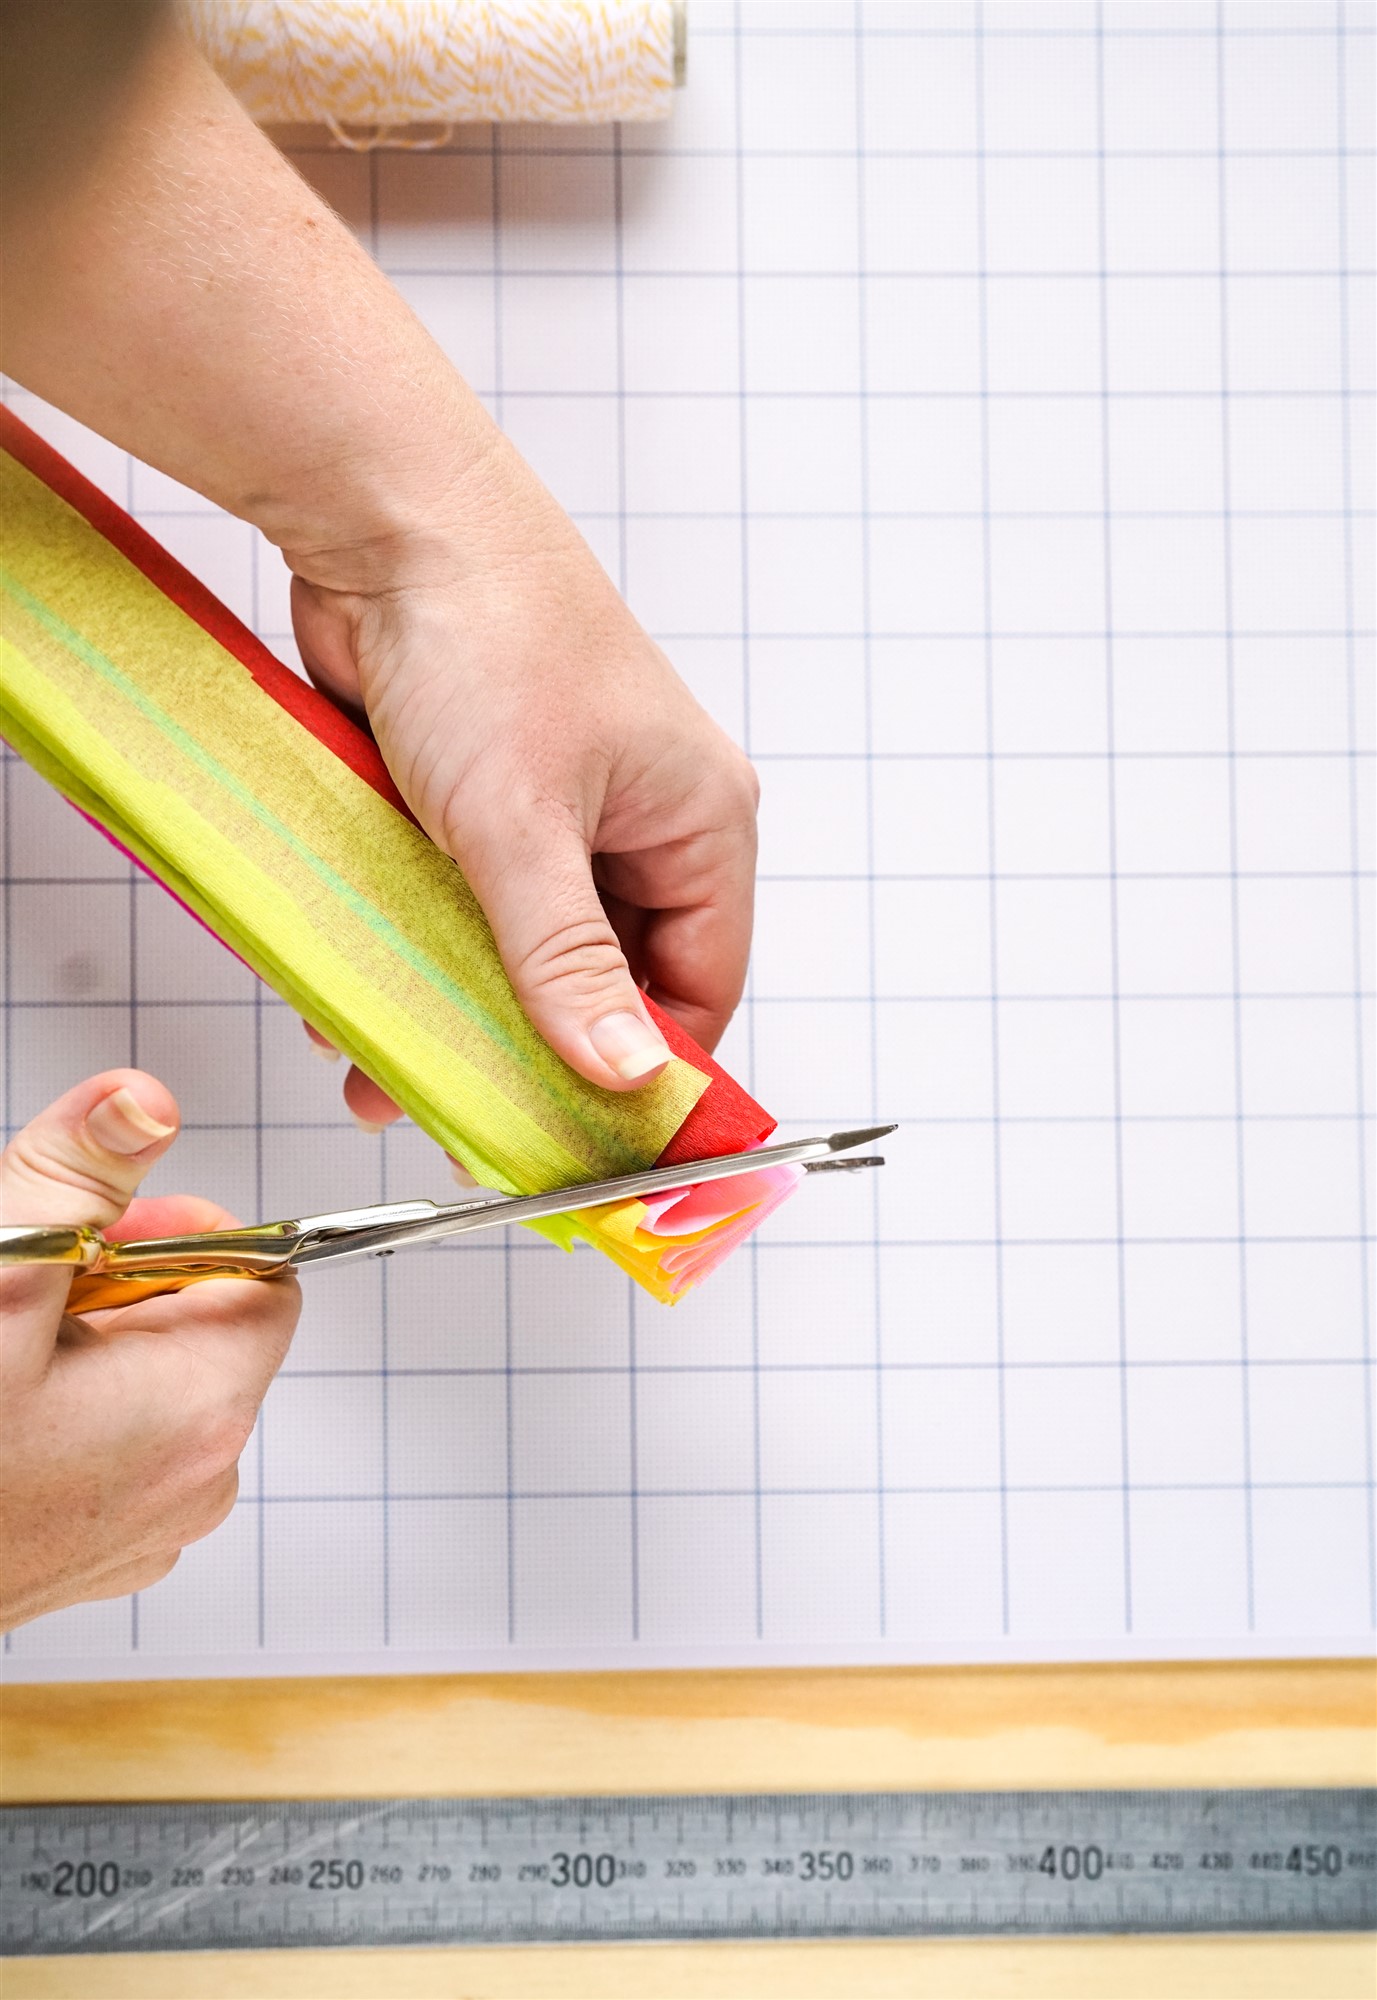
Step 4 – With scissors, trim ends of tissue into rounded or pointy shapes, we did a slanted point for this flower.
Step 5 – open out your tissue paper a little on either side of the string.
Step 6 – Fan/fluff up the pieces of tissue paper one at a time until raised and looking like a Fiesta Flower.
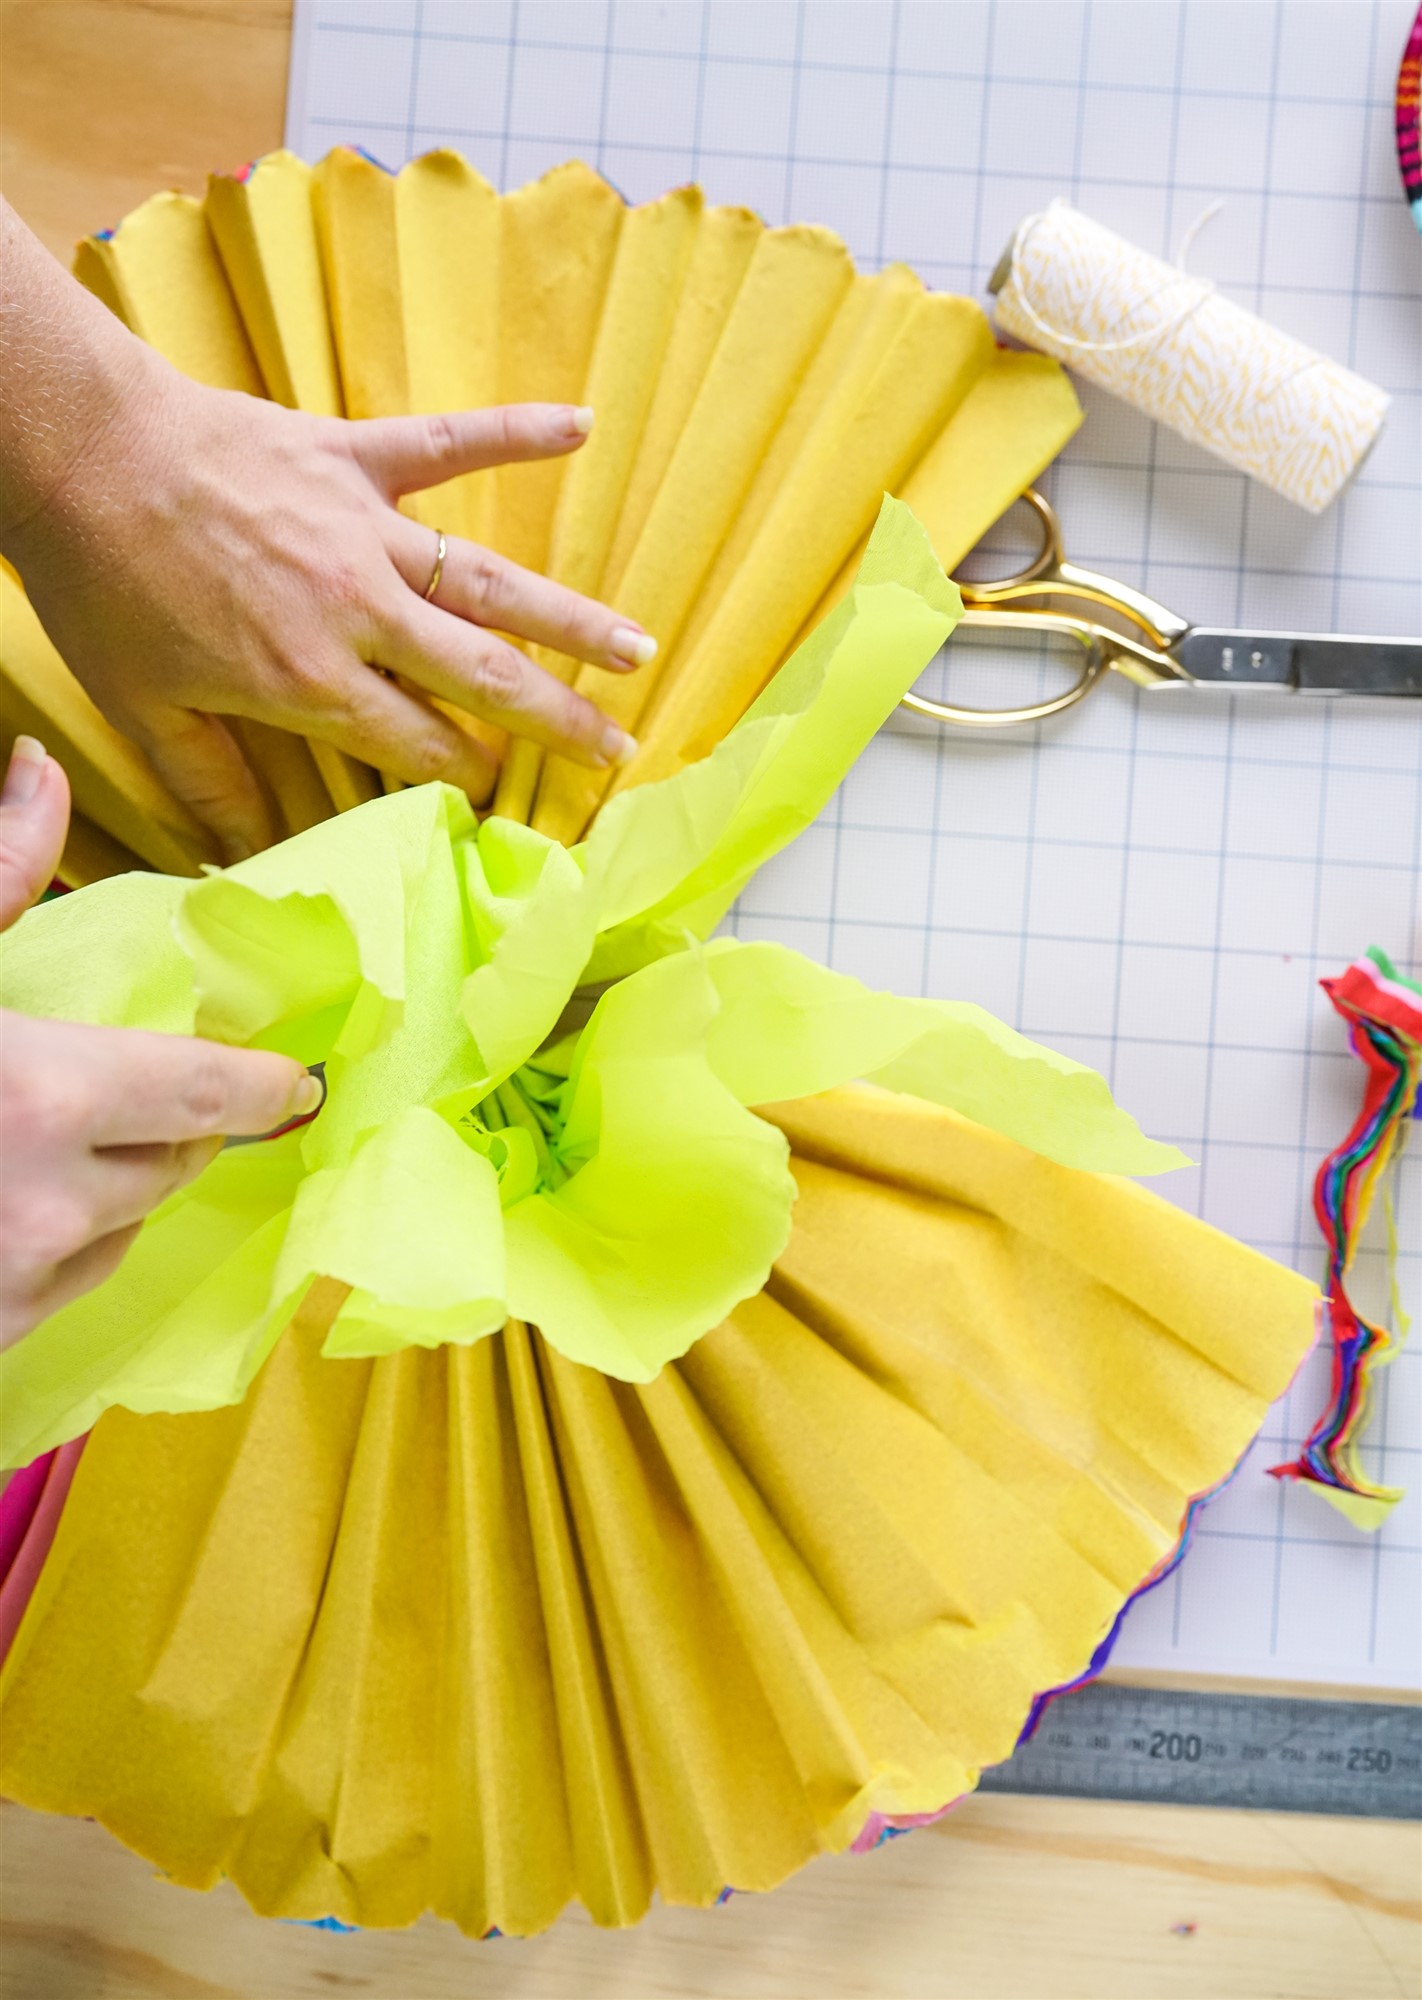
Step 7 – Keep going, piece by piece until your flower is in full bloom!

Step 8 – Affix your beautiful flower to the wall with blu tack, as it is very lightweight.
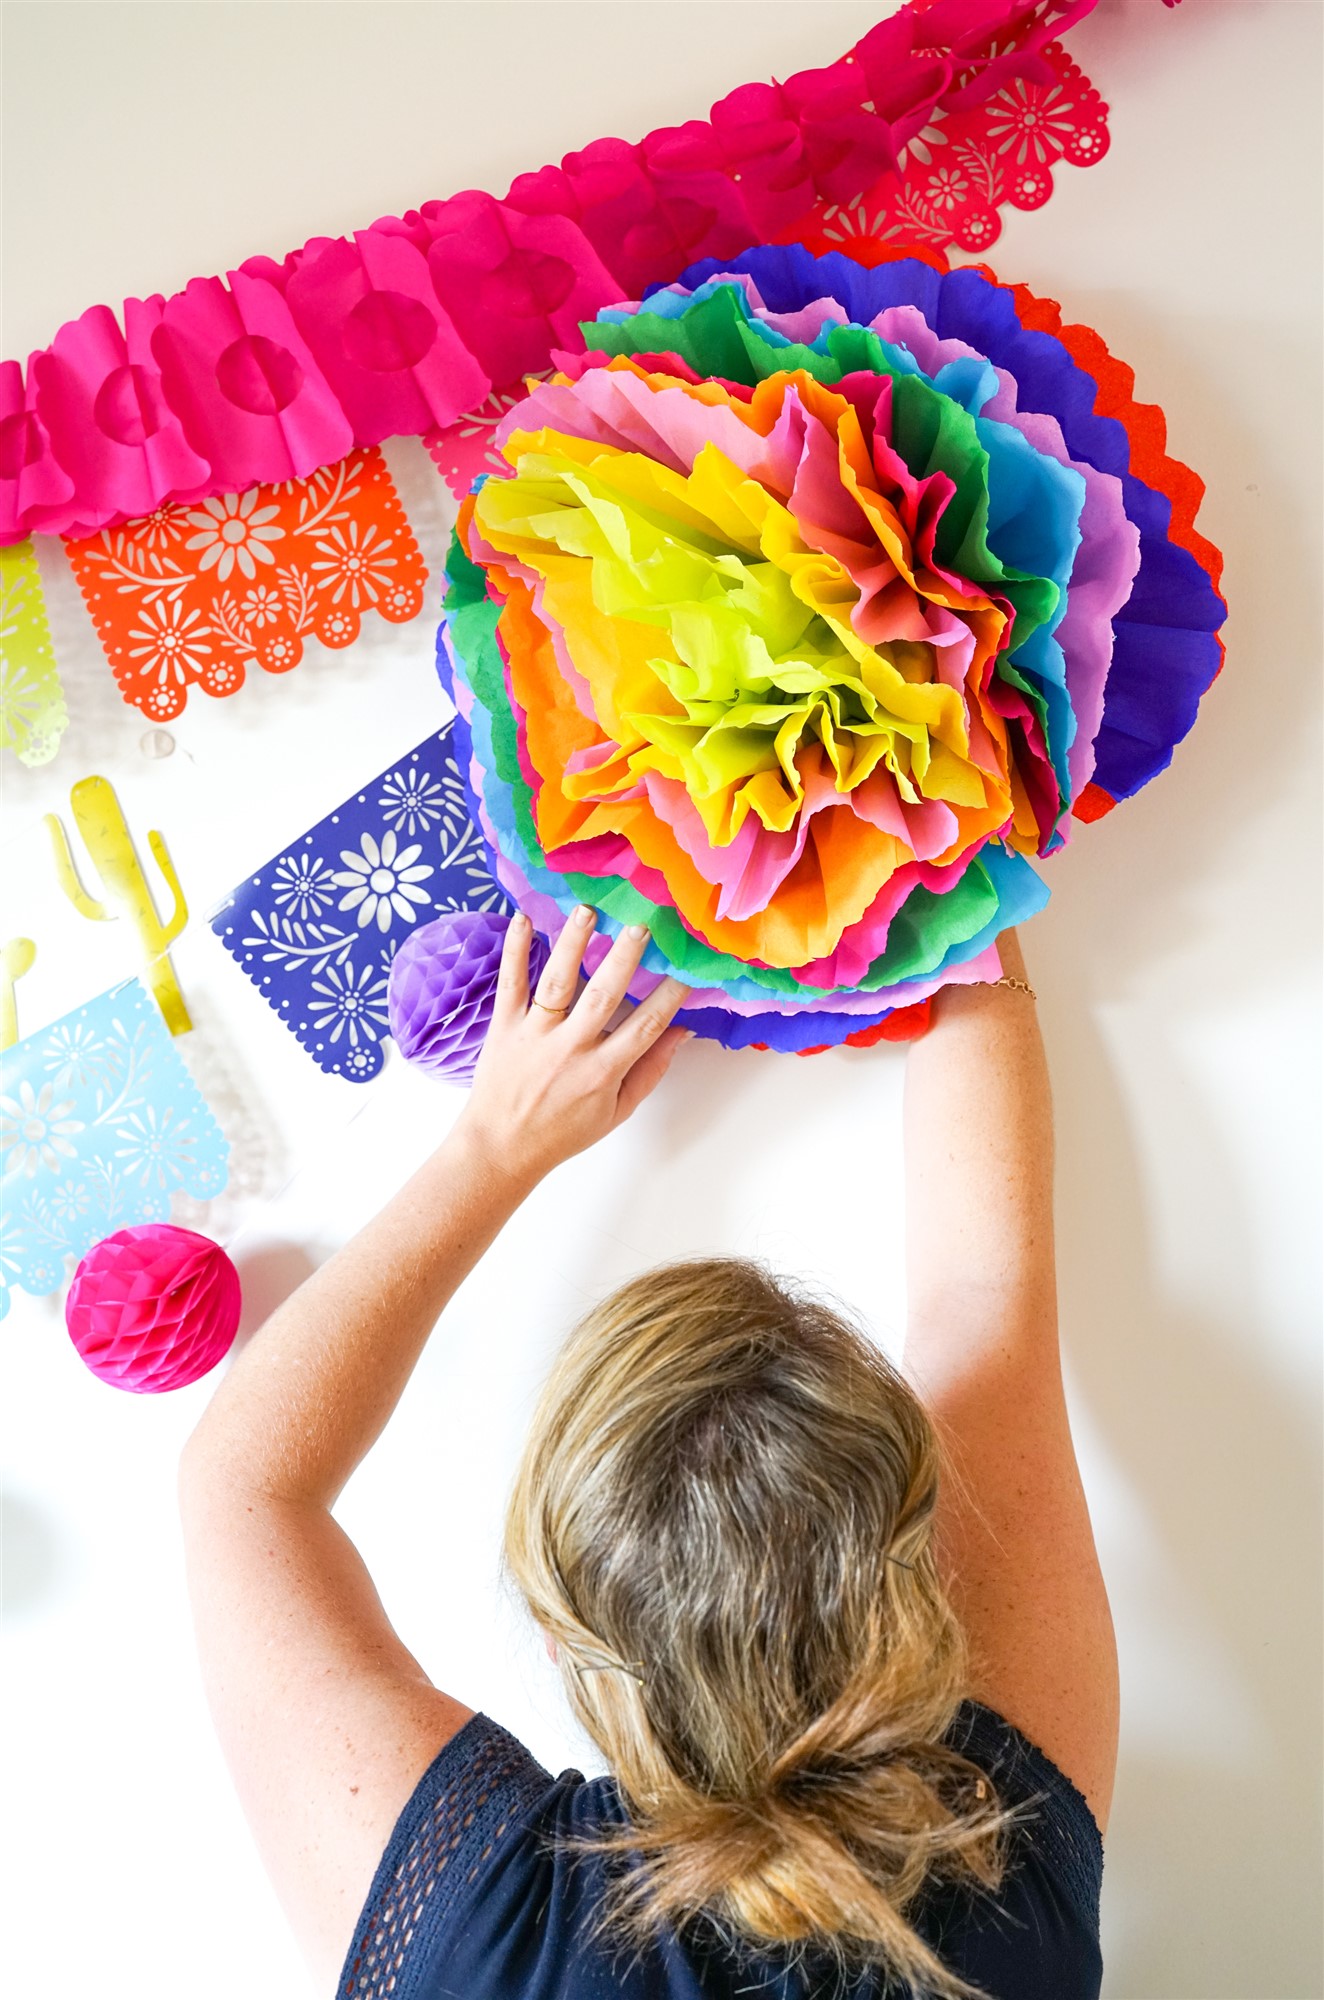
Enjoy the fruits of your labor! Here’s to the power of the flower!
You can adjust the size of the tissue paper to make differently-sized flowers that have many uses, such as:
- Table centrepieces
- Wall decor
- Decorating gifts
- Creating flower garlands and wreaths
- Creating flower headresses
- Hanging decor…….and loads more!
So, now you know how easy it actually is, you can go wild, and have flowers blooming at every occasion!


