I bought a Gingerbread House kit as a treat for my boys recently. It seemed like such a magical-mommy festive thing to do. I thought the kit would make the process quick and easy so we could get down to the real process of eating it. Create it, appreciate the the beauty and then eat it.
Well, I wish I had taken a picture of how it turned out. You would have laughed yourself to tears. The kit kindly came with gingerbread house panels already baked and cut, sweets for decorating and a pack of icing glue. Now, if there is one thing I have learnt about assembling a Gingerbread House, it is fruitless, hopeless, ineffective, unrewarding and unproductive and I repeat unproductive to ever, EVER, e-v-e-r attempt to glue a Gingerbread House together with a mix of icing sugar and water. Nuh Uh! No. Walk away from the kit if they give you that glue. Just walk away.
They gave me that glue and it does not work. Perhaps if you built scaffolding around the house, it will remain upright until you eat it. But we want to build scaffolding, right?
Frustrated that I wasted money on a Gingerbread Kit with ineffectual, pasty glue, I decided to give you the entire step-by-step process of creating a Gingerbread House from scratch without the need of permanent scaffolding. So, I enlisted my dear friend and colleague Catherine who knows all the tricks of making a Gingerbread House. She makes them every Christmas, usually 3 at a time. I know.
“The secret is always in the glue Lou. Without the right glue, you will want to stick pins in your eyes”.
Yes! I Knooooooowwww!
So whilst I took photos and did quality control of the gingerbread batter, Cath showed me exactly how to make a Gingerbread House. By the way – you a-l-w-a-y-s want to make glue with caster sugar. You literally just melt caster sugar into a golden sticky liquid form. This is the only effective and edible way to stick your Gingerbread House together, I really just want to be clear on that because I don’t want you to have to stick pins in your eyes.
The entire process should take about 2 hours 45 minutes – I have added extra time just to be safe BUT having said that you make take longer depending on the intricacy of your decorations.
Firstly, download this Gingerbread House template, print onto thin cardboard and cut out the pieces. You will use these later to trace around when cutting out dough.
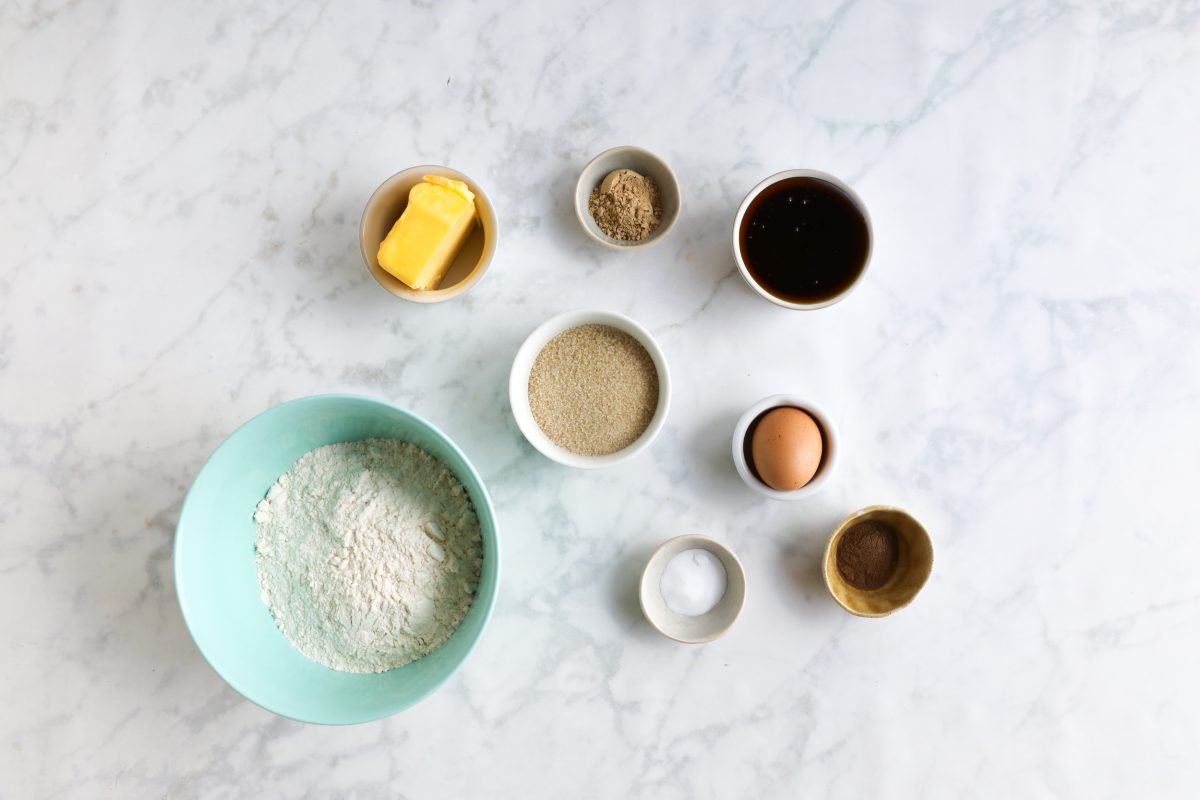
Next, gather your Gingerbread House ingredients.
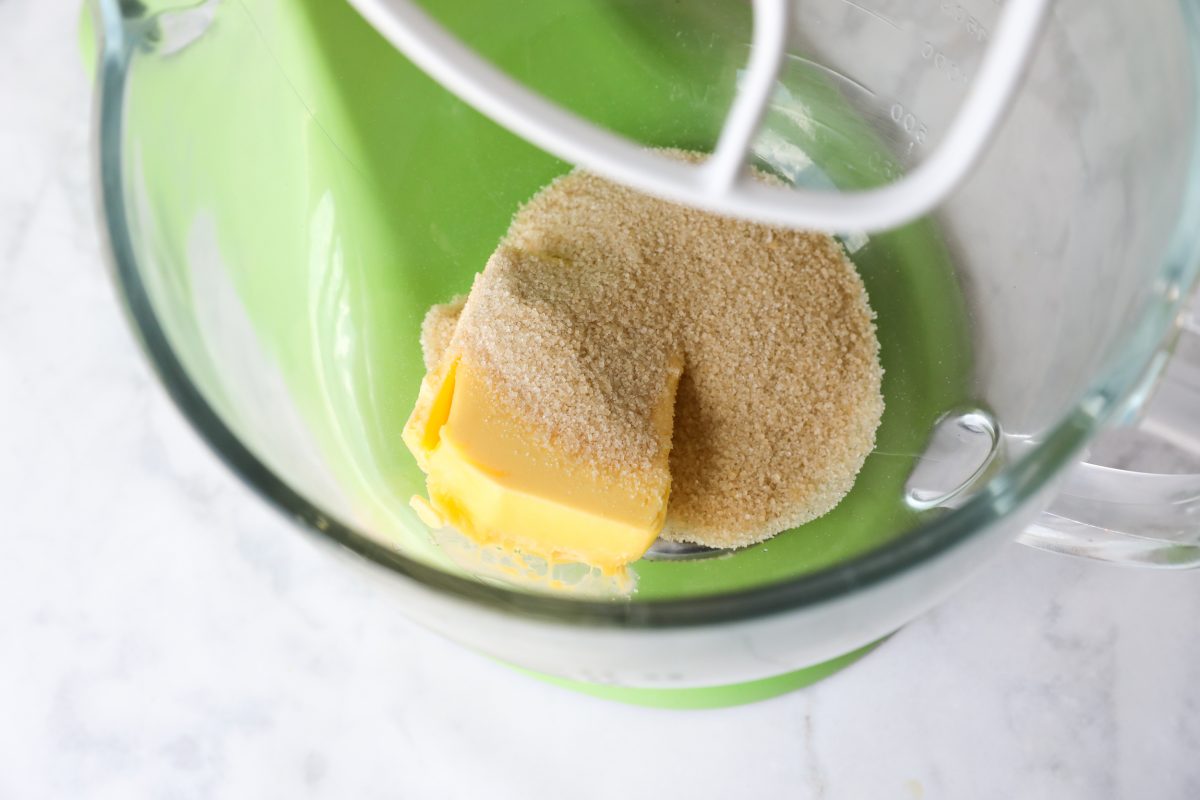
Add the butter and sugar to a mixer
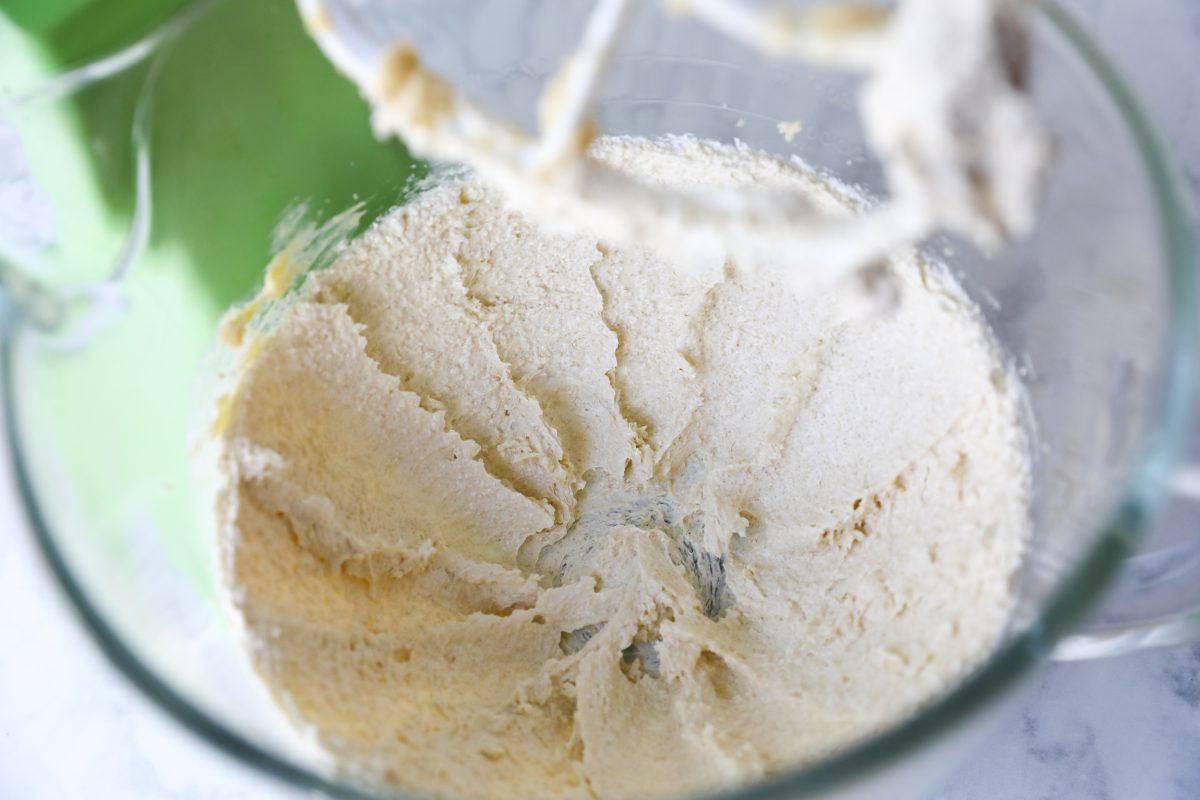
Mix until light and creamy
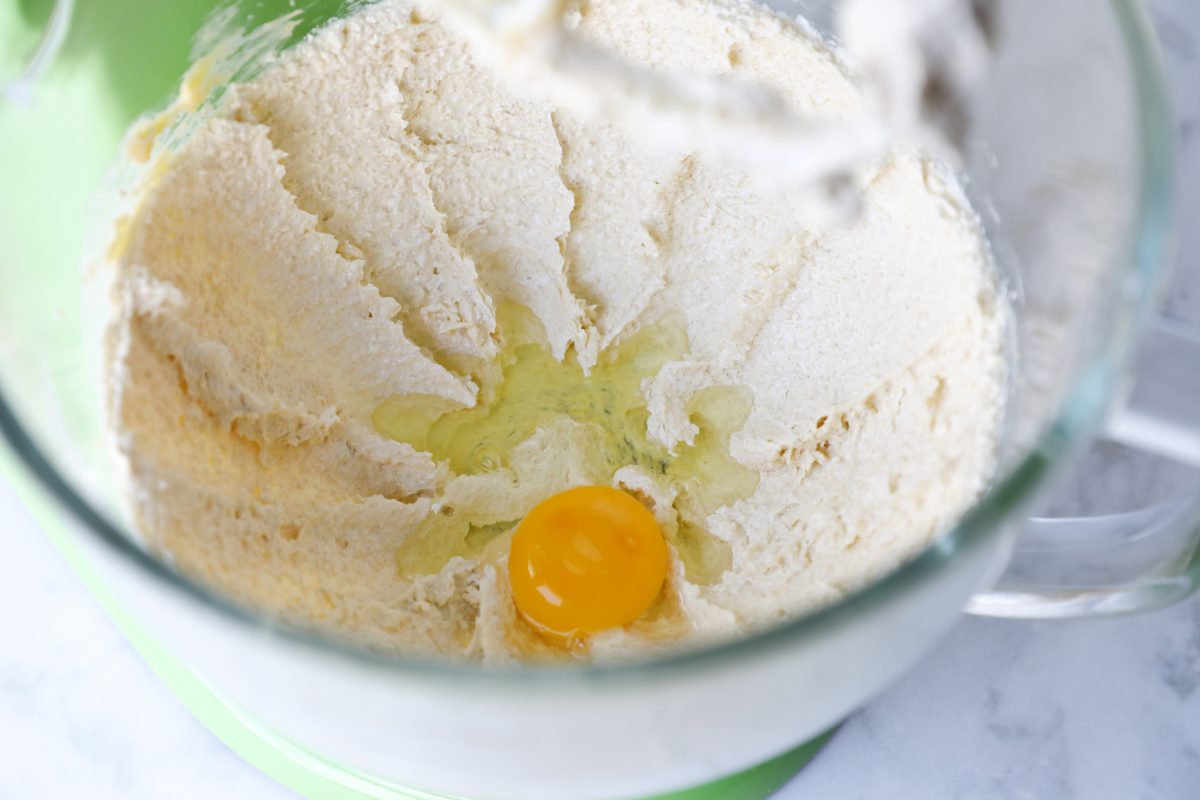
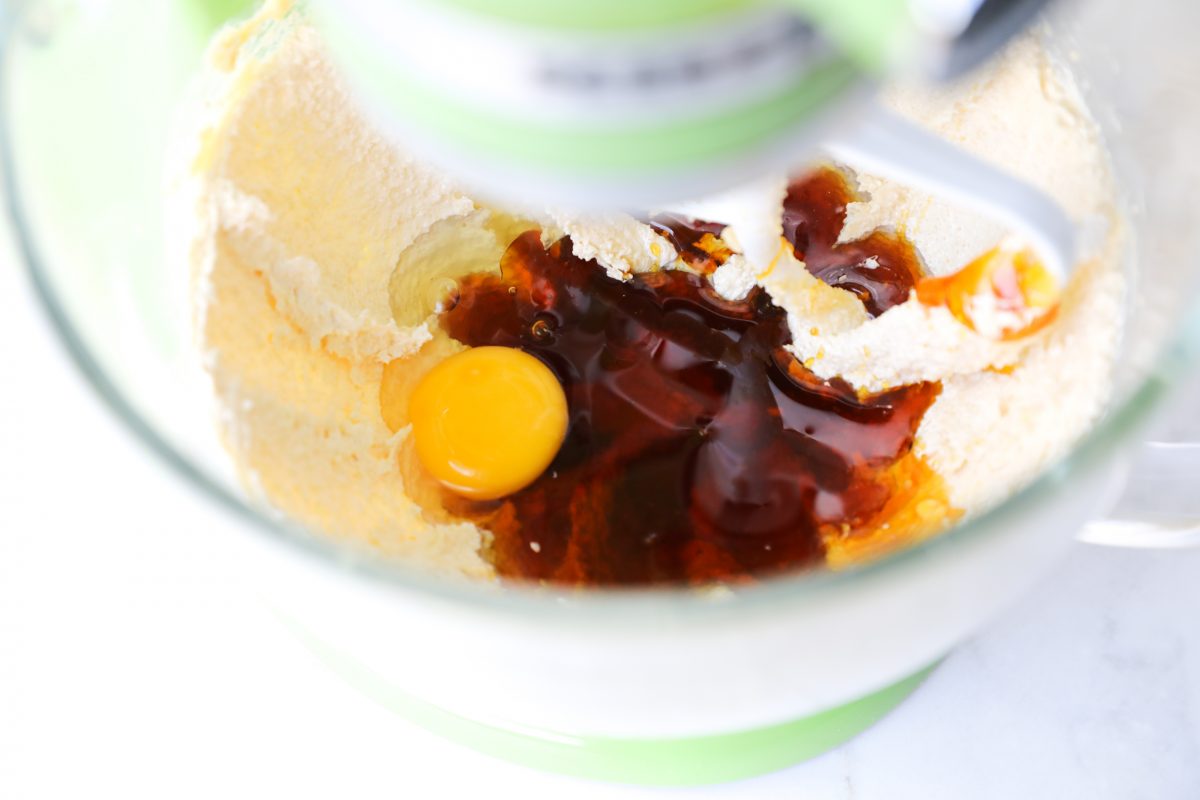
Add the egg
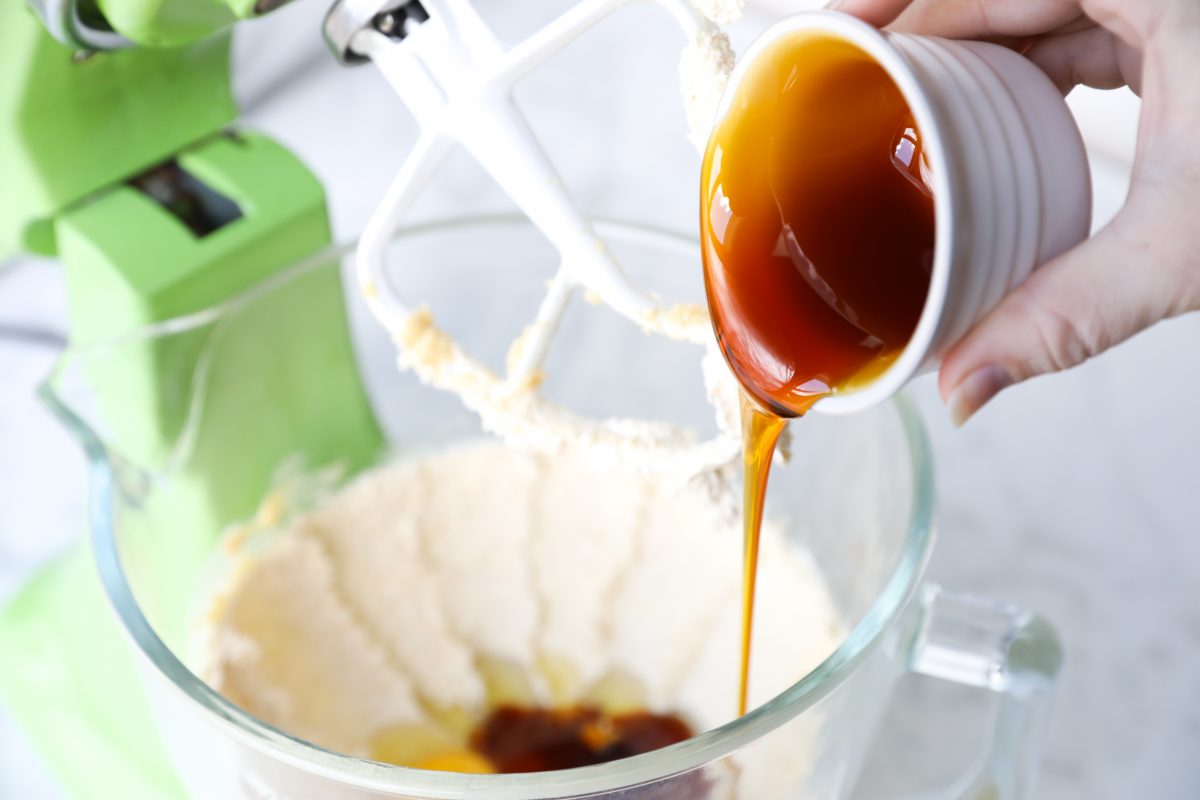
Add the syrup
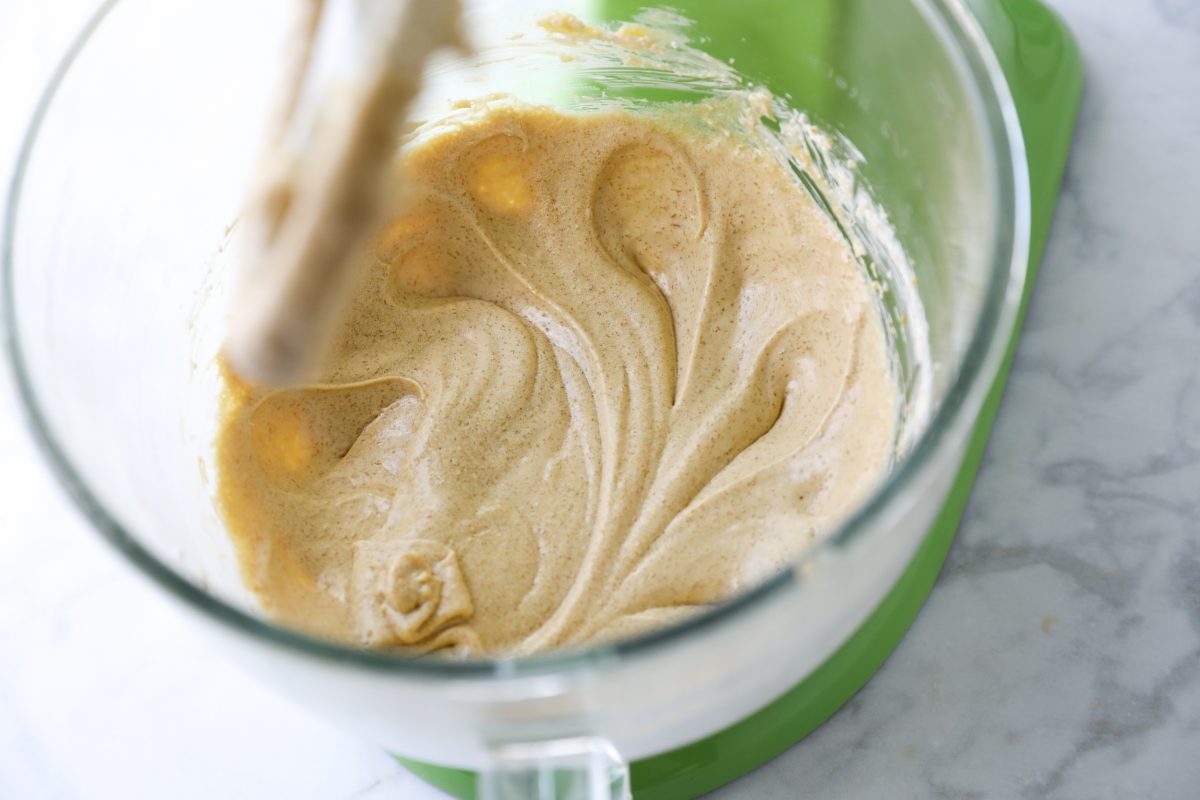
Now mix together…
Until well combined
Now add the remaining dry ingredients
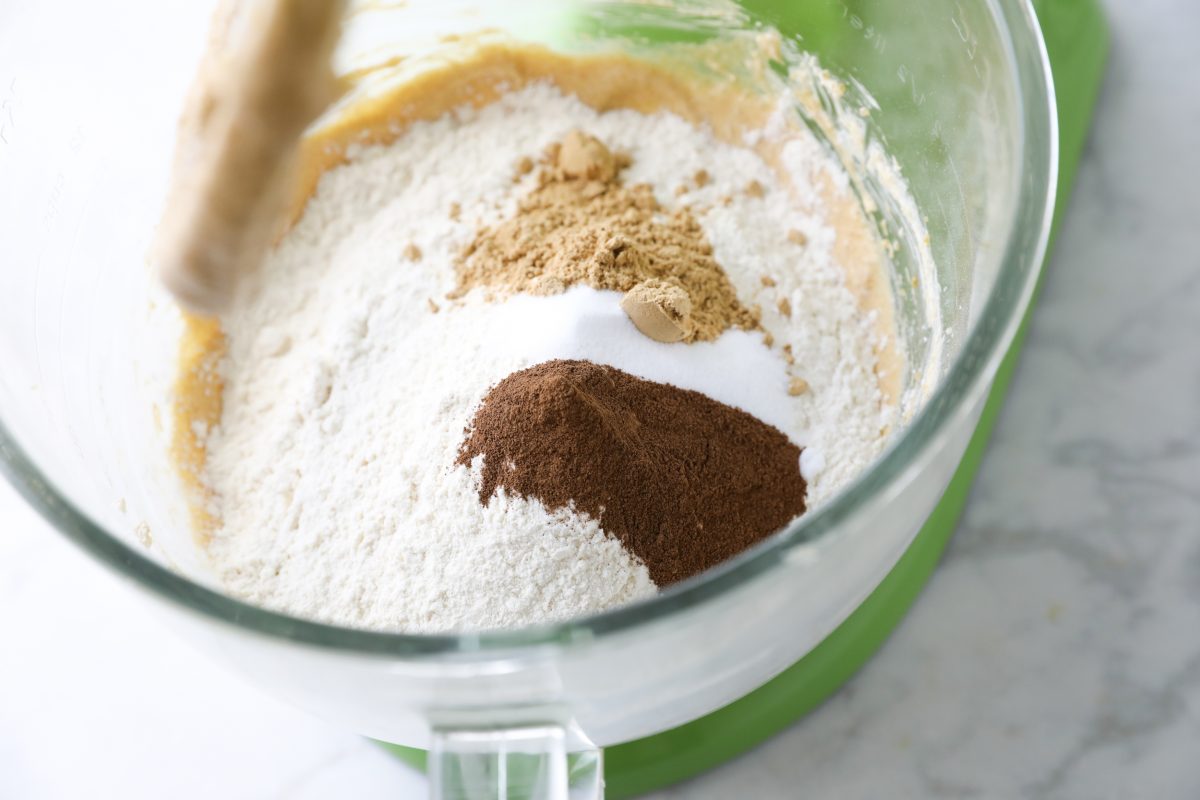
And mix together until a dough forms
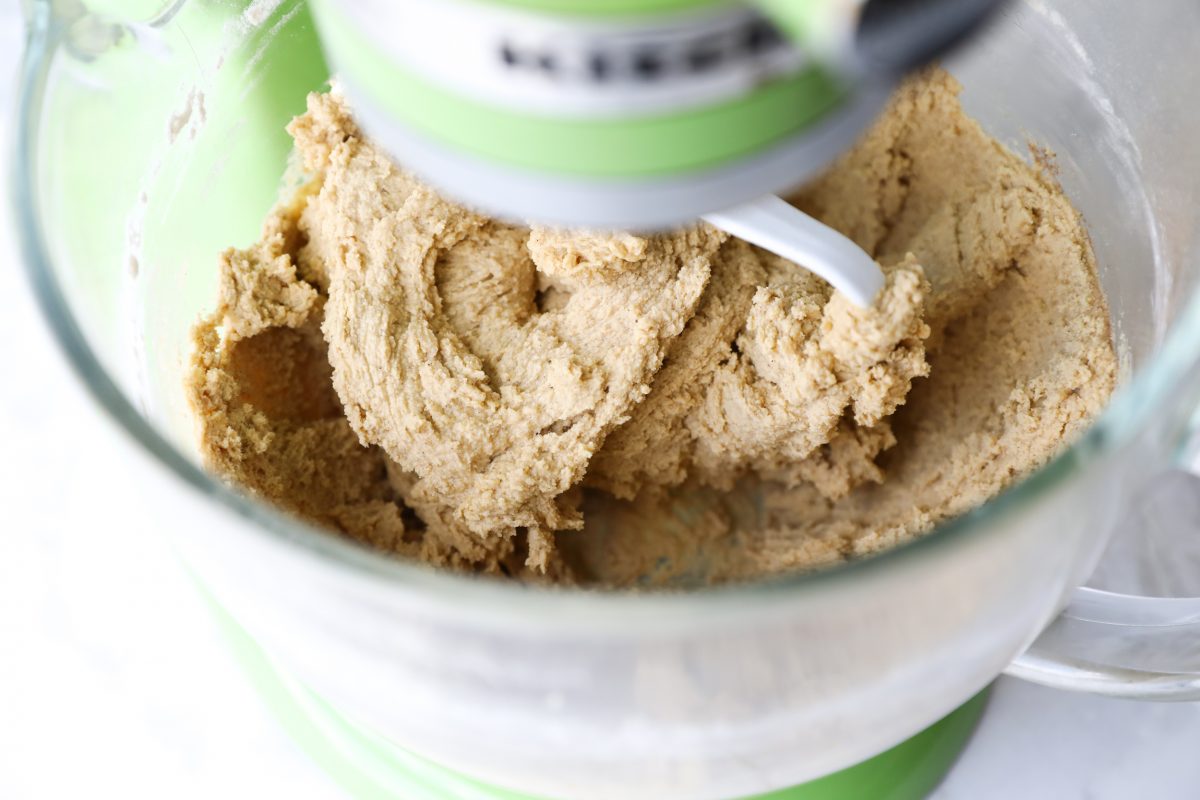
Go ahead give it a taste – it’s called quality control.
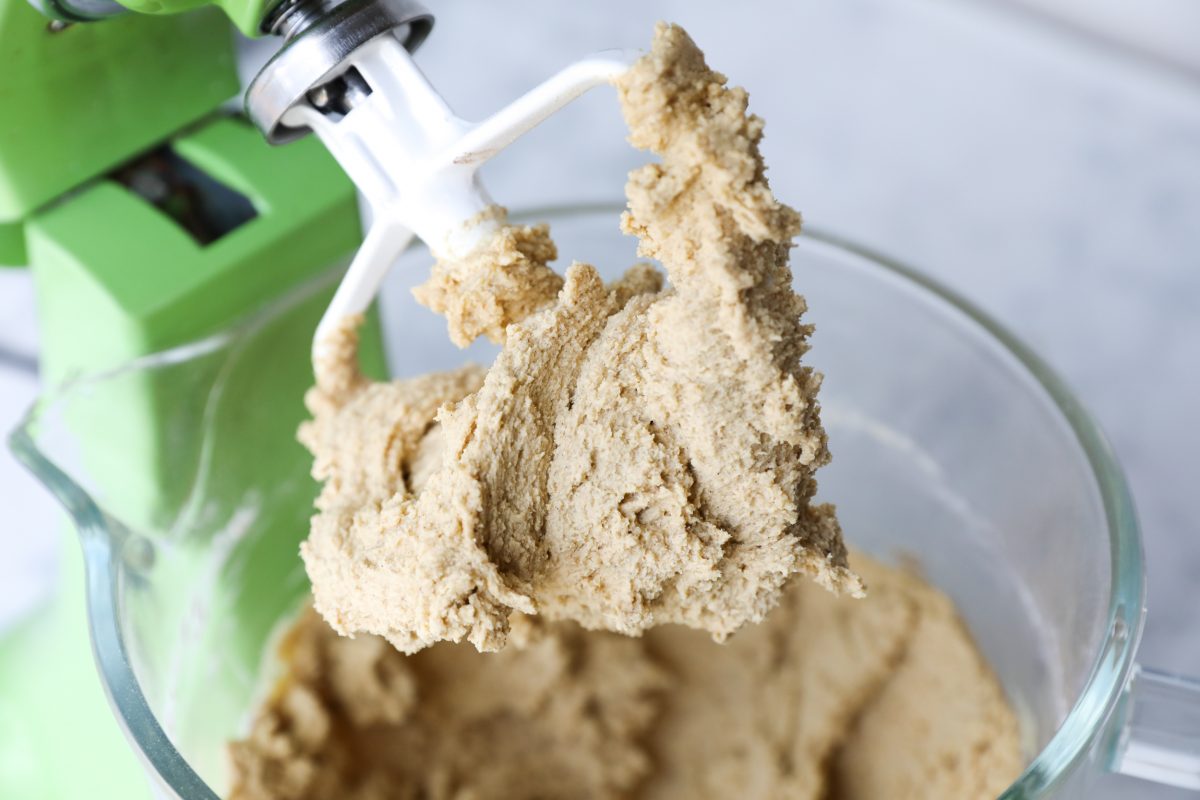
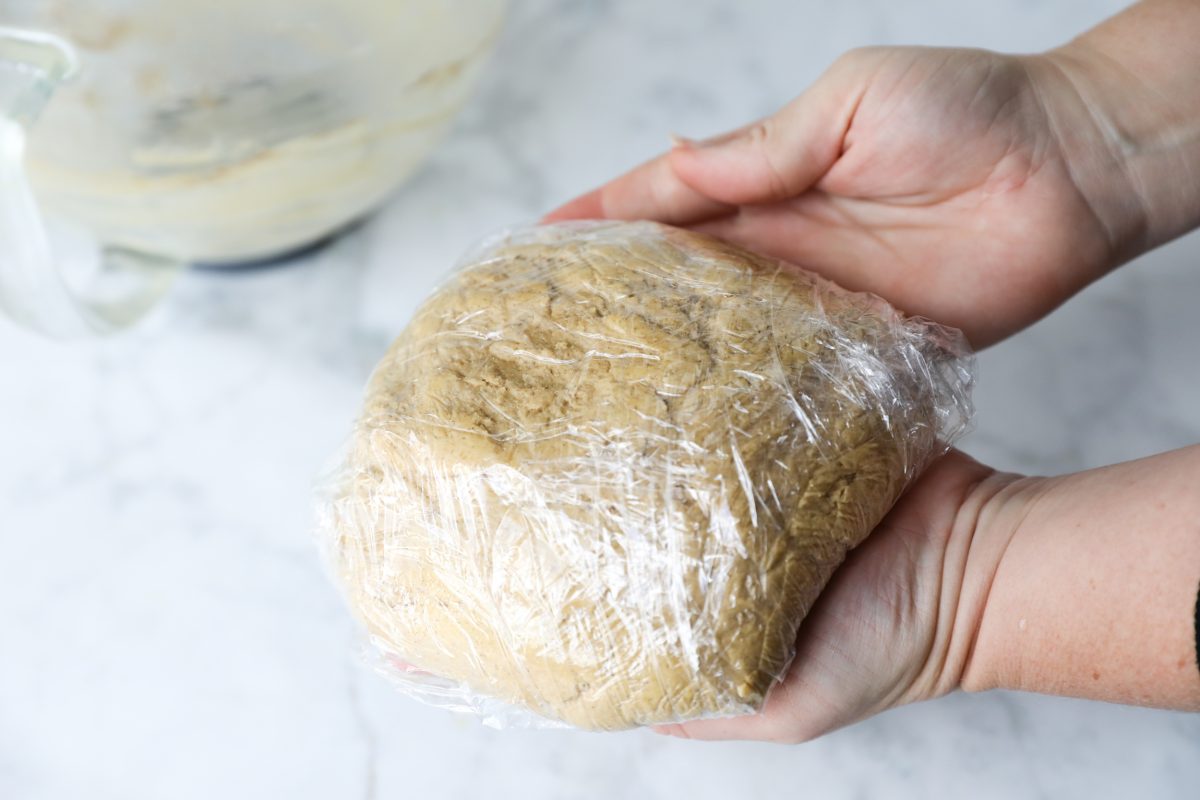
Take it out the mixing bowl
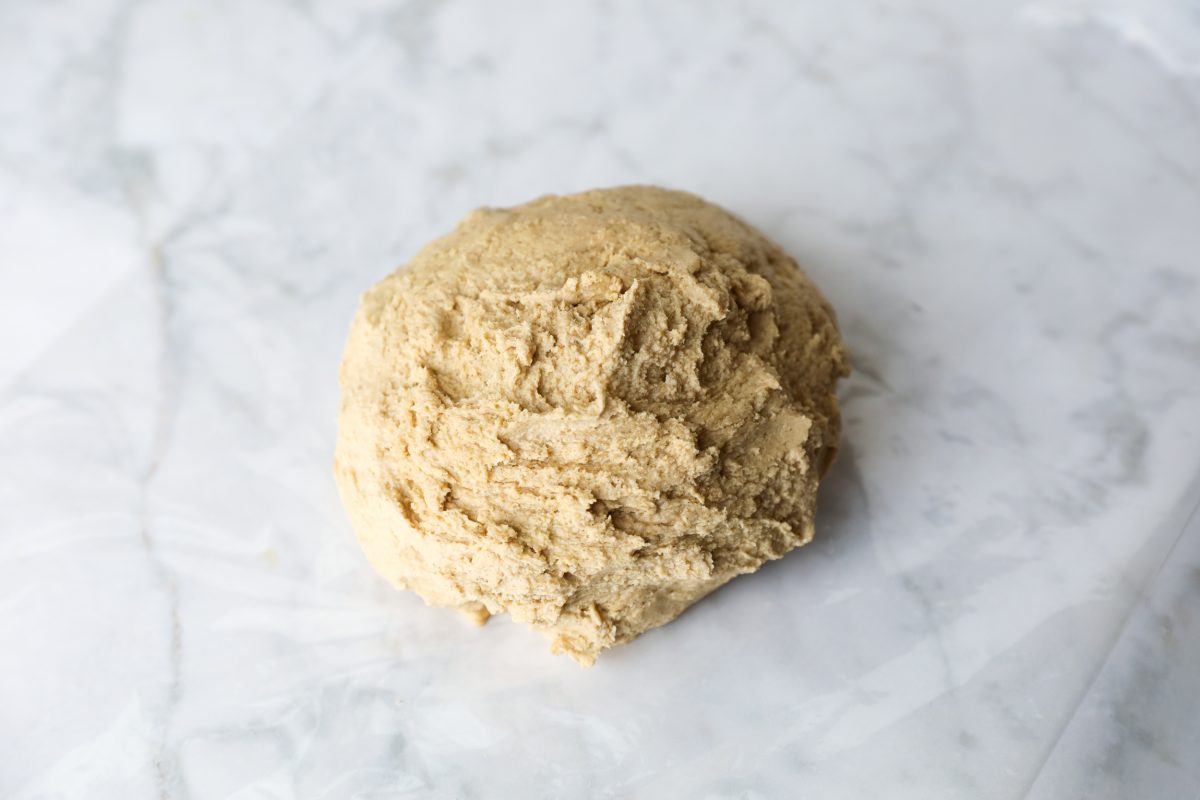
Cover in plastic wrap and place in the fridge for 30 minutes – you don’t want to work with sticky dough and chilling it slightly makes it much easier to roll and cut.
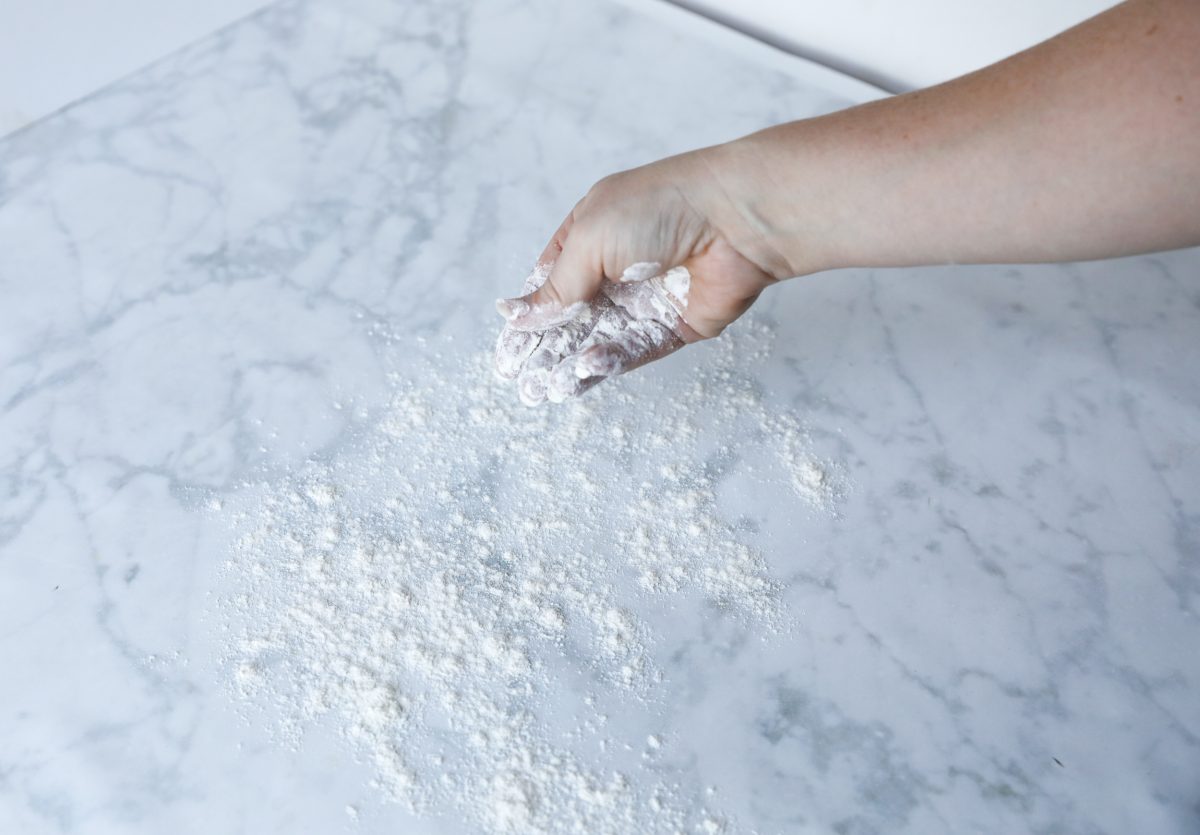
After chilling, lightly flour your work surface
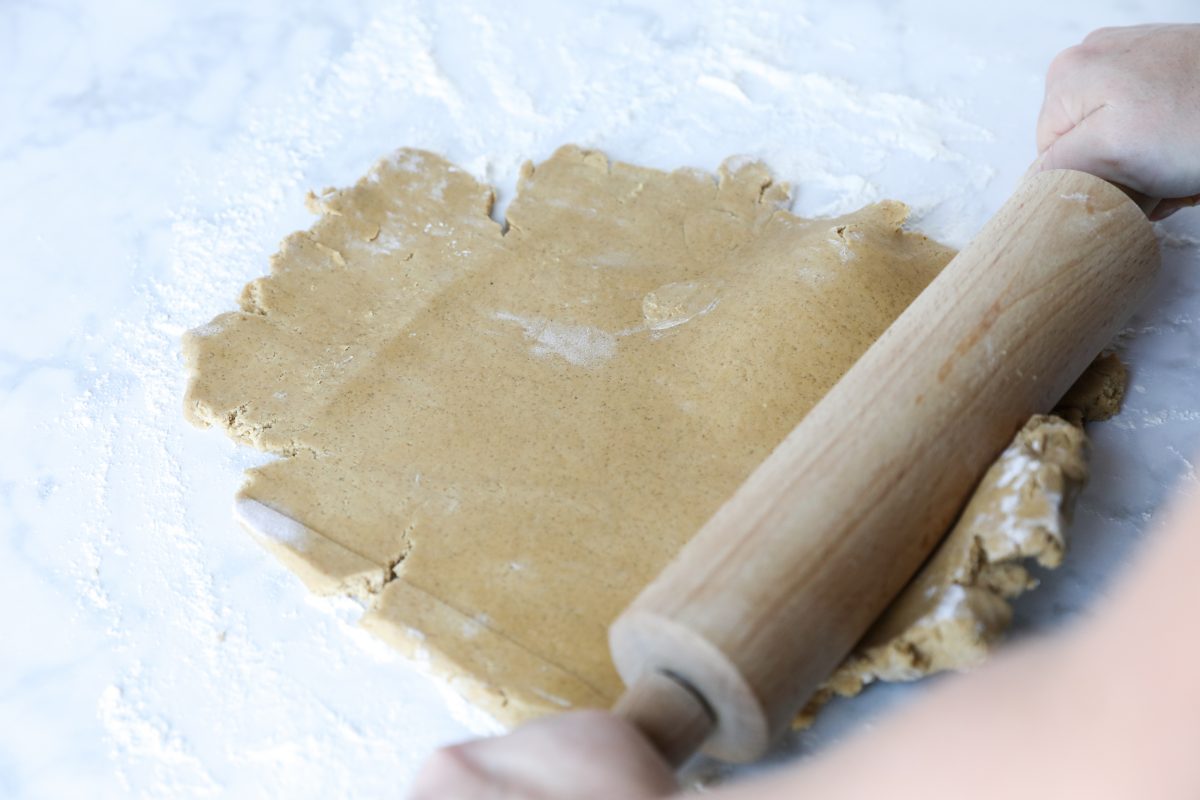
Roll out the dough to about half a centimetre but not thinner than that.
Preheat your oven to 180°C.
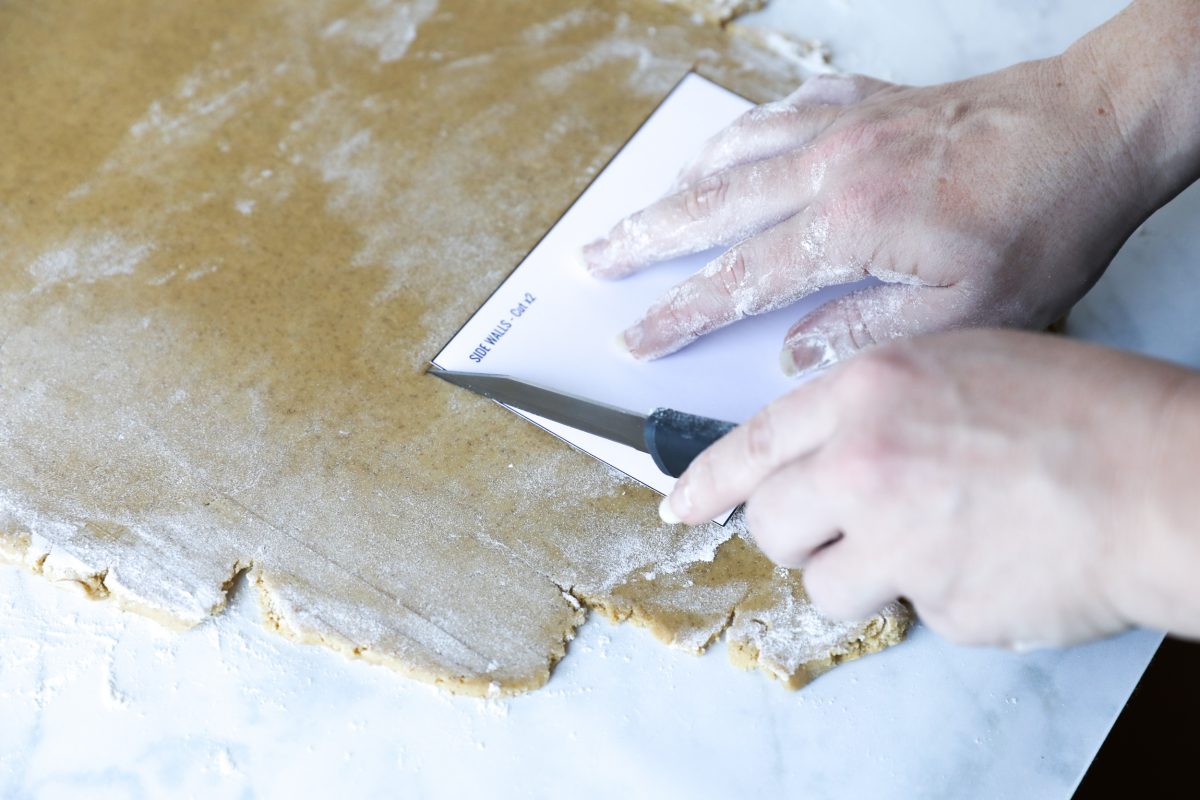
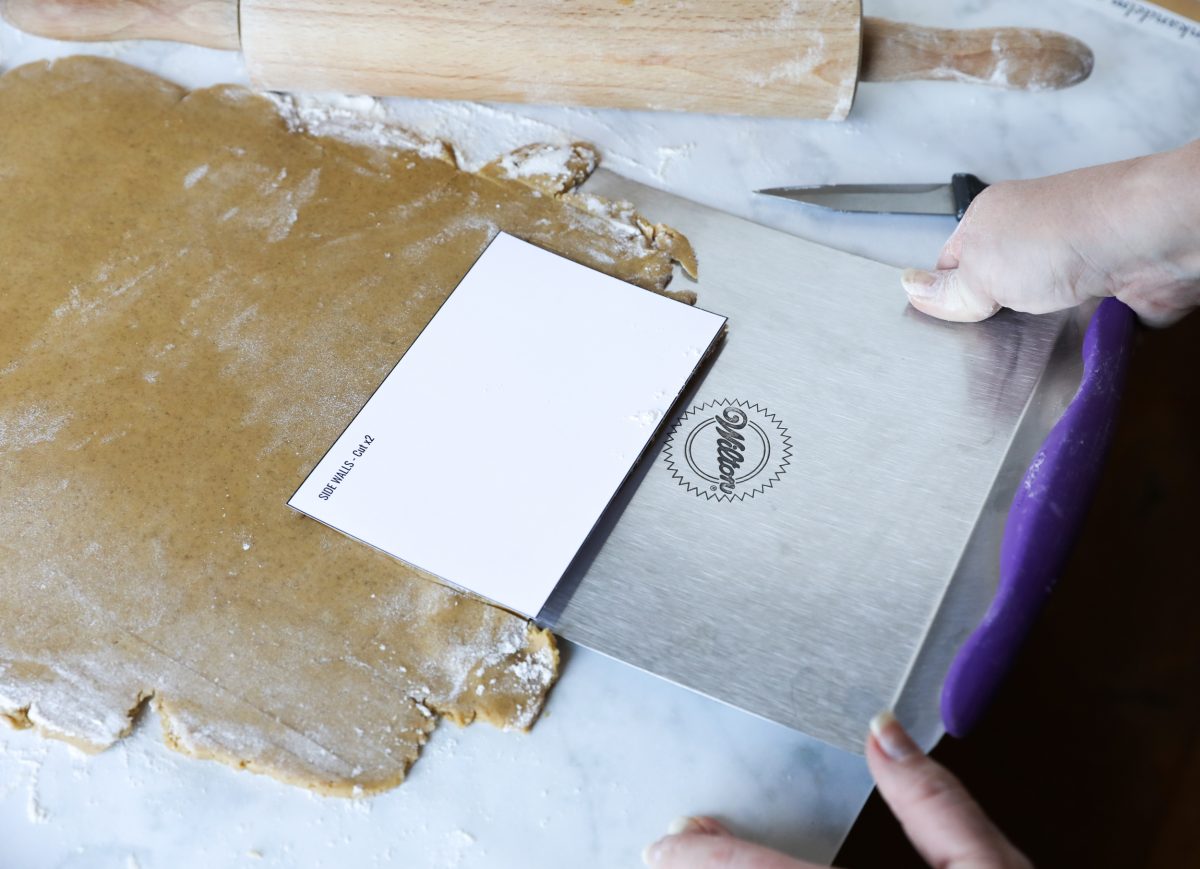
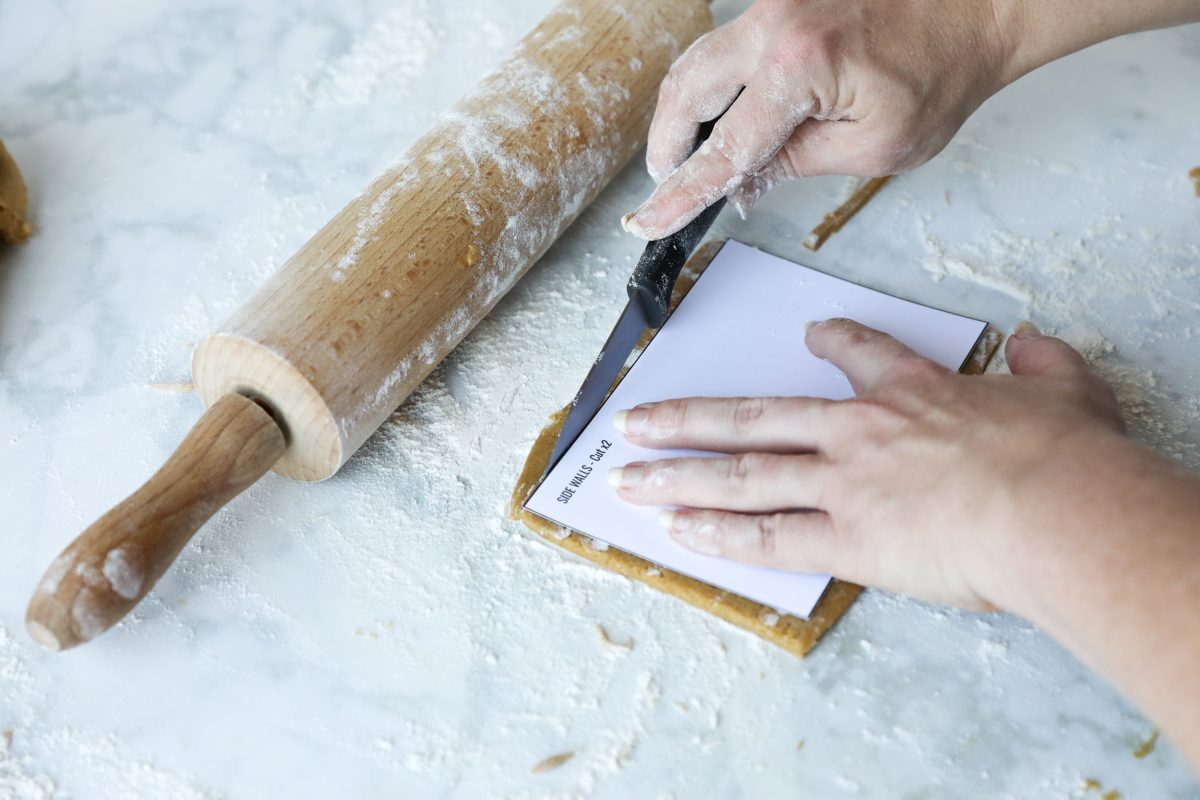
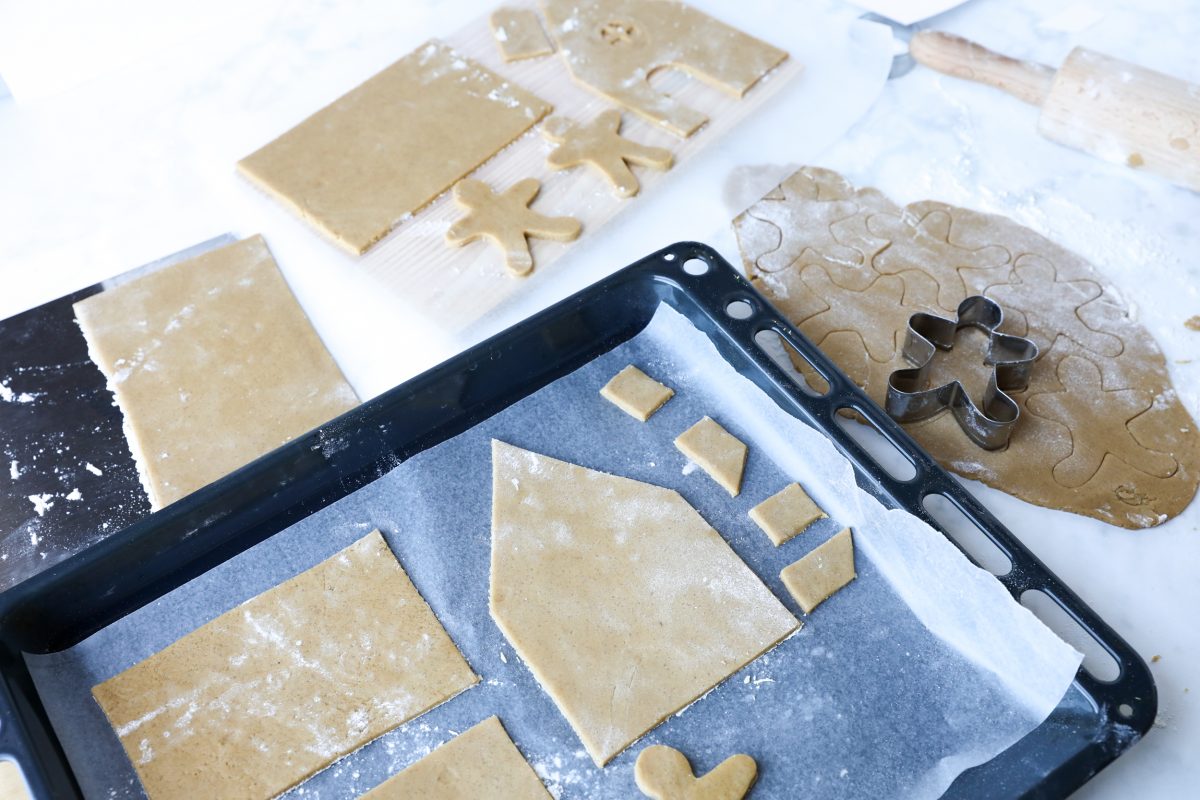
Start cutting out the templates.
Lift them carefully off the surface and onto a baking tray lined with wax paper.
Carry on with the rest of the panels
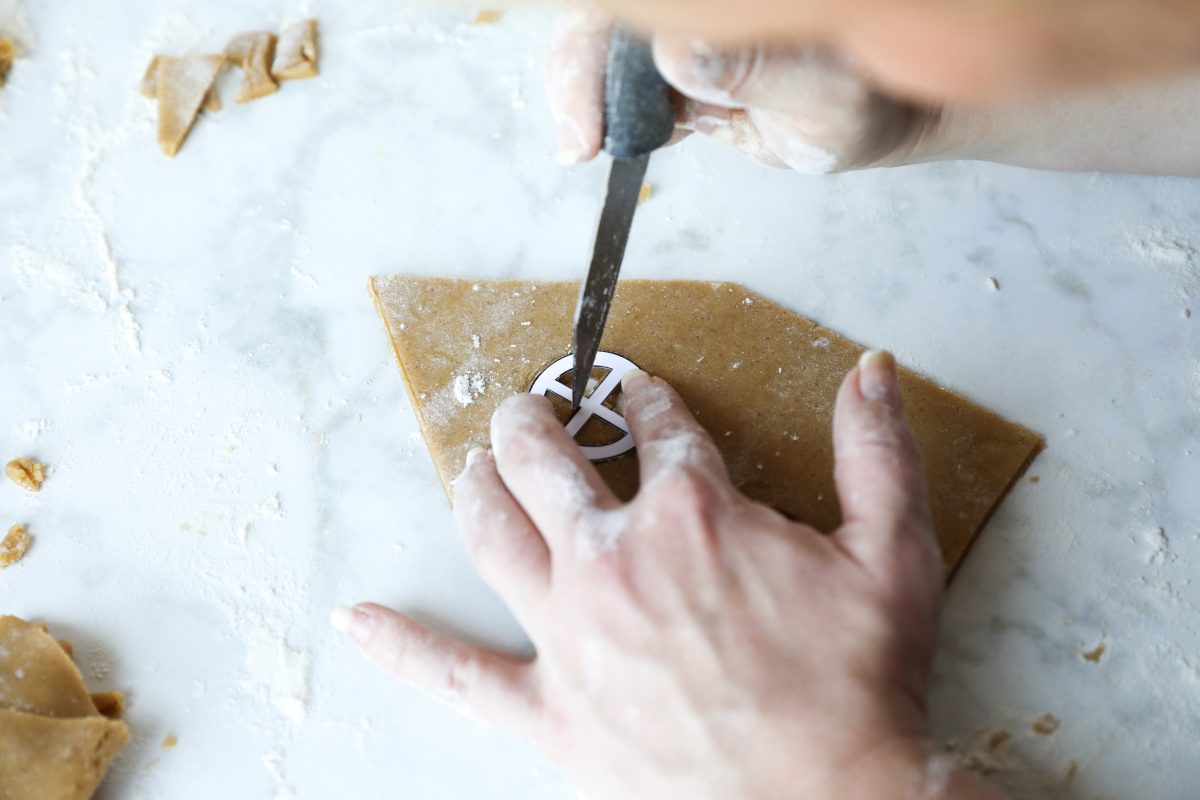
If you don’t feel like adding this extra window detail, feel free to leave it out.
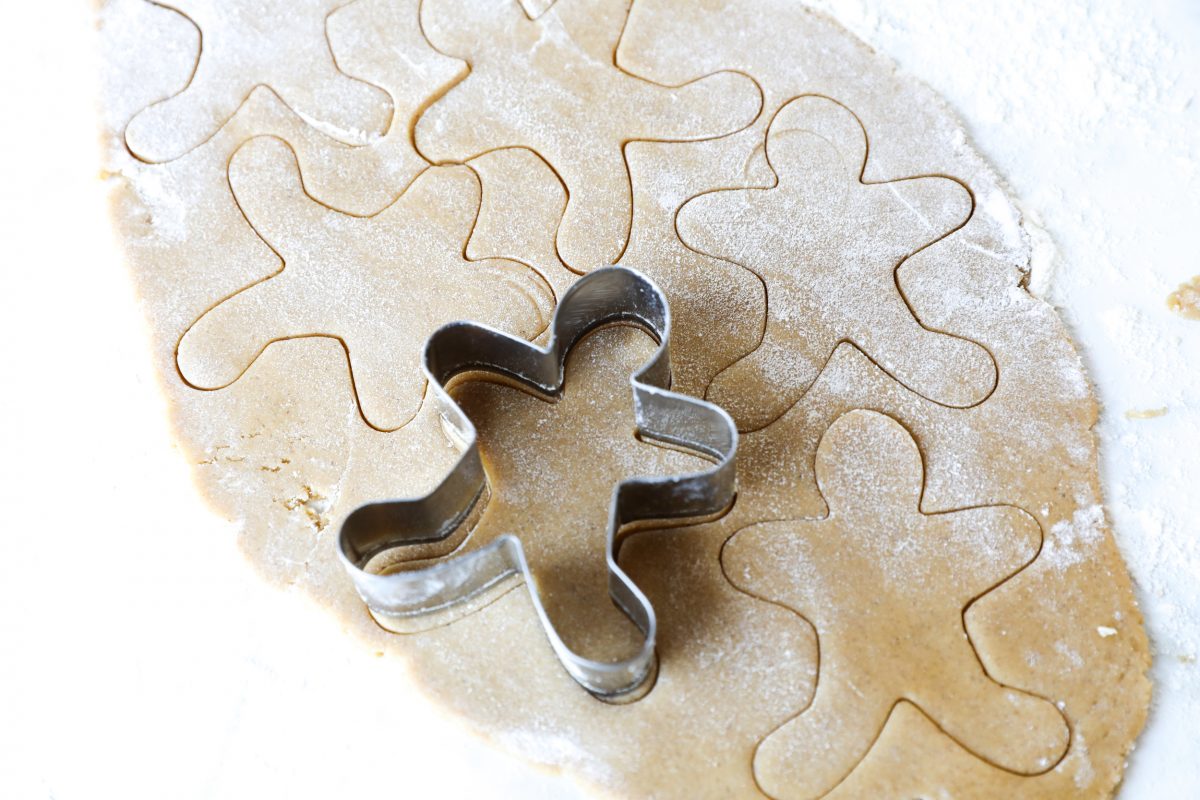
Don’t forget to punch out the gingerbread men – we don’t have a template for gingerbread men as we used a cookie cutter – you should be able to find this cutter anywhere. And if not, phone up your baking buddy (everyone has a baking friend) and ask them to borrow theirs. We cut out the gingerbread men last and made as many as we could with the leftover dough.
Baking Tray ready to go – we filled up 3 trays in total. You probably won’t be able to bake them all at once unless you have a HUGE oven, but that is fine. Cook for 12-15 minutes at 180 degrees Celsius.
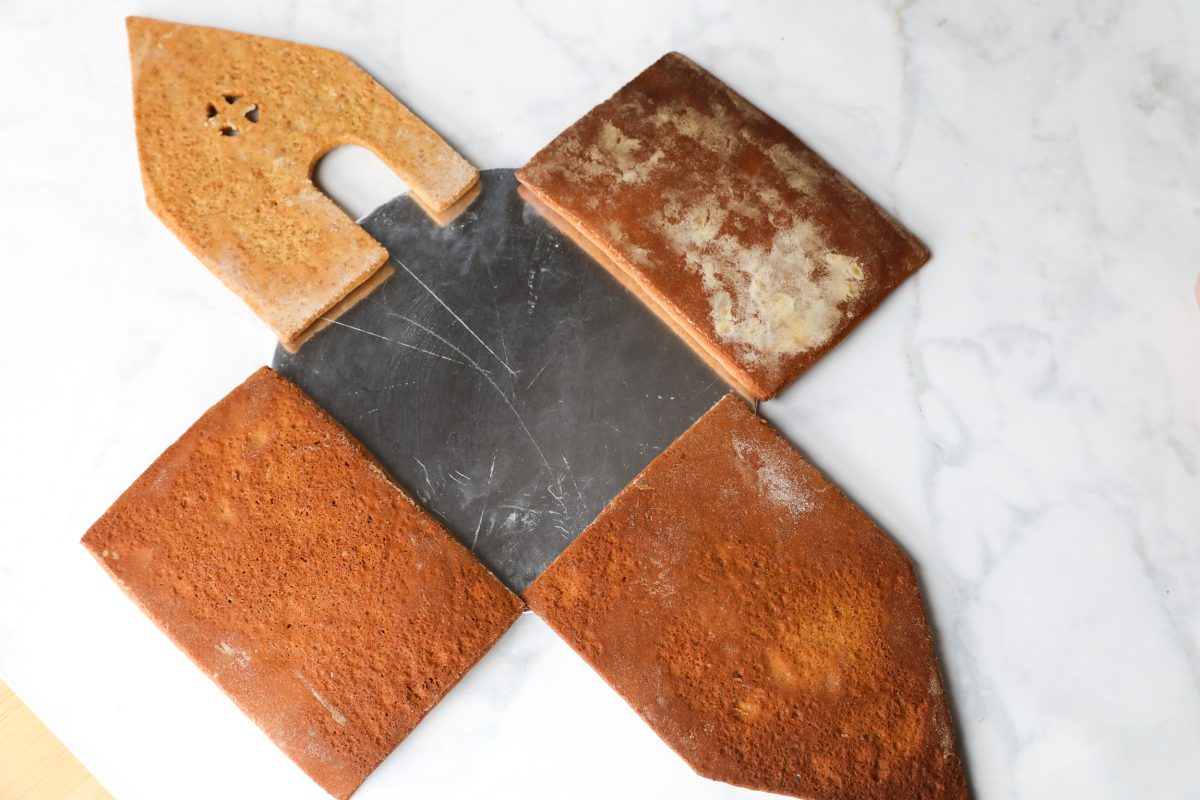
Once the pieces are baked, take them out the oven and allow to cool. Place the gingerbread house walls around the base you wish to glue it to. ie. What is the base of your house going to be? We used a tinfoil covered board that you get from a baking shop.
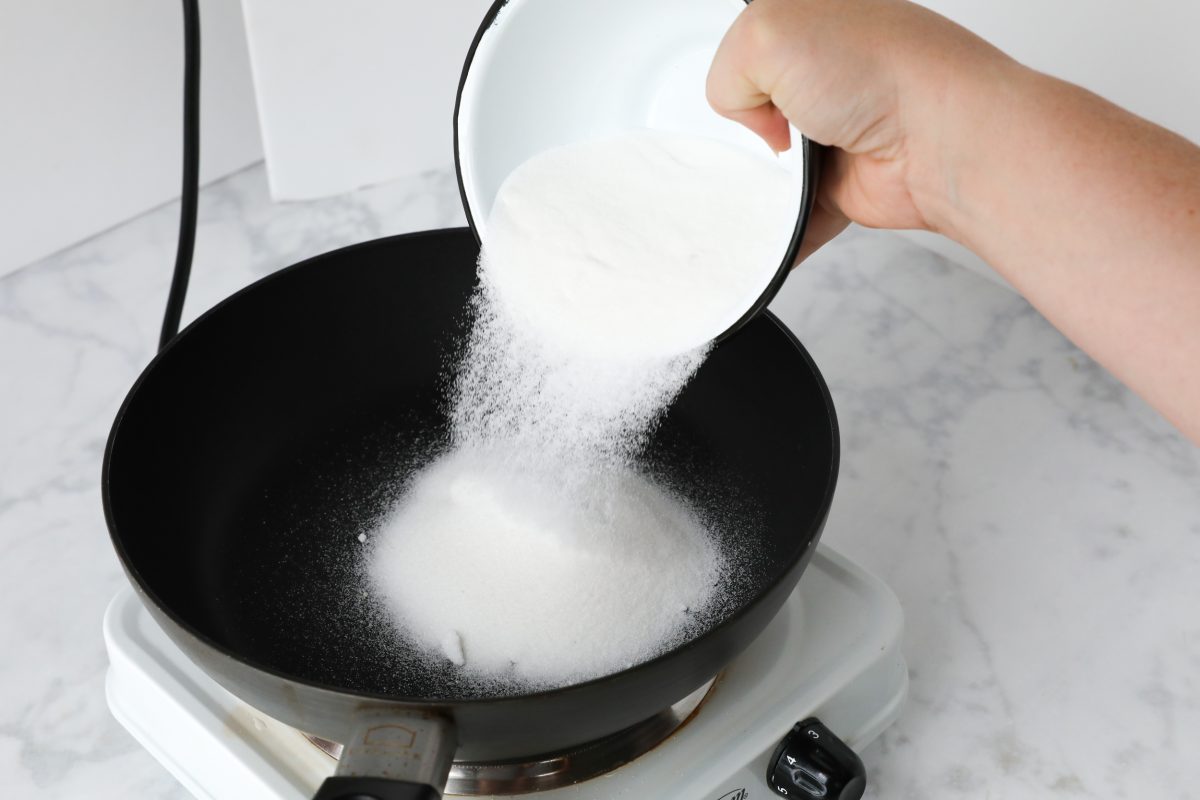
In the meantime, start making the sugar glue.
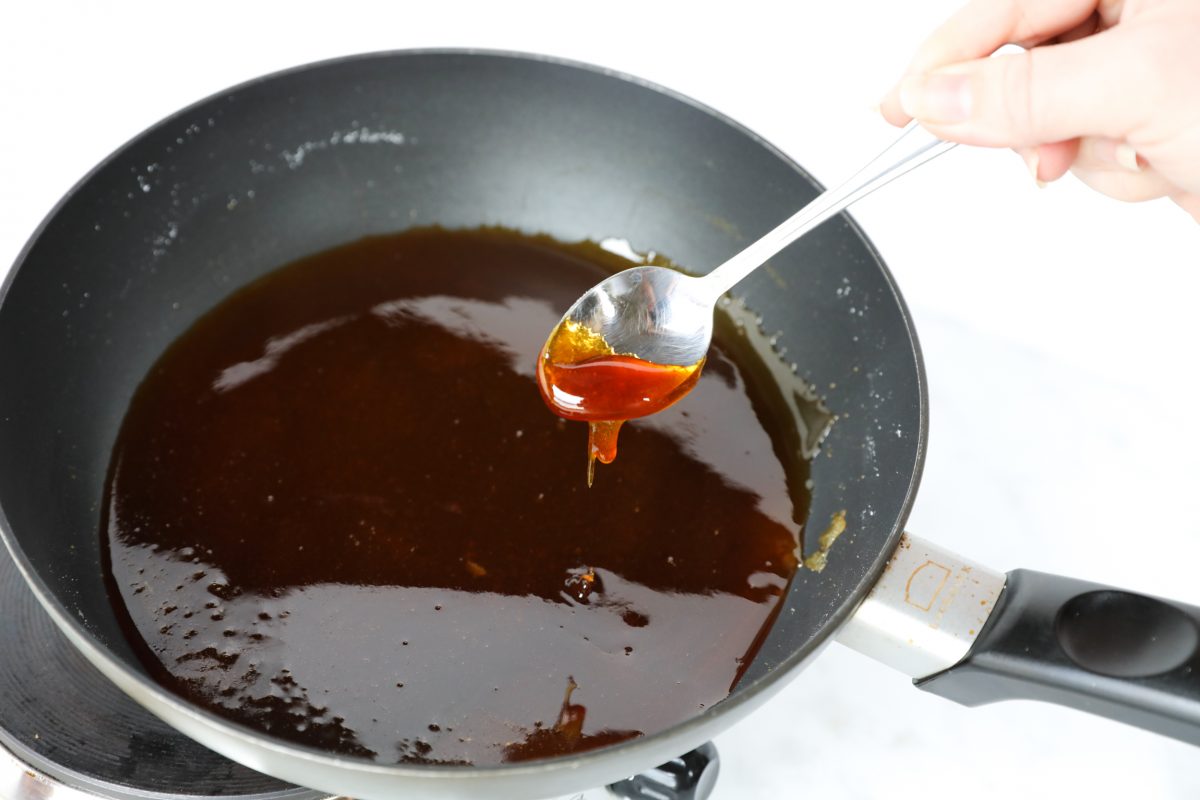
Add the caster sugar to a medium-sized saucepan and on medium heat – it can take anywhere from 10-20 minutes to melt depending on your heat source / stove. There is no need to stir the sugar, as long as it is on medium heat, it should be fine!
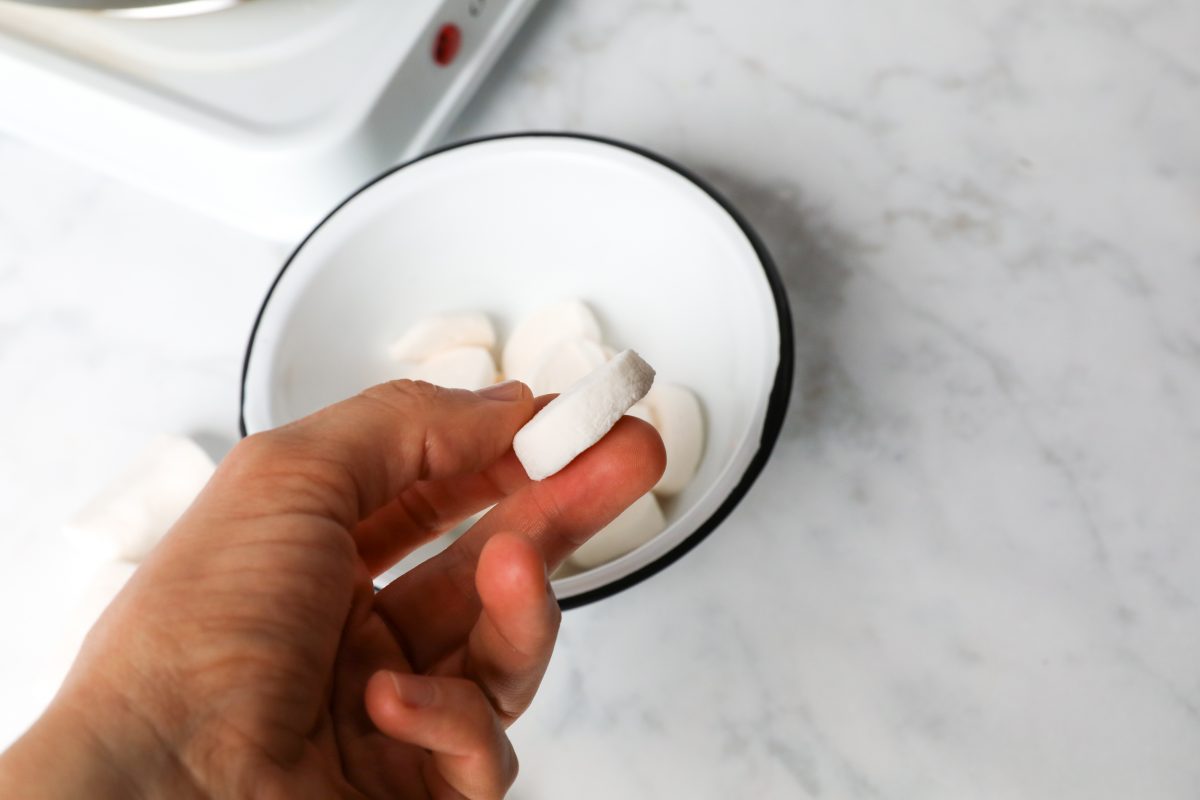
Whilst you are waiting for the sugar to melt, cut the marshmallows into thirds.
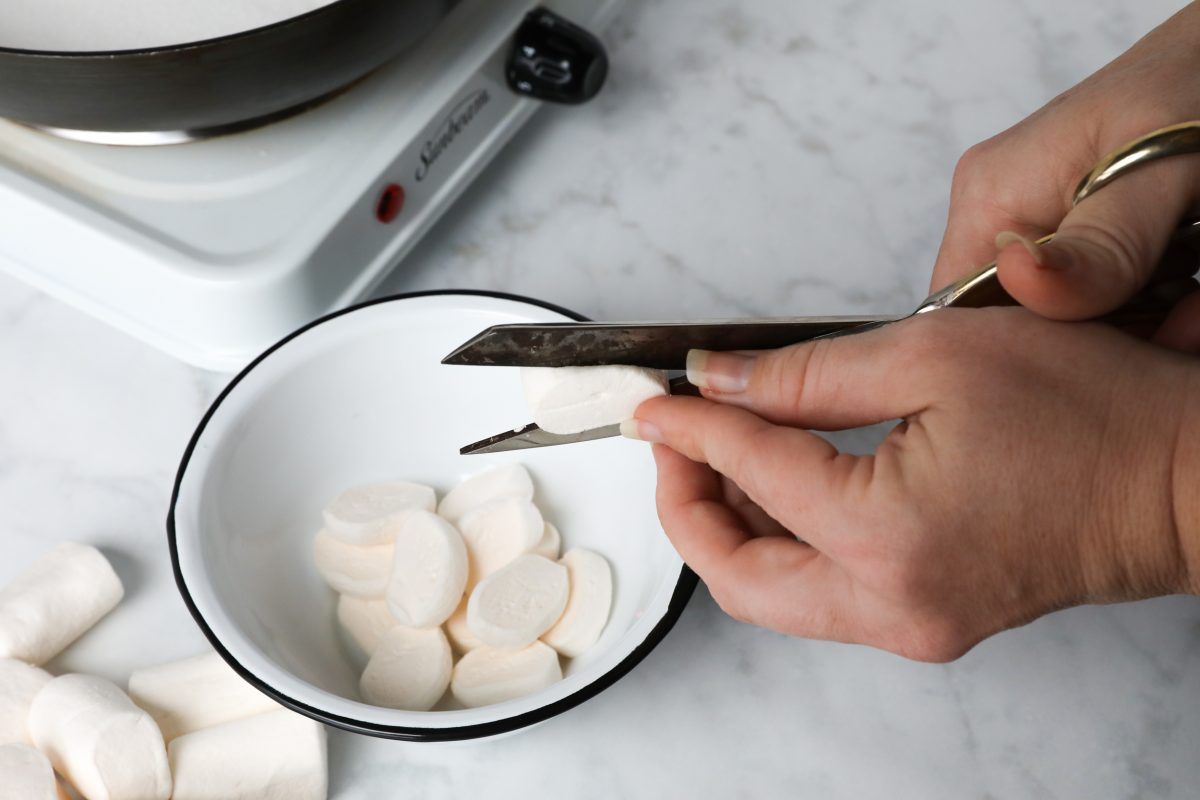
This is the approximate thickness.
The sugar glue should now be done and looks like this.
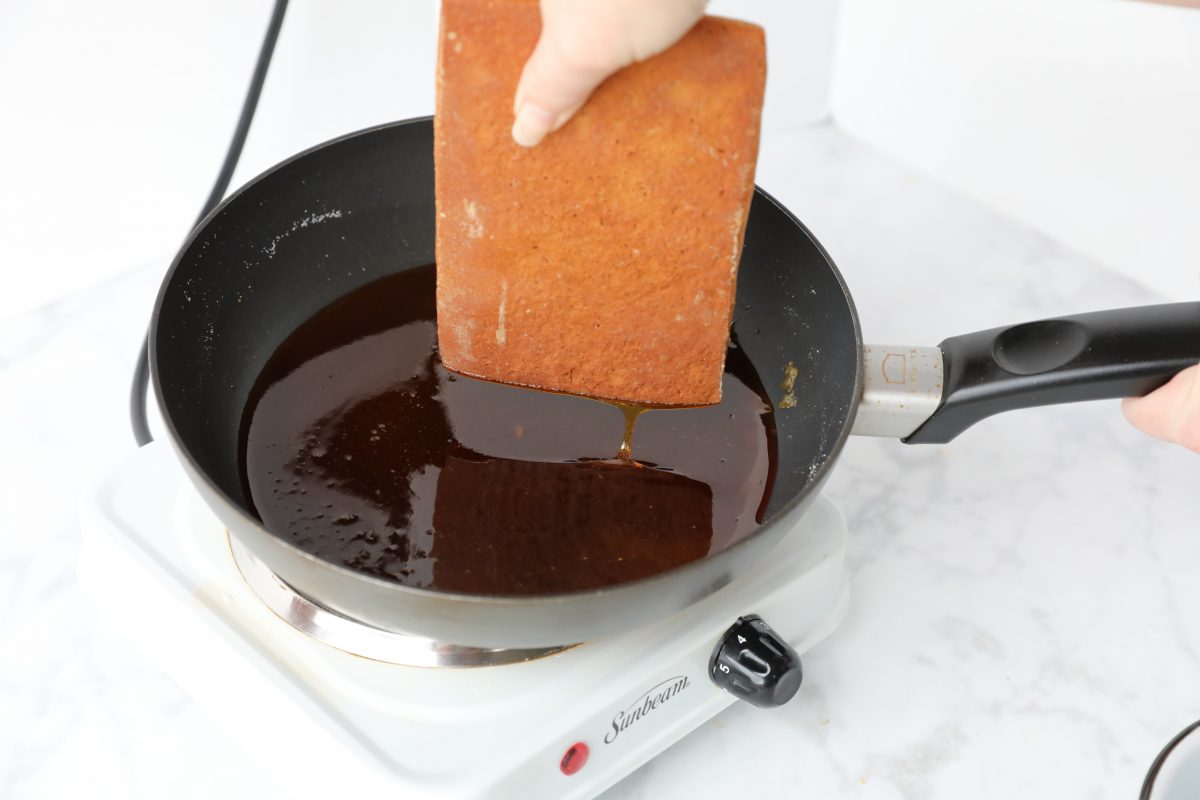
Add a blob of glue to the base board (ie the tinfoil board) and stick one of the end/gable walls down onto the base.
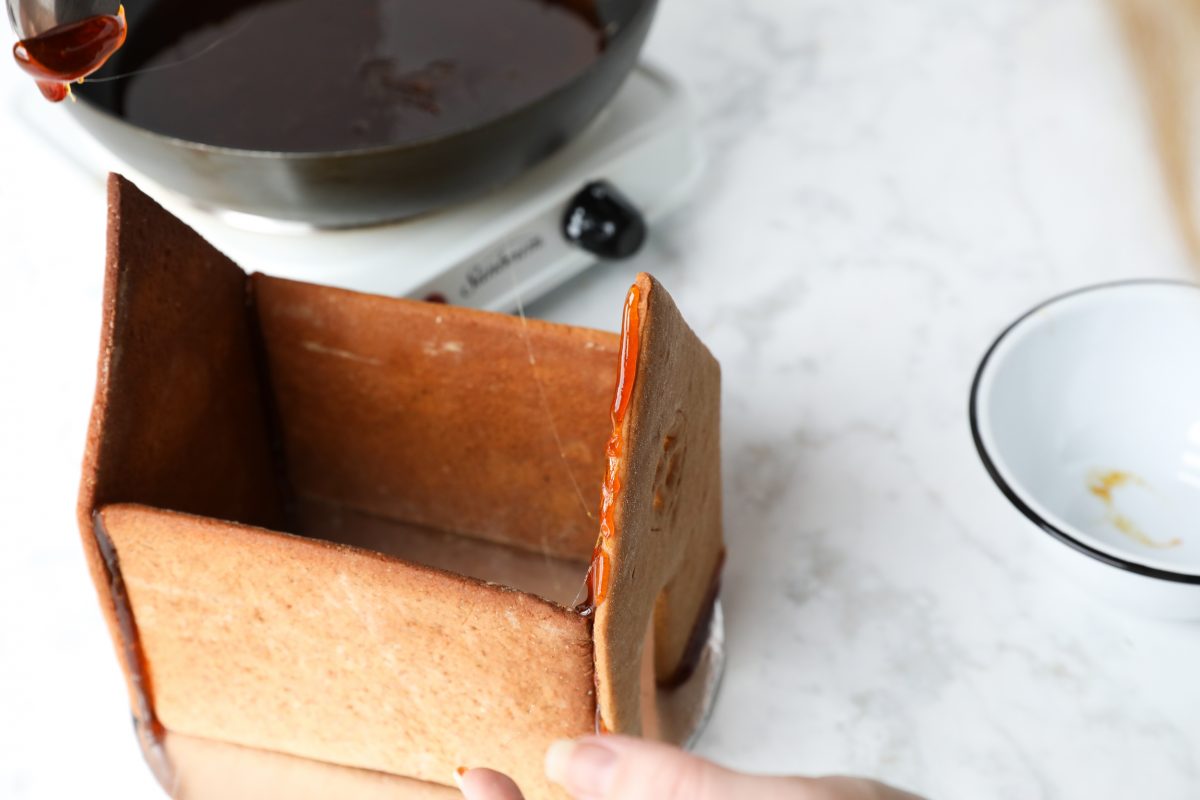
Repeat with the other side wall.
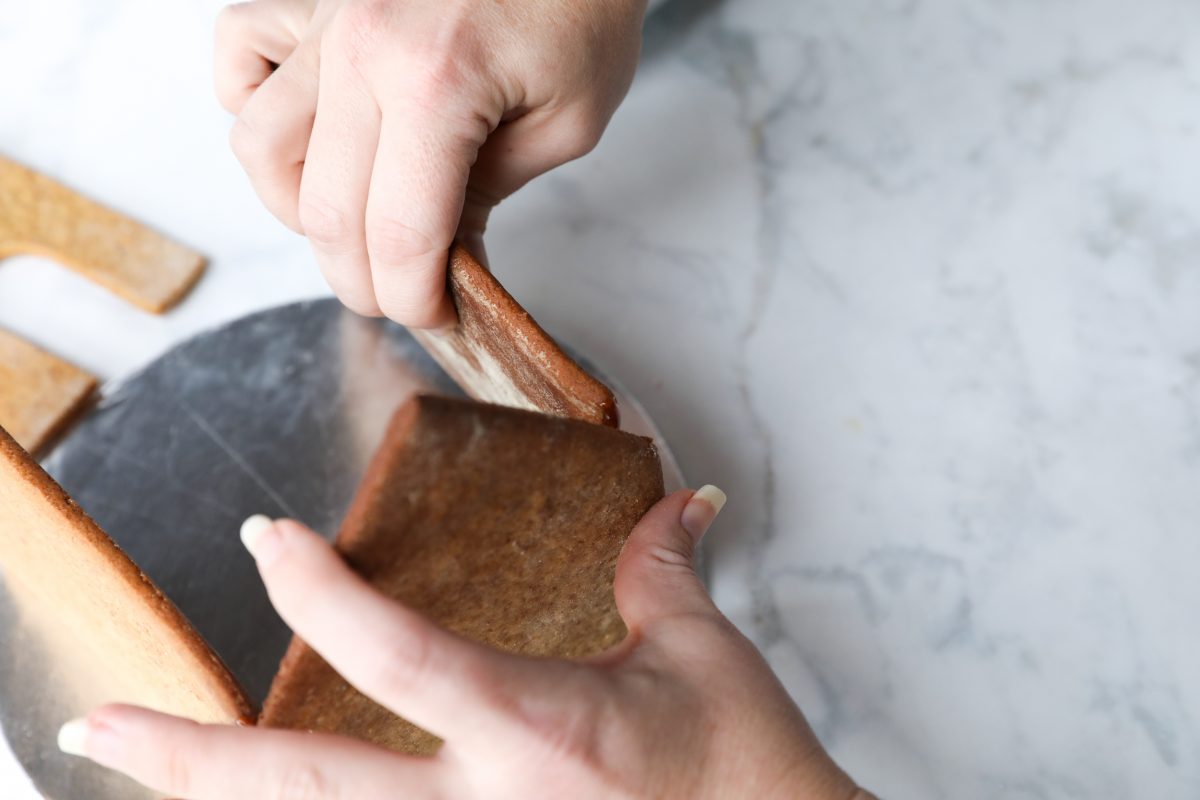
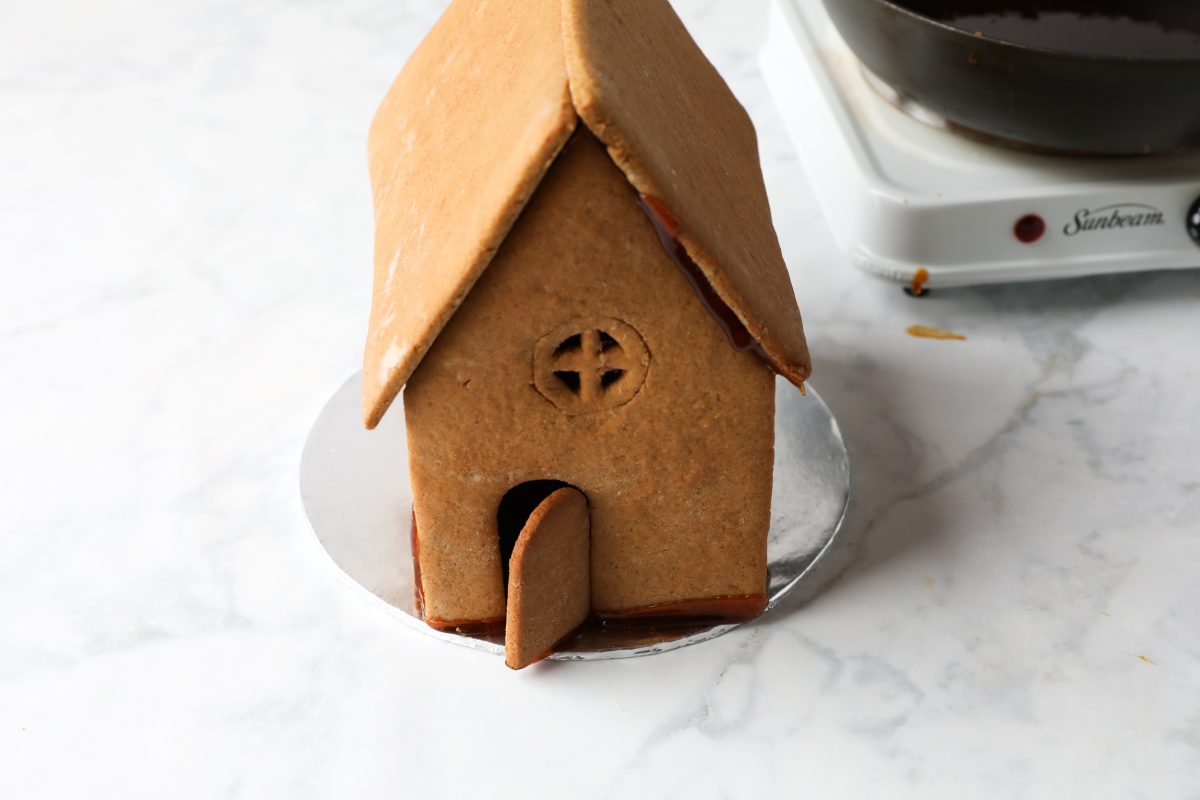
Stick the remaining Gable end on by applying glue to the sides and then sticking to the side wall edges.
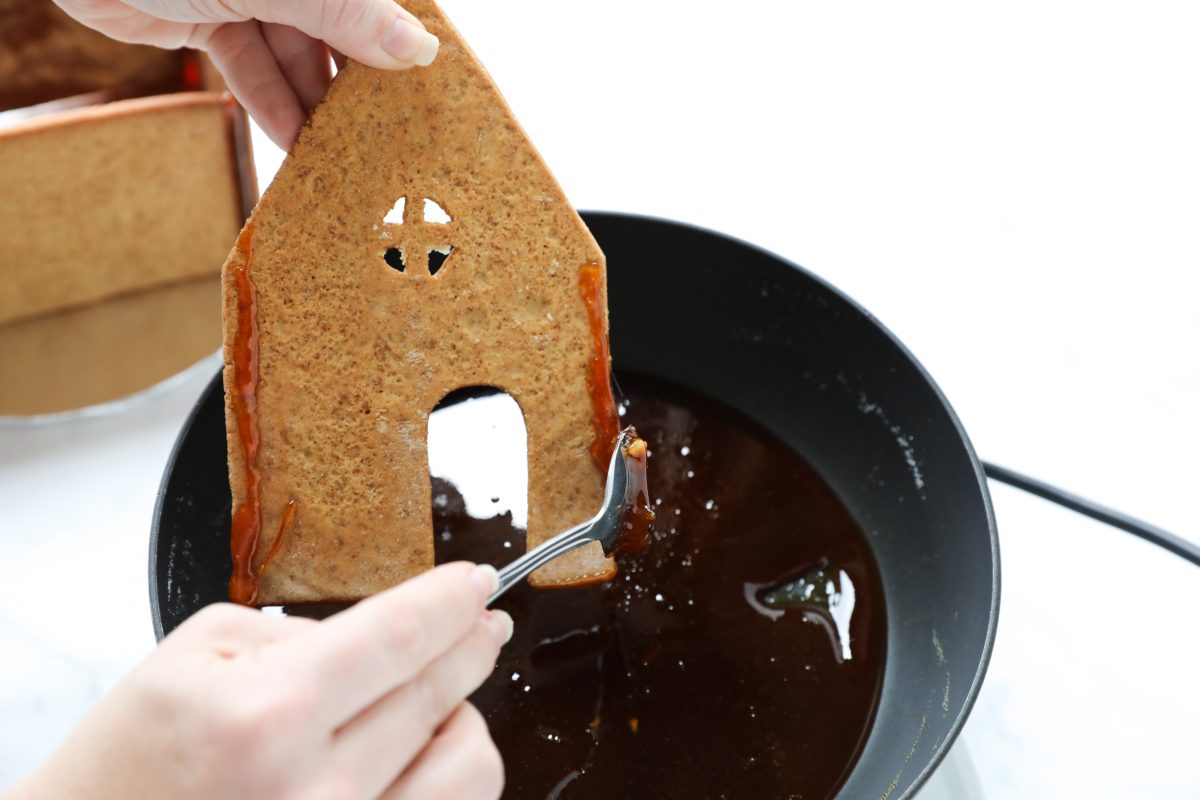
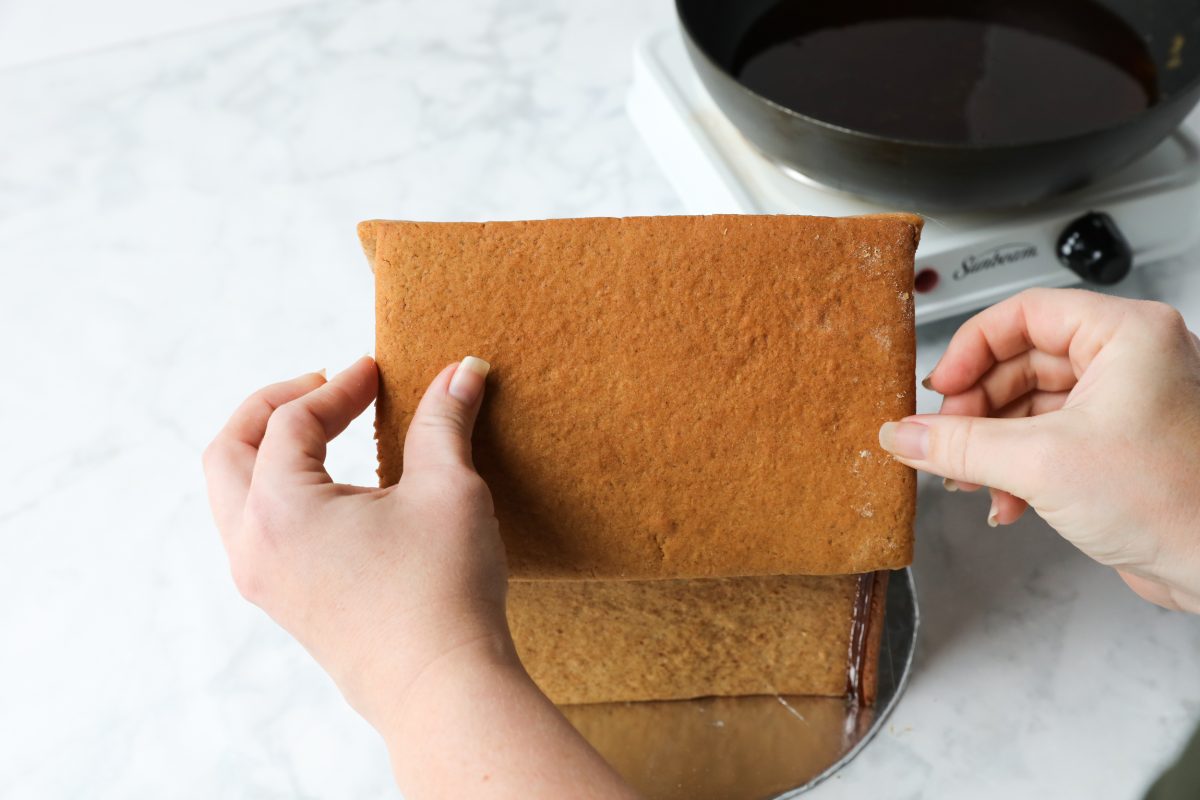
Add the roof pieces by first using a spoon to drip glue along the top gable edges, then add the roof pieces.
Press them in place – hold firmly just not too firmly! 🙂
Stick the door piece in place
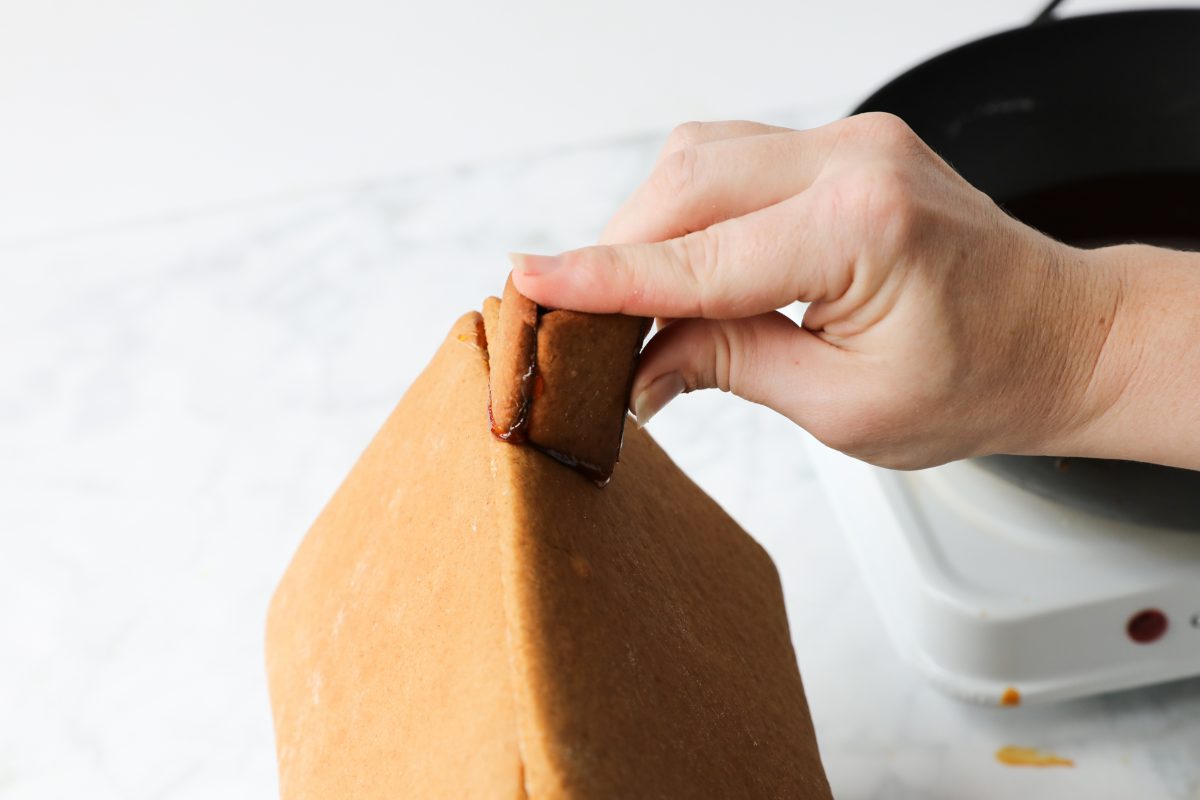
Stick the chimney pieces together and then stick the chimney to the roof. It may look a little skew, but hay, we are all about being perfectly imperfect 🙂
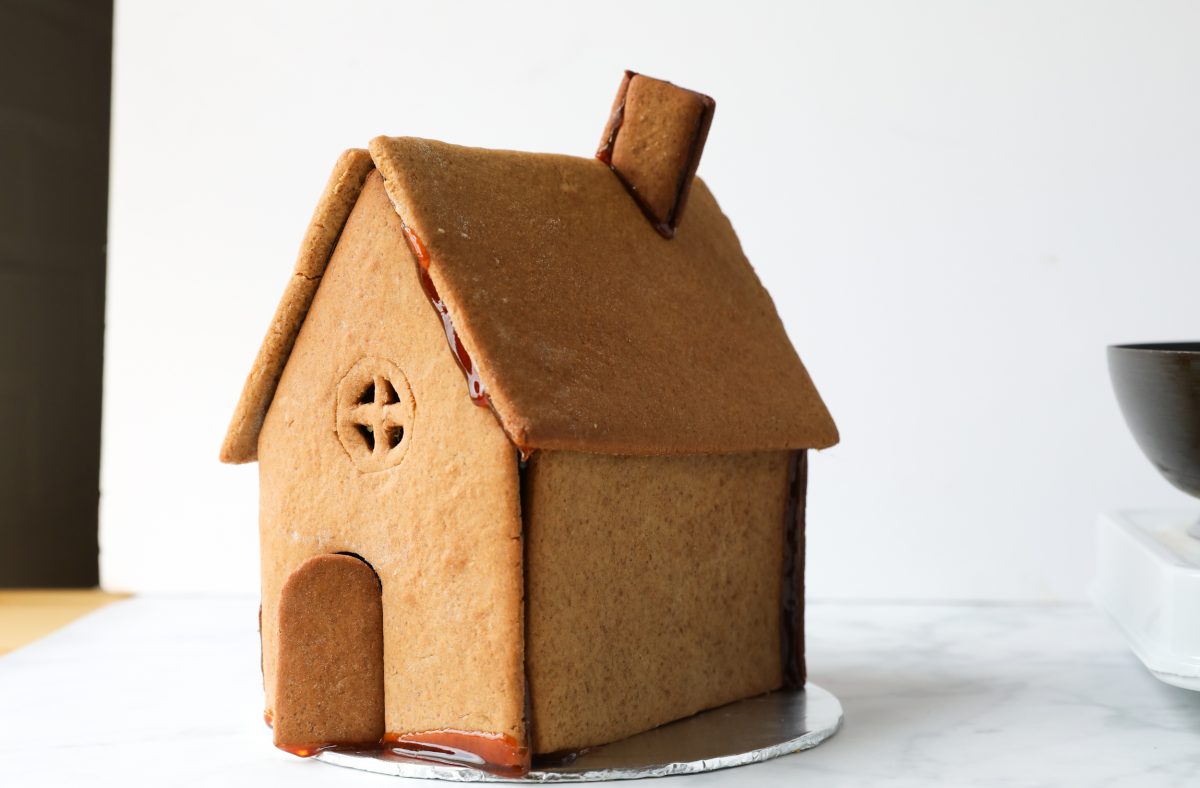
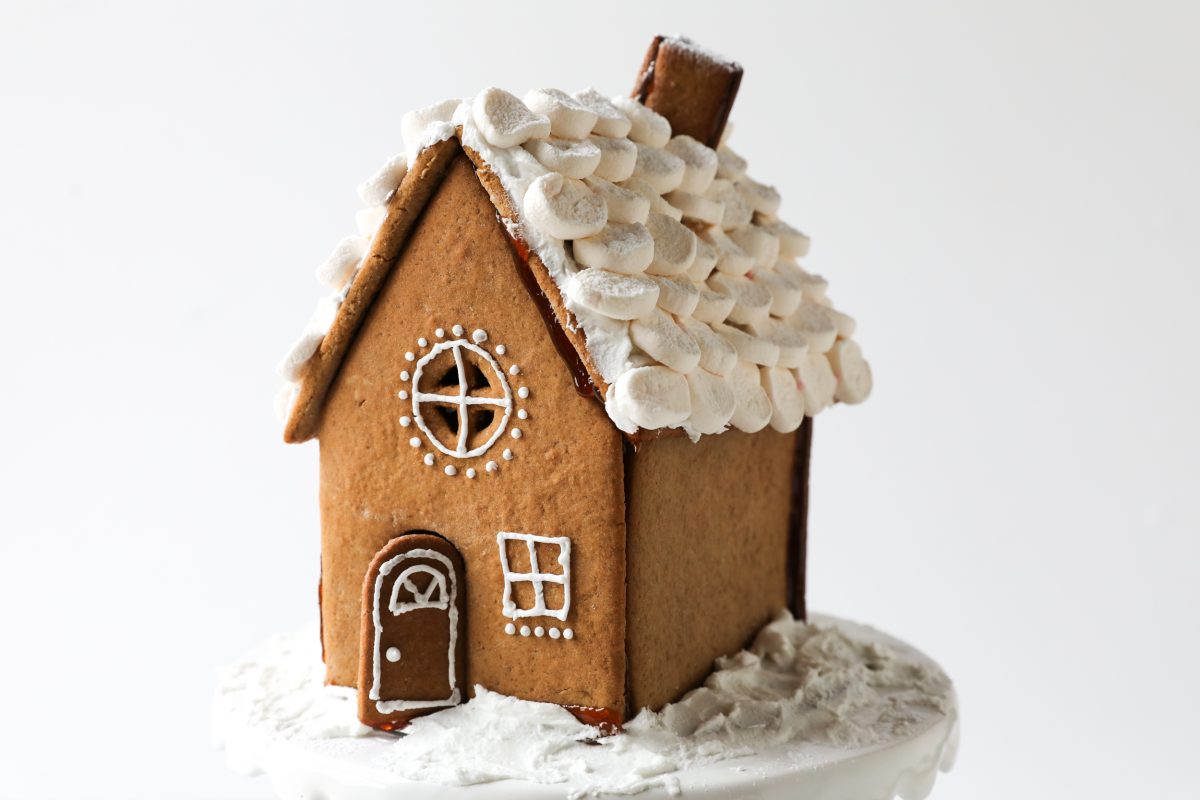
Tadaaaa! House done. Now let’s make the Royal Icing for decorating.
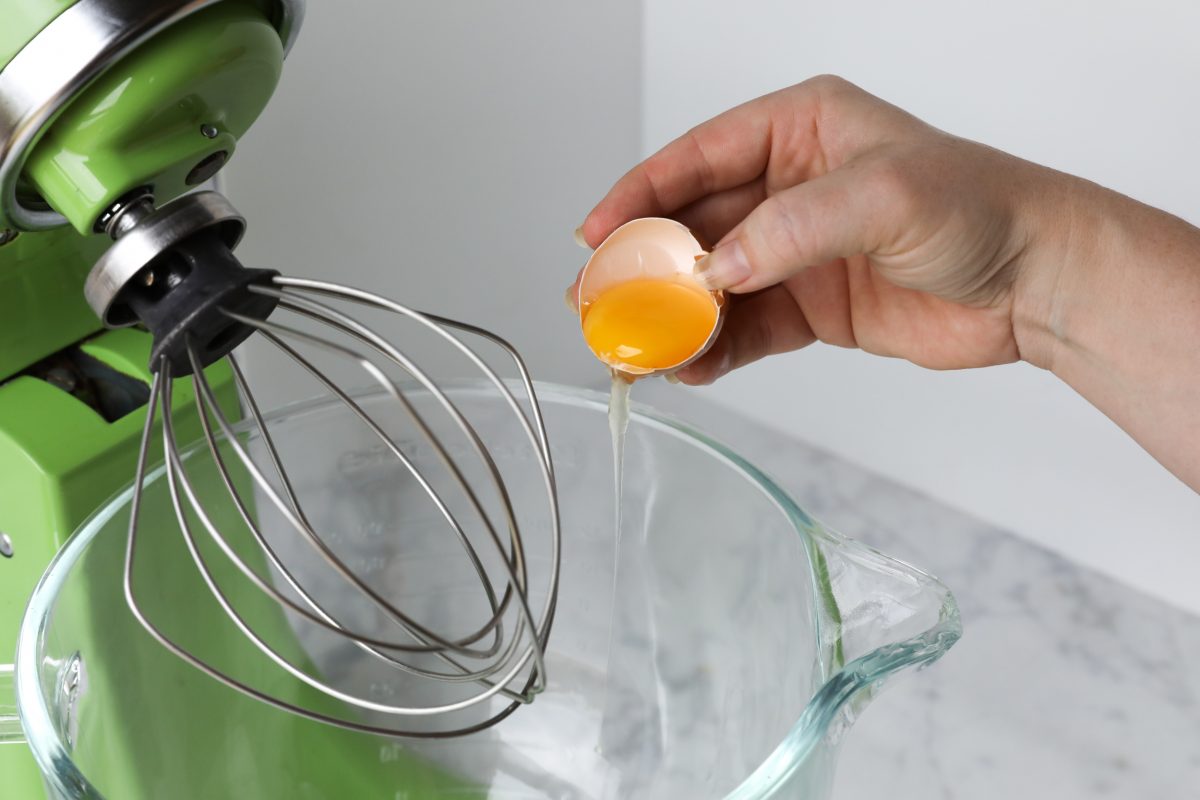
Assemble ingredients to make Royal Icing
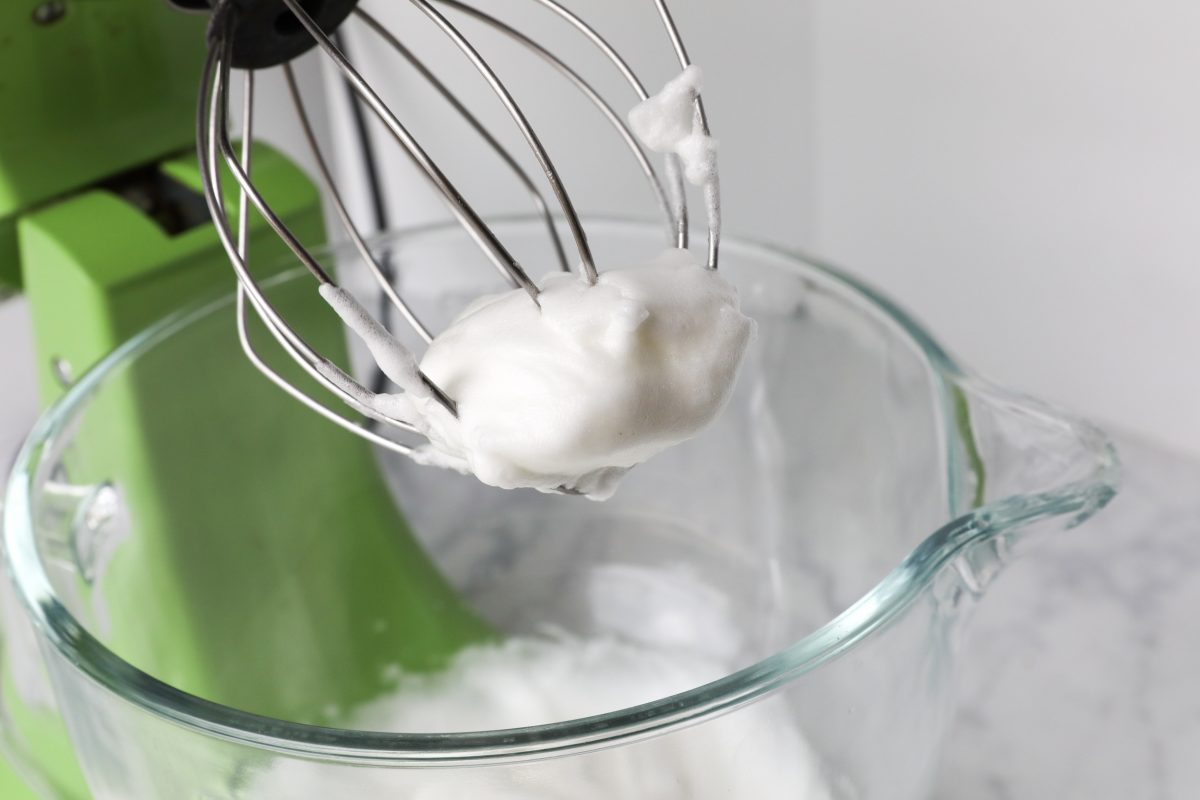
In a clean mixing bowl, add the egg whites
Mix until light and fluffy.
Add the icing sugar…

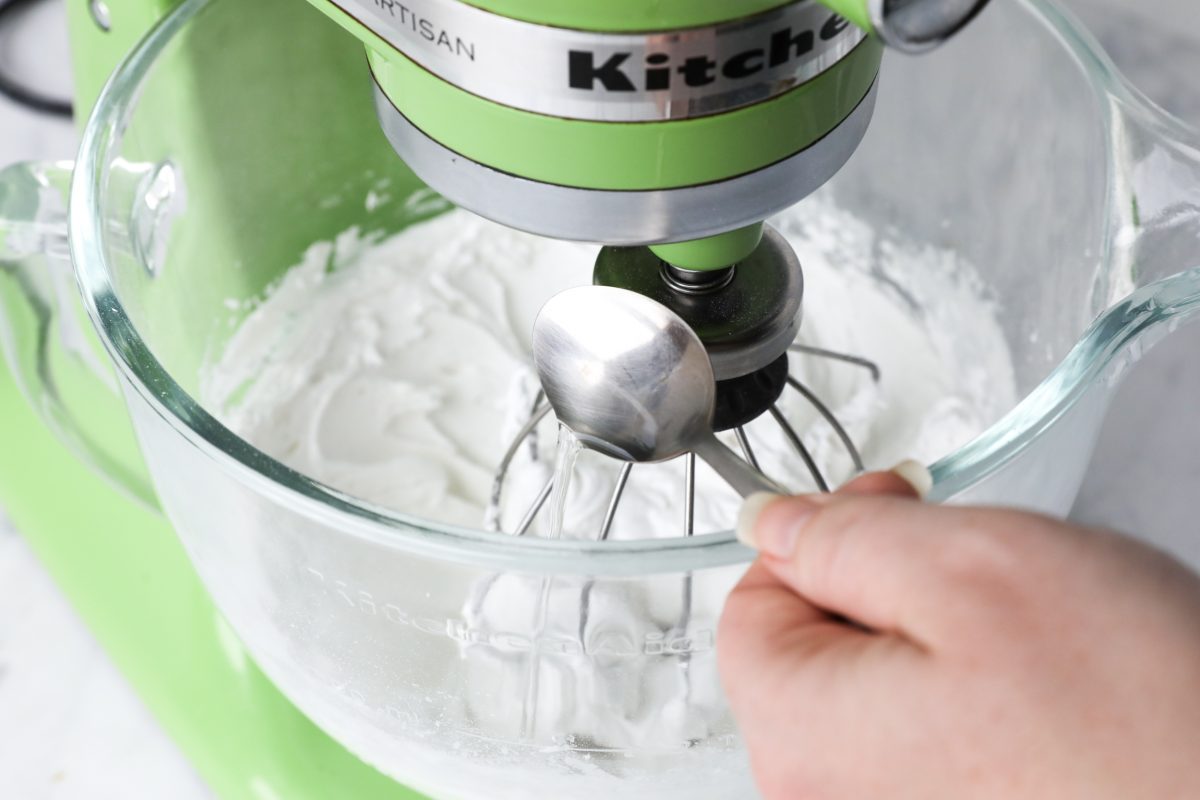
and the lemon juice…
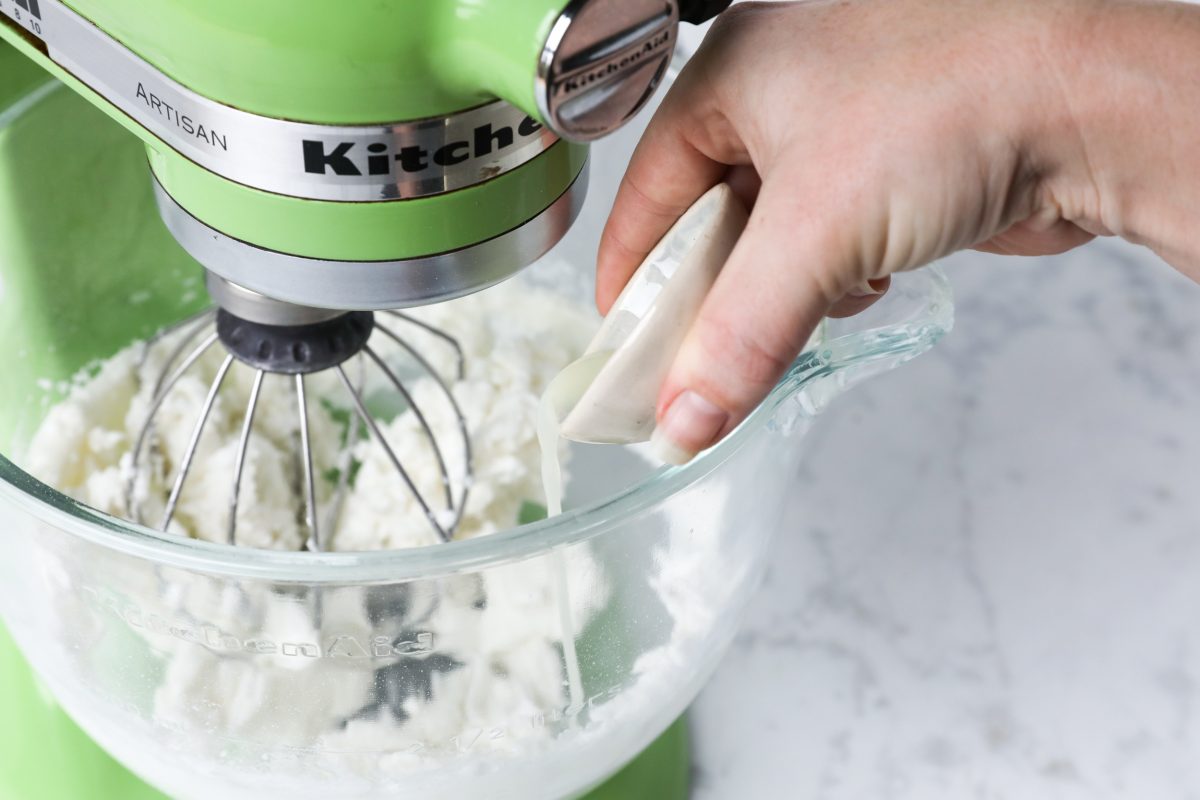
and the boiling water….
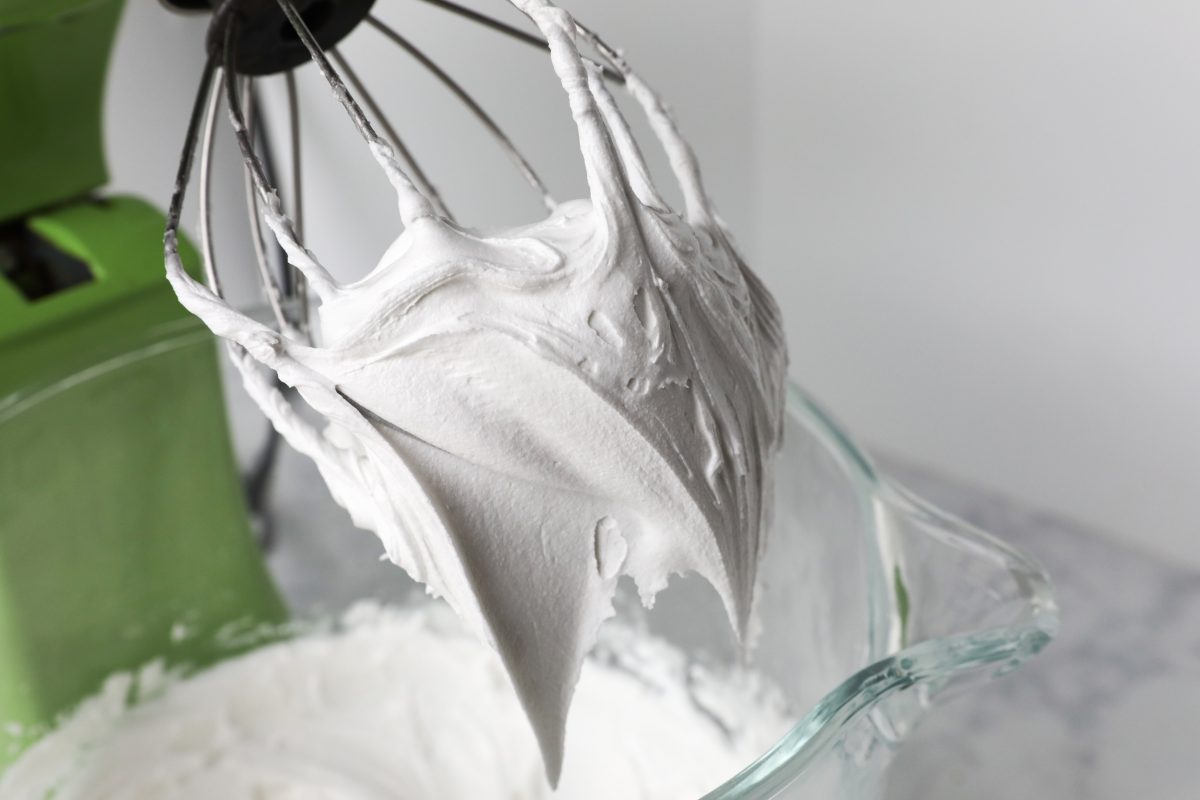
And mix until well combined and the mixture is smooth with a slight sheen.
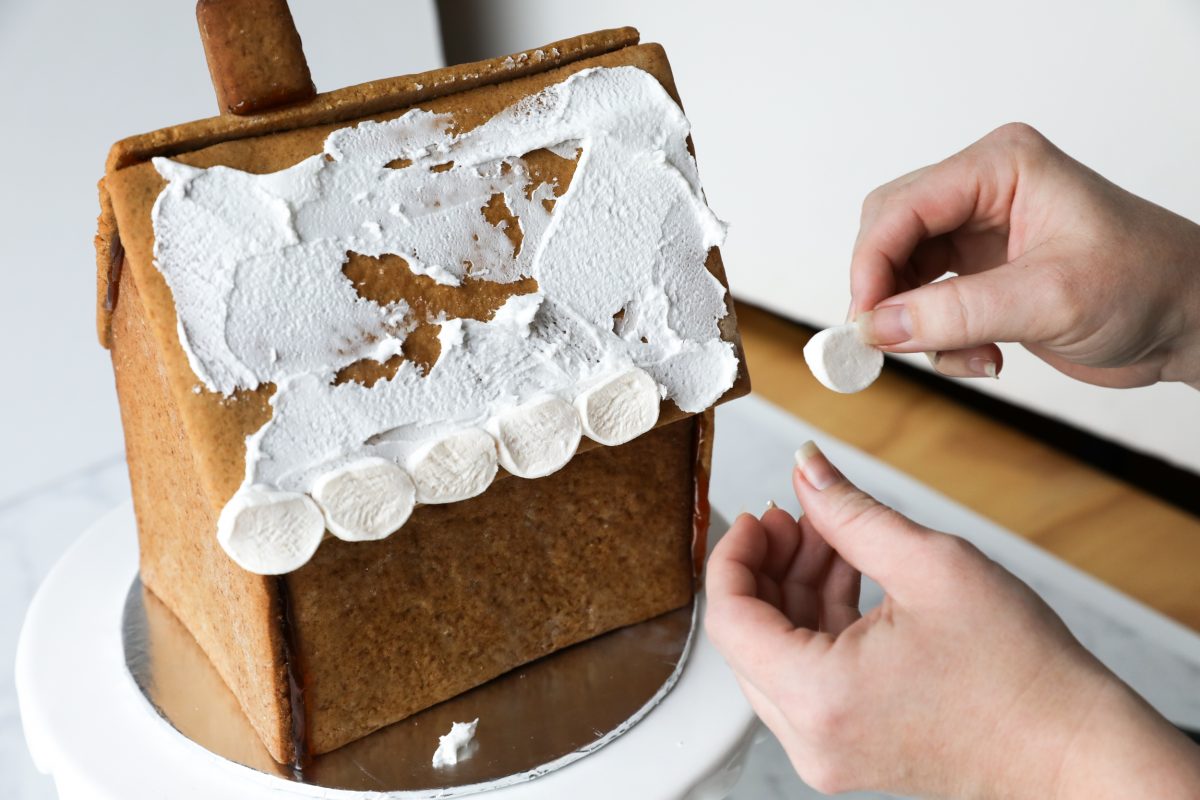
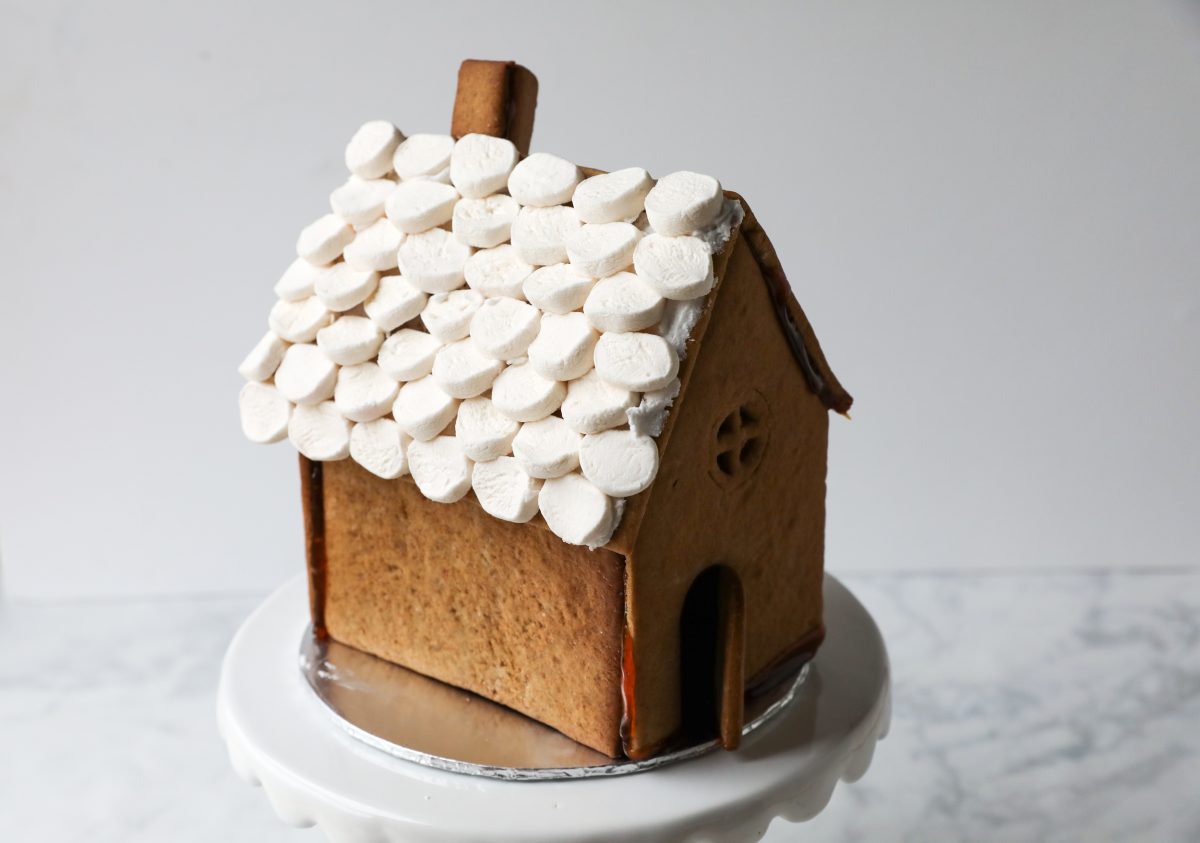
Carry on until both roof panels are complete.
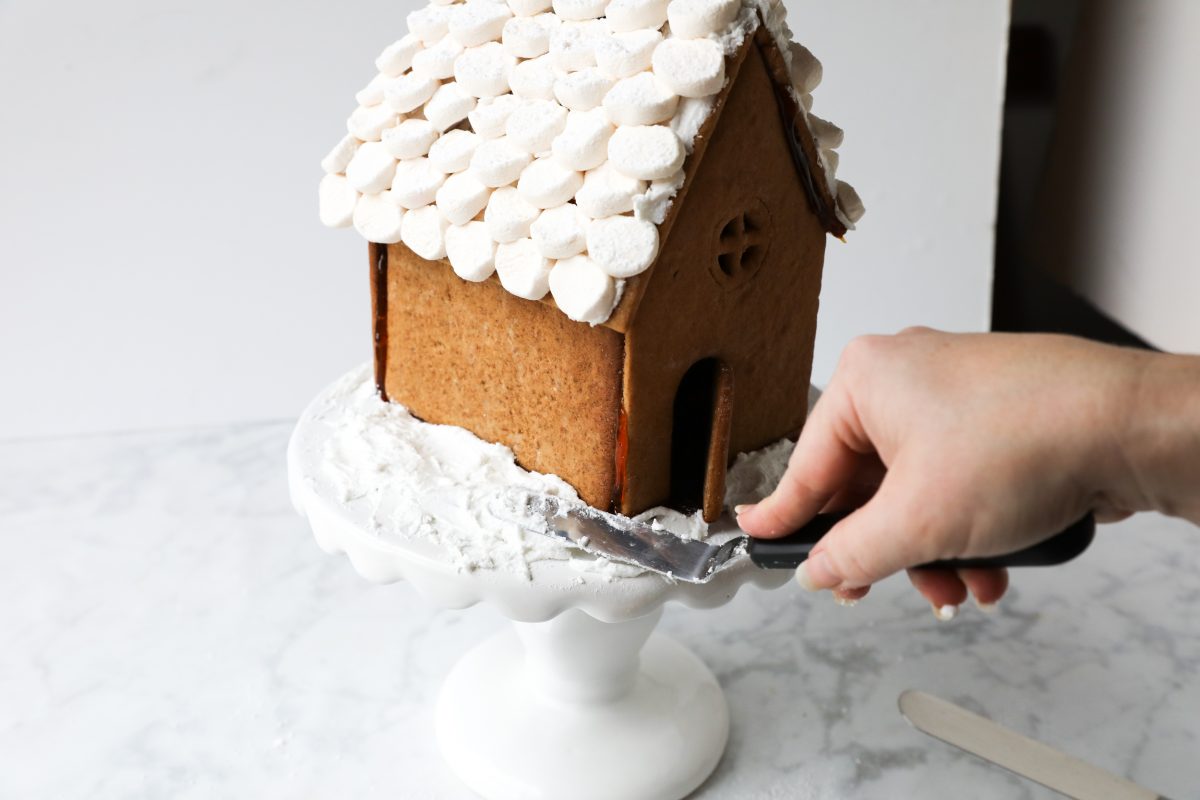
With a small spatula or butter knife, scoop a little icing out the piping bag and lather on the “ground” outside the house – we want it to look like snow!
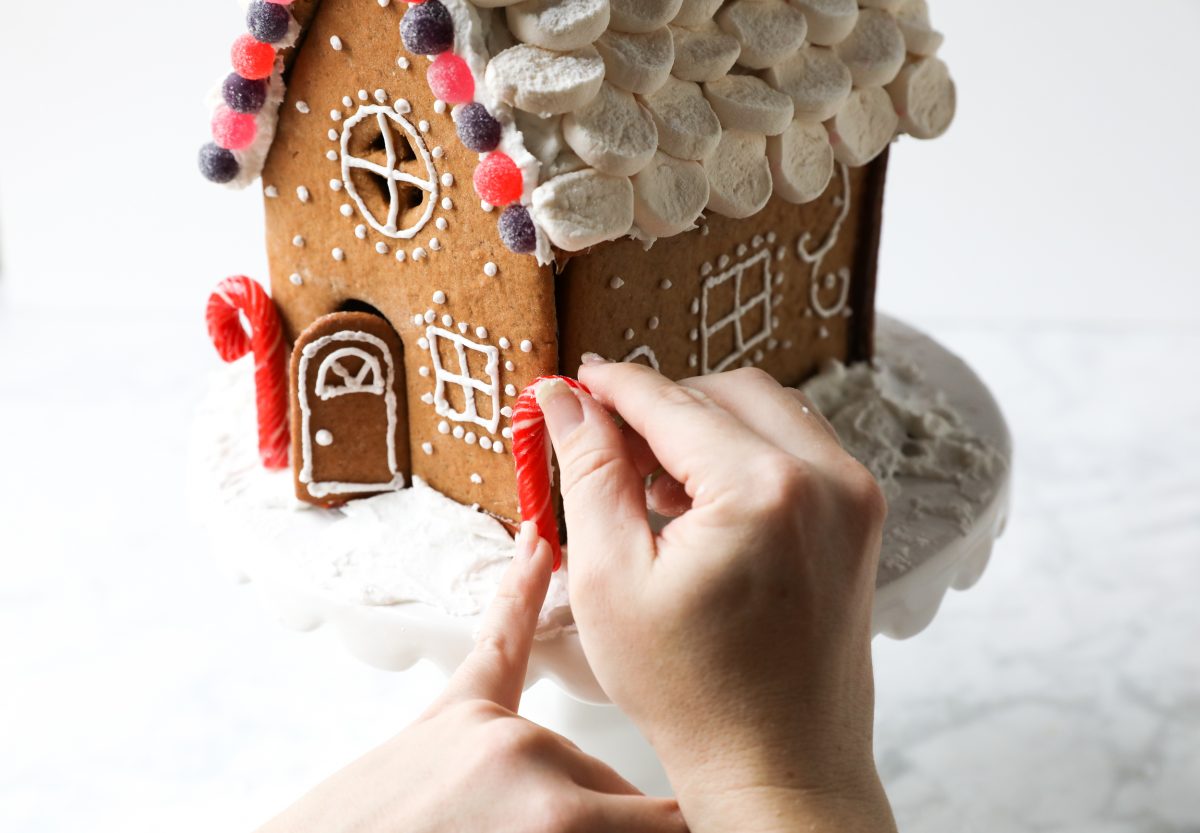
For the gable ends, use a spatula to smear on some icing and then add the Jelly Tots (or smarties or jelly beans, whatever you like really!)

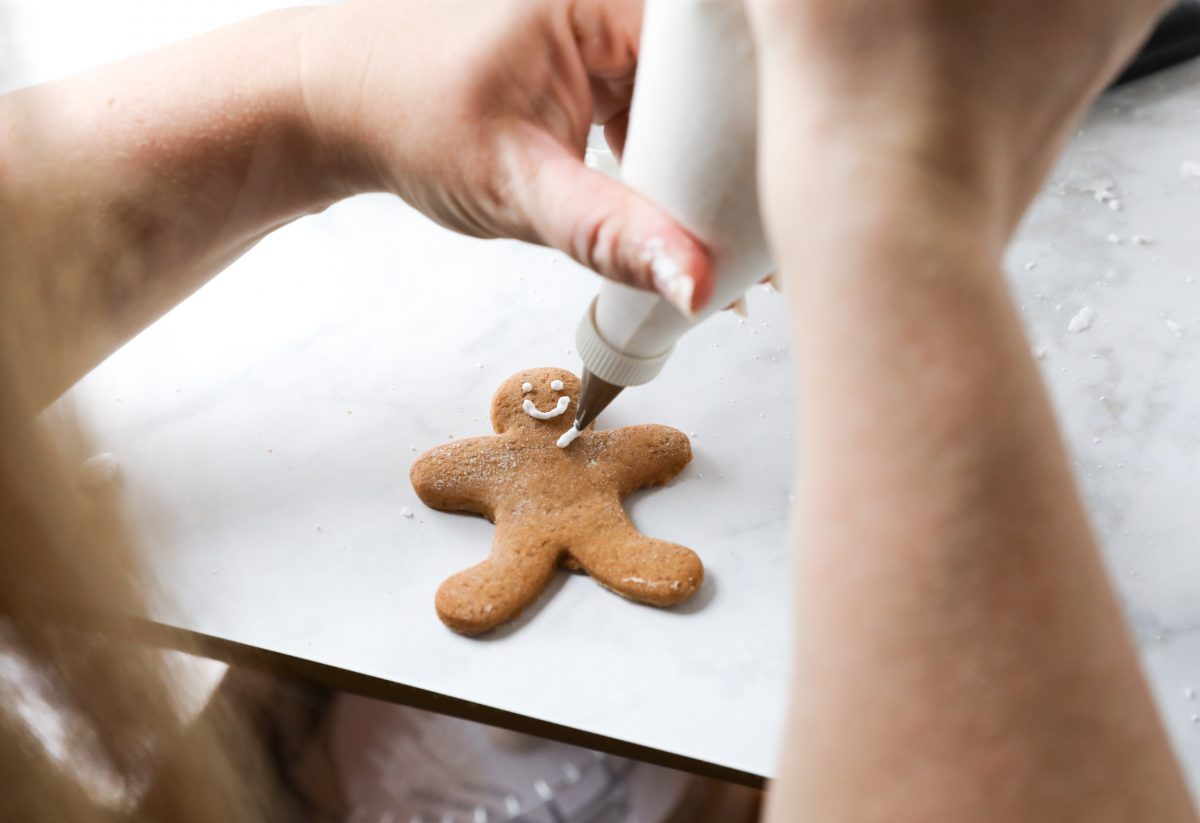
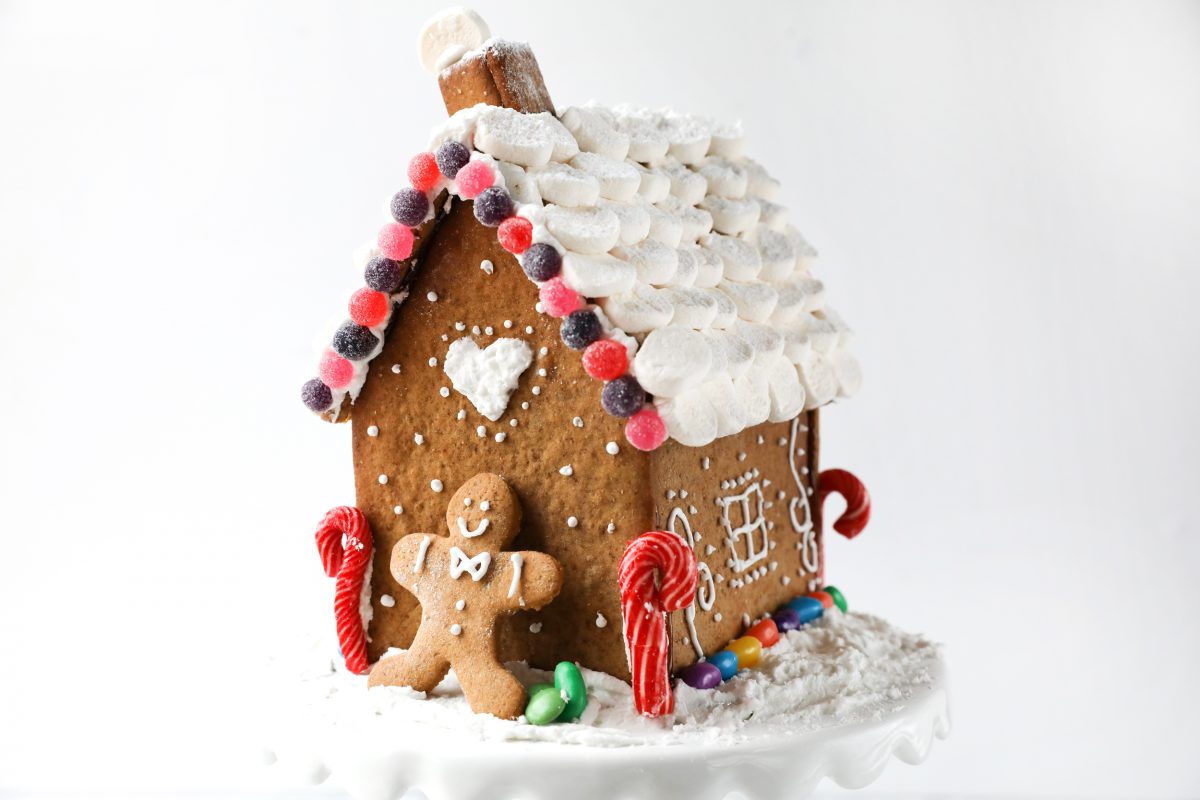
Finish off by icing your Gingerbread man, and placing him and the candy canes around the house.
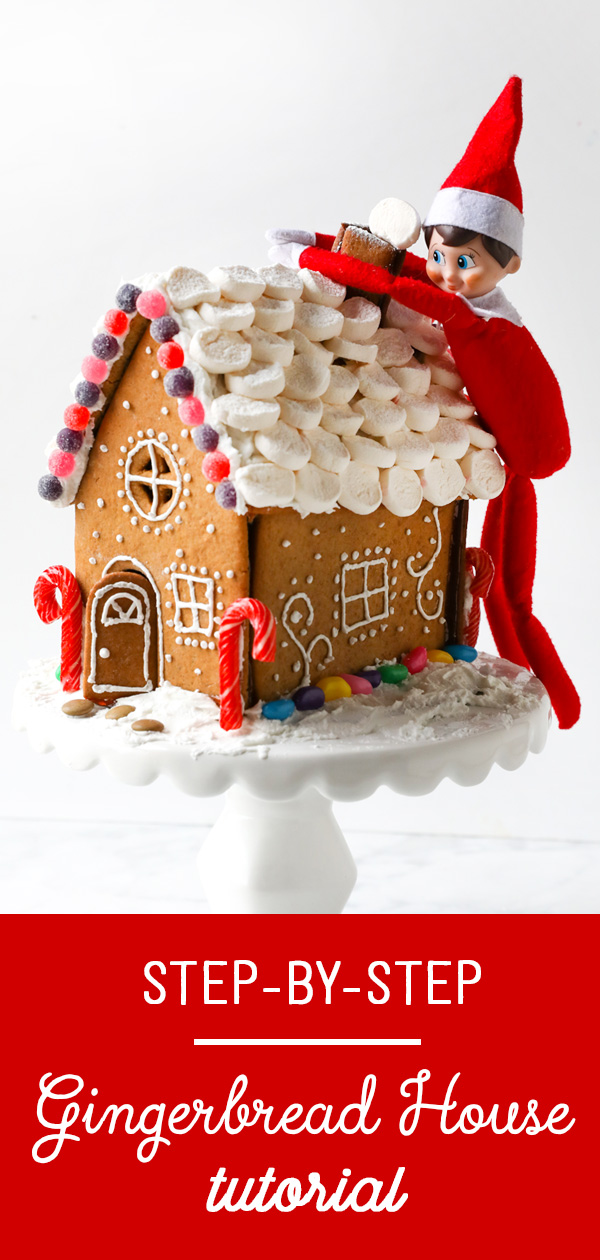
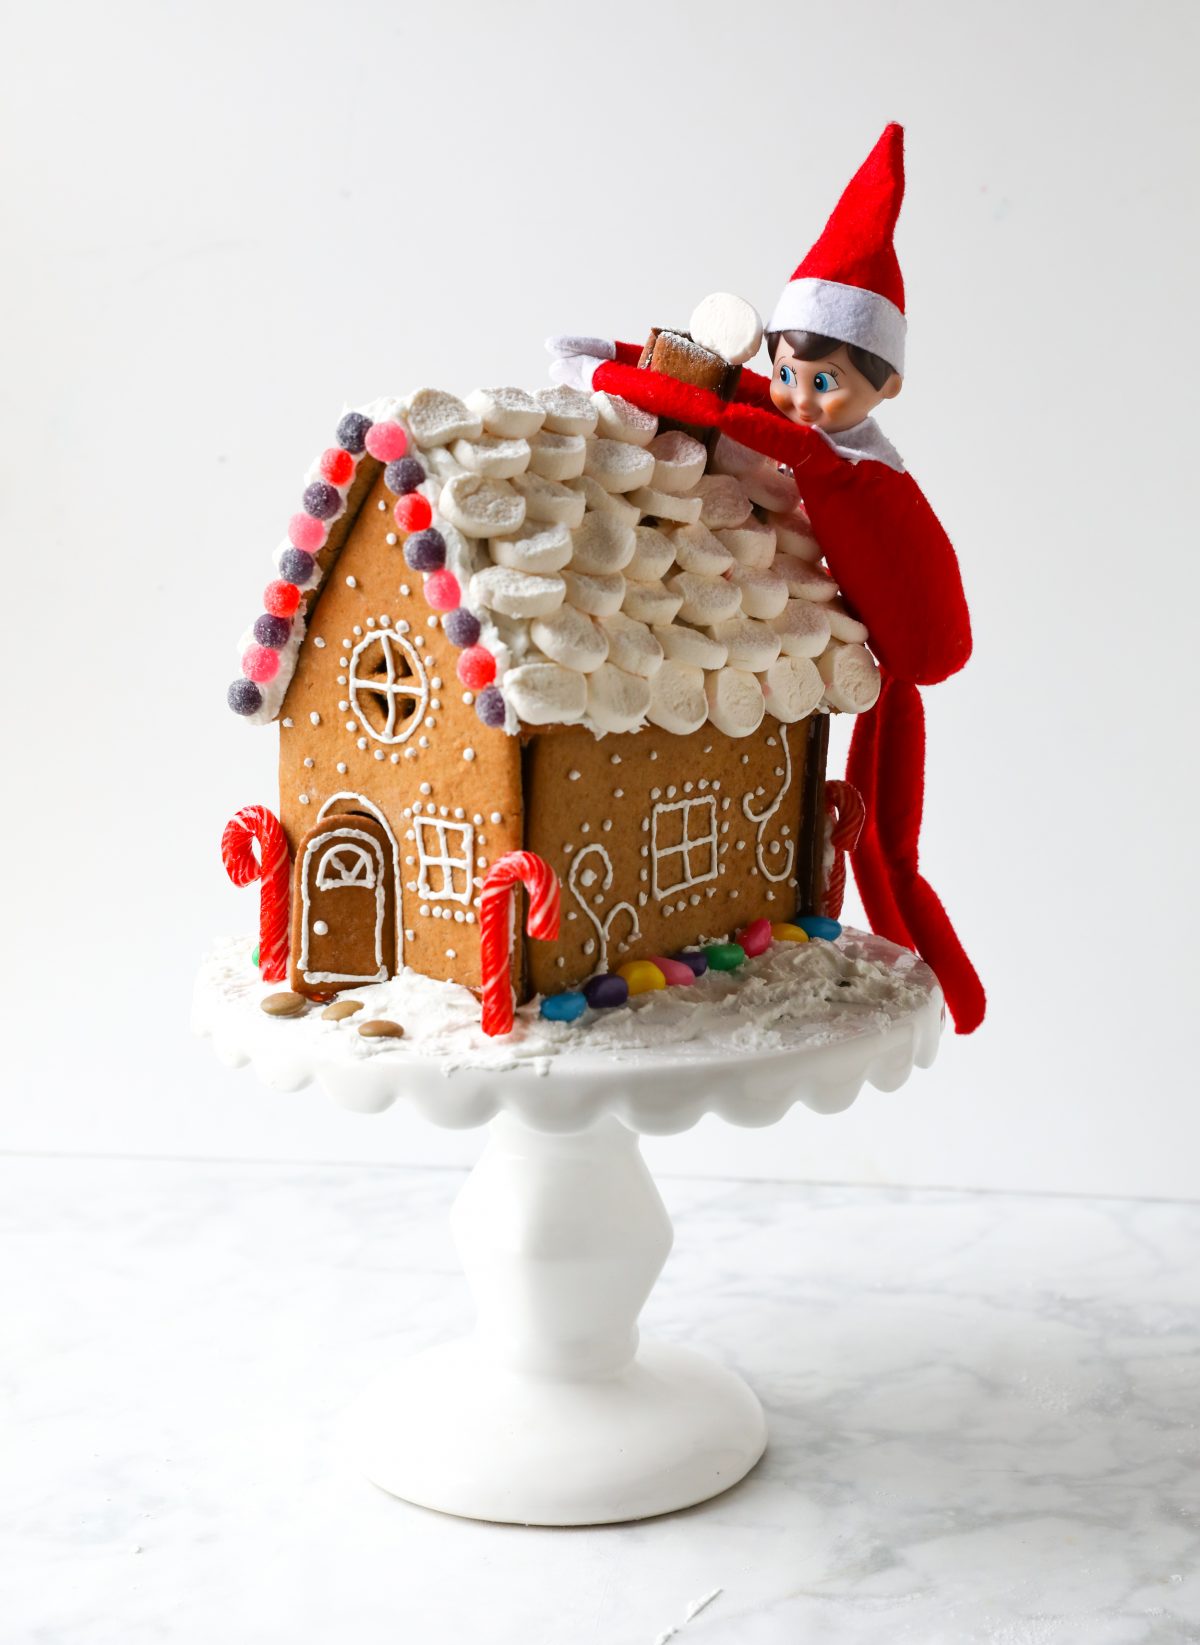
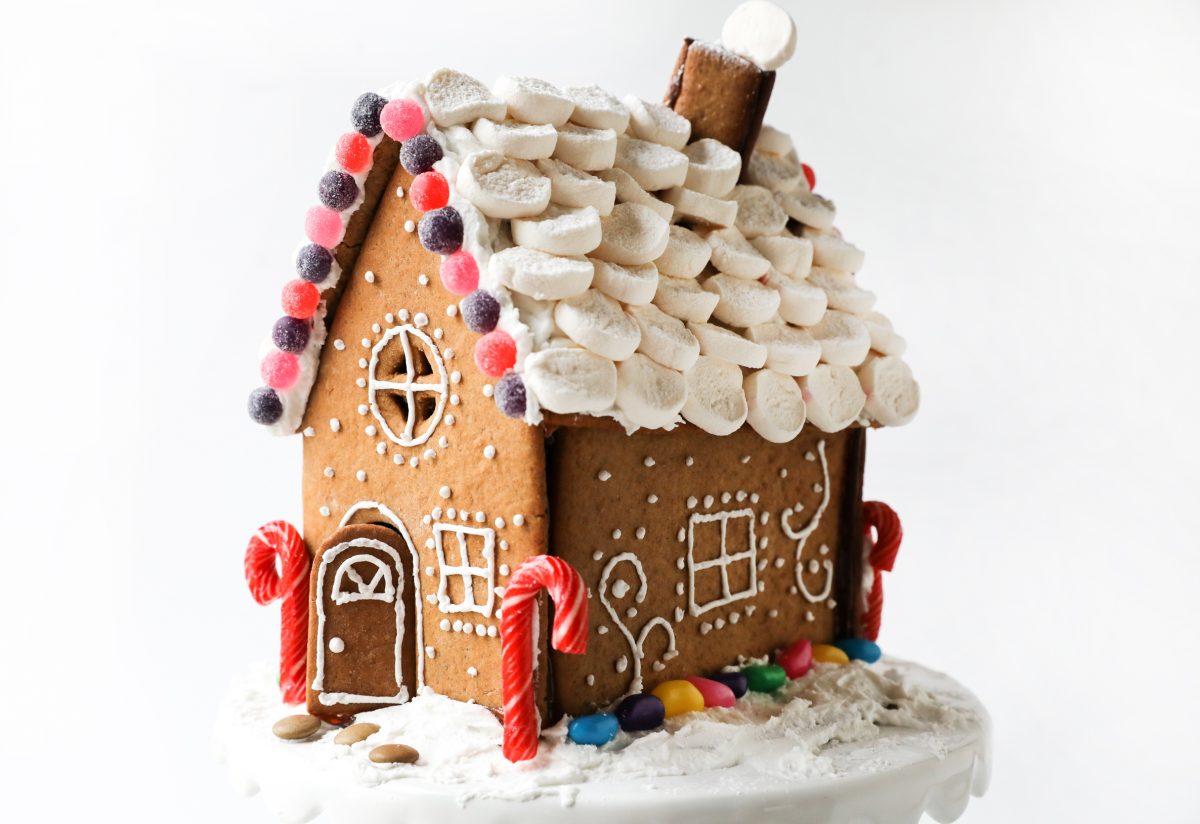
Tadaaaaaa! Your house is done.
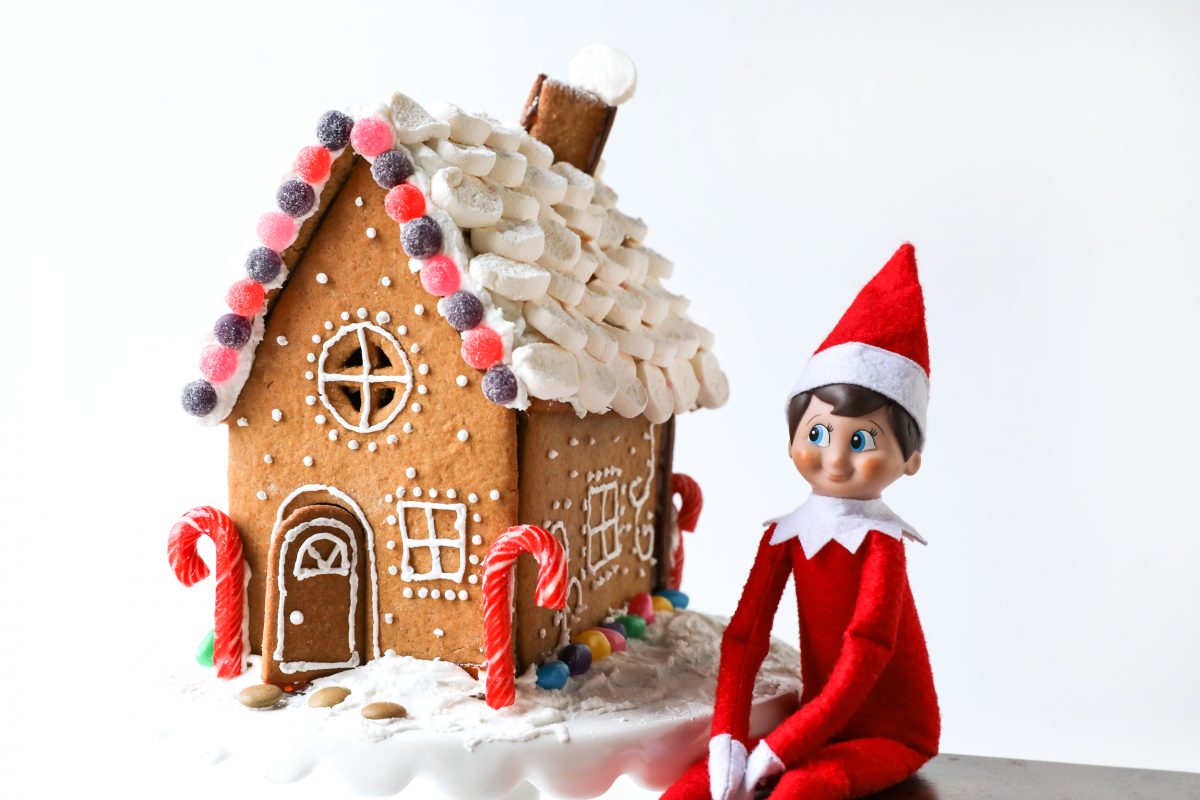
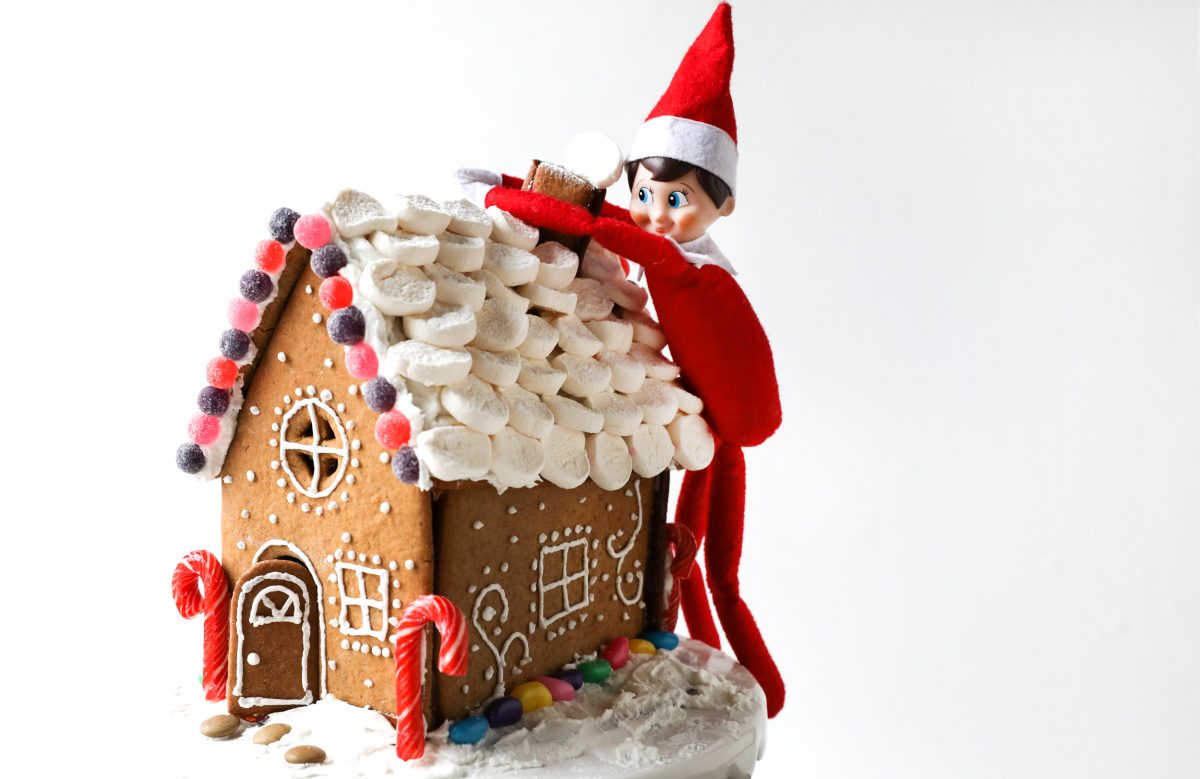
Elf on the Shelf ideas. Get him up to some mischief!!

Step-by-Step Gingerbread House Tutorial
- Total Time: 2 hours 45 mins
Ingredients
- 125g butter
- 1/2 cup brown sugar
- 2/3 cup syrup
- 1 large egg
- 2 1/2 cups flour
- 2 teaspoons ground ginger
- 1 teaspoon mixed spice
- 1 teaspoon bicarbonate of soda
- 1 cup caster sugar
- 2 egg whites
- 3 cups icing sugar
- 1 teaspoon lemon juice
- 2 teaspoons boiling water
- 28 Marshmallows, cut into thirds
- Candy Canes, optional
- Jelly Tots, 1 small packet
- Jelly Beans, 1 small packet
- Smarties, 1 small packet (optional)
- Gingerbread man
Instructions
- Download the gingerbread template , print onto thin cardboard and cut out. Set aside for once you have made the dough.
- Cream the sugar and butter together until light and creamy
- Add the egg and syrup and beat until well combined.
- Add the remaining ingredients and mix until a dough forms.
- Cover the dough in plastic wrap and place in the fridge for 30 minutes.
- Preheat the oven to 180°C
- Once chilled for 30 minutes, roll out the dough to approx 1/2 cm thick (no thinner though).
- Lightly flour the surface and start cutting out the templates.
- You will have to roll and cut and roll and cut. The dough goes a long way.
- Transfer the shapes to a baking tray that is lined with wax wrap and bake for 12-15 minutes until golden.
- Whilst the gingerbread is cooling, you can start to make the sugar glue that will be used to assemble your house.
- Place the caster sugar in a medium sized pan on medium heat and allow to melt. Do not stir. The sugar will melt into a sugar syrup. This may take 10-20 minutes depending on your stove. Just be patient if it takes time.
- Once the sugar has turned into a beautiful golden syrup, assemble the gingerbread house walls onto the base you wish to glue it to. We used a tinfoil covered board that you get from a baking shop but you could use a plate instead.
-
Add a blob of glue to the base board (ie the tinfoil board) and stick one of the end / gable walls down.
-
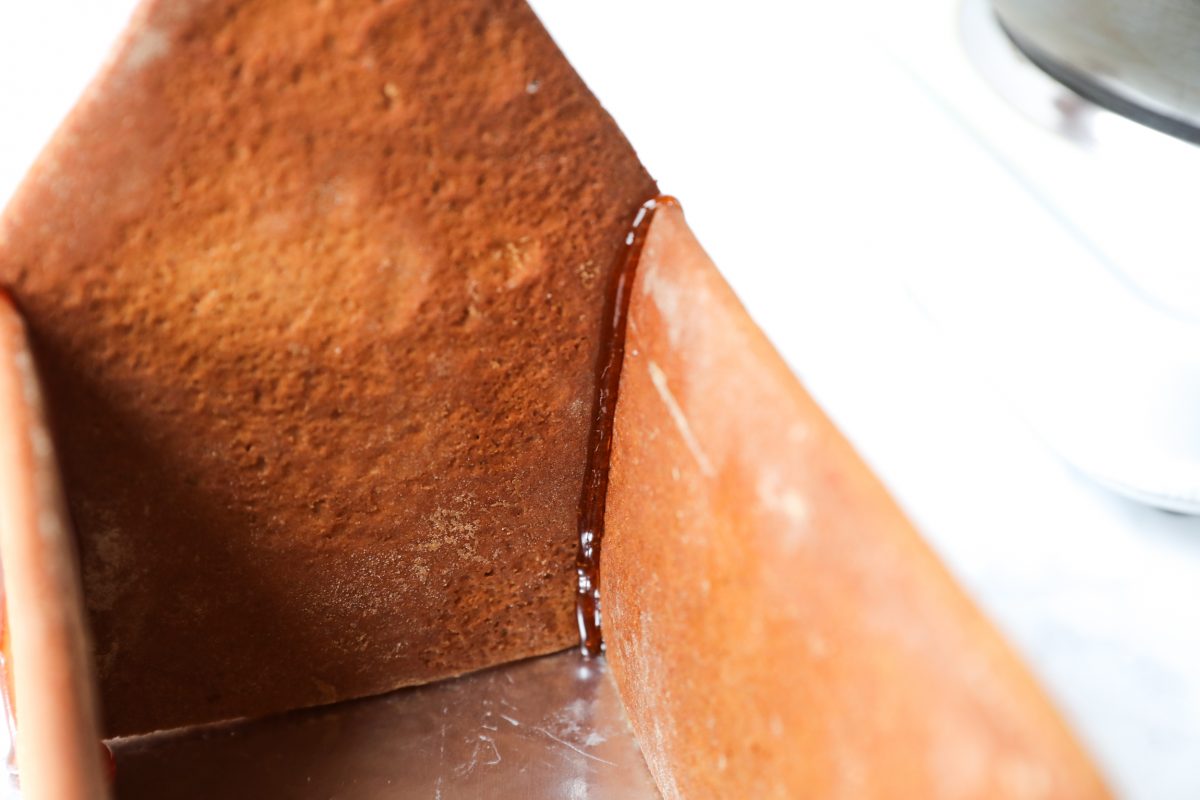
Now, take one of the side walls and dip its shortest edge into the glue to coat it. Working quickly, stick that edge to the gable end piece that you just stuck down to the base.
-
Repeat with the opposite side wall.
-
Stick the remaining Gable end on by applying glue to the sides and then sticking to the two side wall edges.
-
Add the roof pieces by first using a spoon to drip glue along the gable edges, then add the roof pieces. Press them in place – hold firmly just not too firmly! 🙂
-
Stick the door piece in place.
-
Stick the chimney pieces together and then stick the chimney to the roof. It may look a little skew, but hay, we are all about being perfectly imperfect!
- Tadaaaa! House done! Now mix the Royal Icing for decorating.
- Beat the egg whites until light and fluffy.
- Add the icing sugar, lemon juice and boiling water and mix until well combined
- Place in a piping bag with a number 3 plain round nozzle – it’s tiny!
- With a small spatula, scoop some icing out the piping bag and smear across one roof piece. Using cut up marshmallows (cut approx 1cm wide or into thirds – use scissors its way easier than a knife) stick the marshmallows to the icing as roof tiles. We used about 42 marshmallow pieces per side (so 14 whole marshmallows per side, cut up).
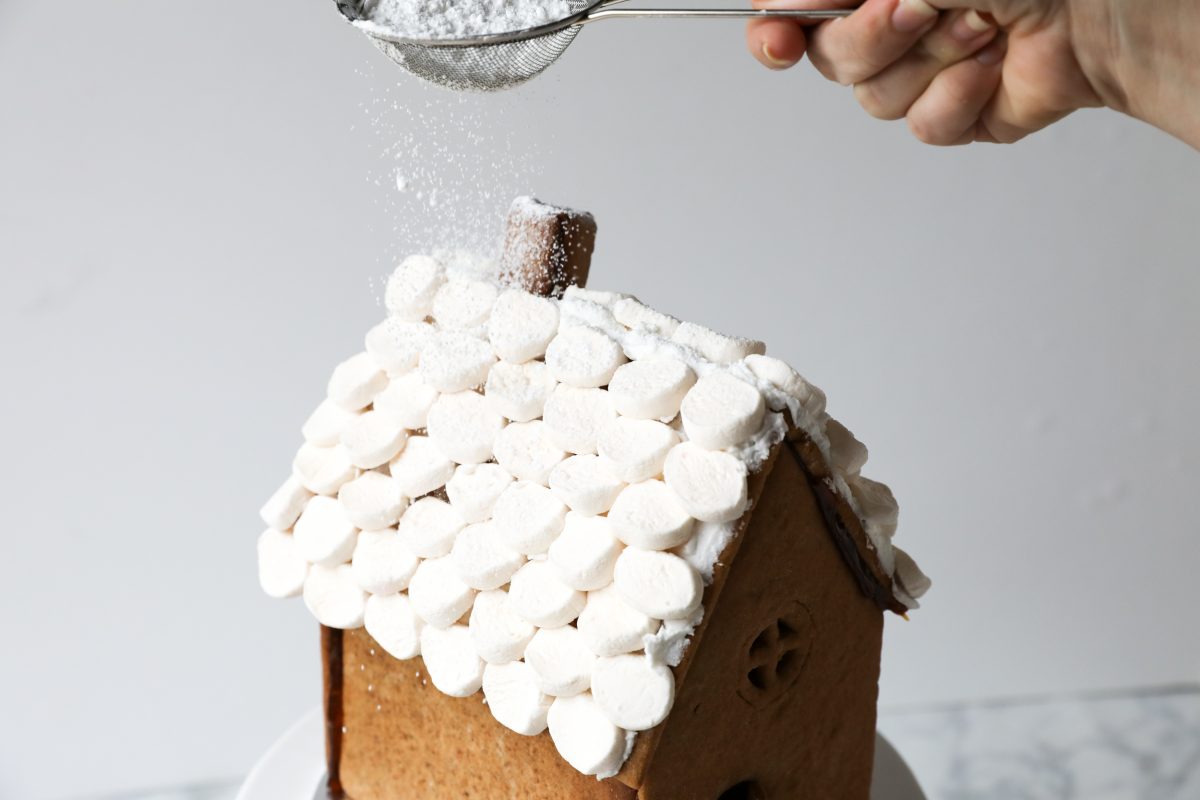
- Using a sieve, dust a little icing sugar over the marshmallows (Fresh snow!!)
- Again, scoop a little icing out the piping bag and lather on the “ground” outside the house – we want it to look like snow!
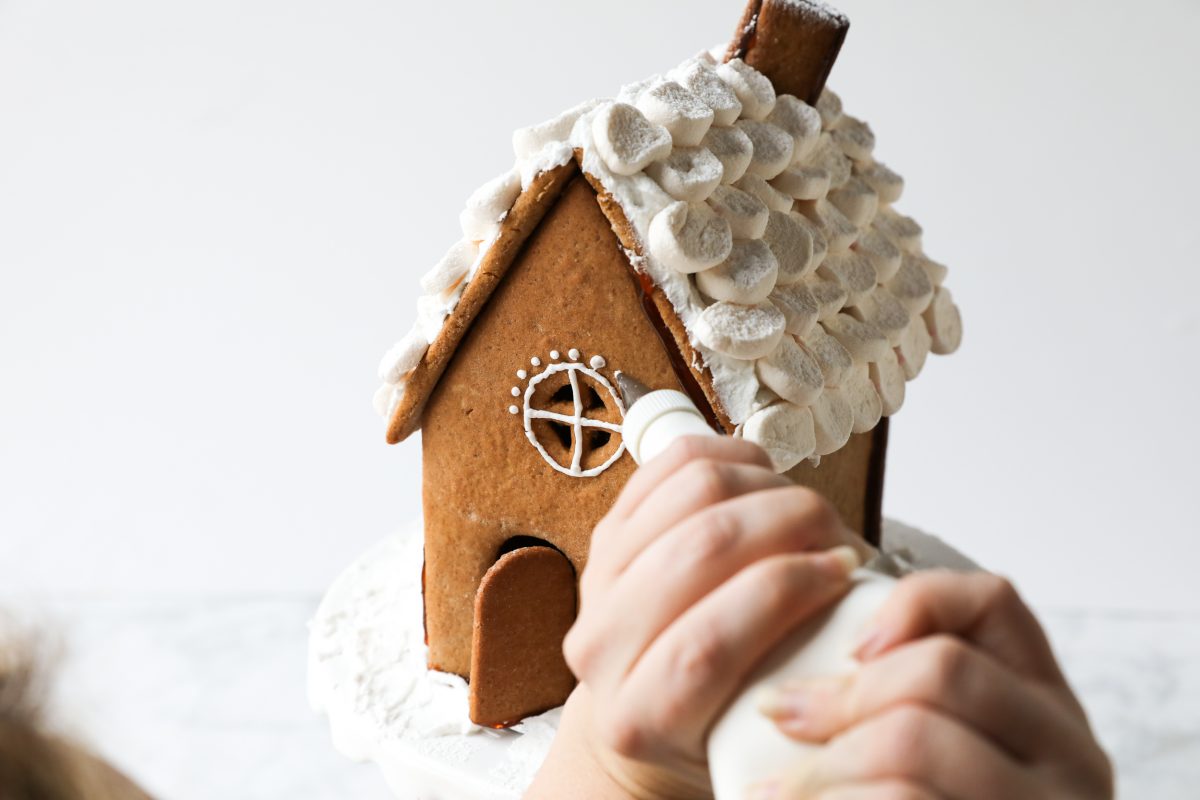
- Now the fun part – there is no right or wrong way to do this so feel free to get creative! Create patterns as you wish on each side of the house using the piping bag. Perhaps draw your designs first or think about what you would like to add or just copy what we have done!
- For the gable ends, use a spatula to smear on some icing and then add the Jelly Tots (or smarties or jelly beans, whatever you like really!)
- Use any extra icing to cover up gaps that you want covered.
- Finish off by icing your Gingerbread man, and placing him and the candy canes around the house.
- Tadaaaaaa! Your house is done.
- Prep Time: 2 hours 30 mins
- Cook Time: 15 mins