I made this fancy-looking Tiramisu with my 11-year old neighbour, Chloé. Well actually, she made it. She is Belgian and so we followed a French recipe. That may sound like I can follow French recipes which would be terribly misleading. She followed the recipe and I read the pictures. Yes, this beauty of a French recipe, had pictures for people like me to follow. So kind of them. The method however, was in the hands of my very talented young neighbour. You will be happy to know however, that I re-wrote and edited the recipe in English! Because it wouldn’t be quite so “just-easy” in French. Nope.
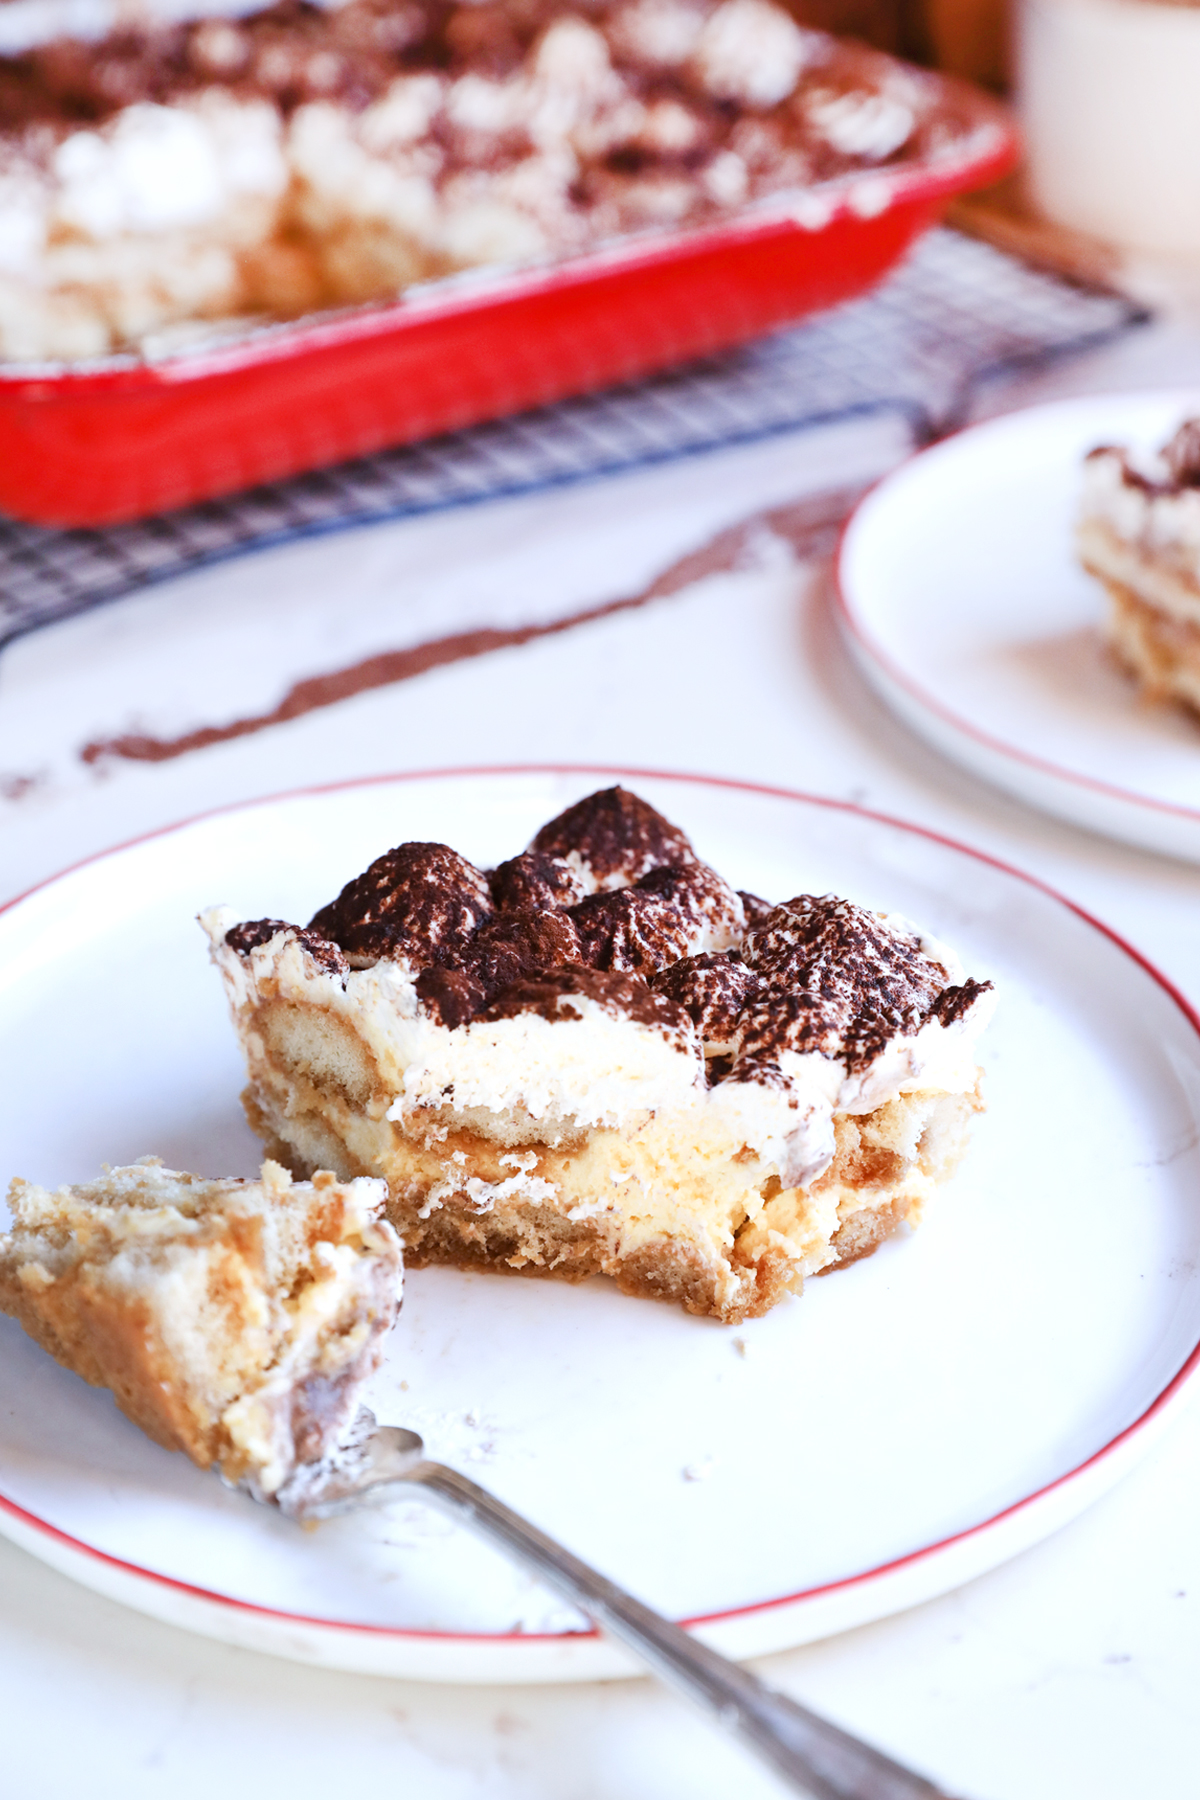
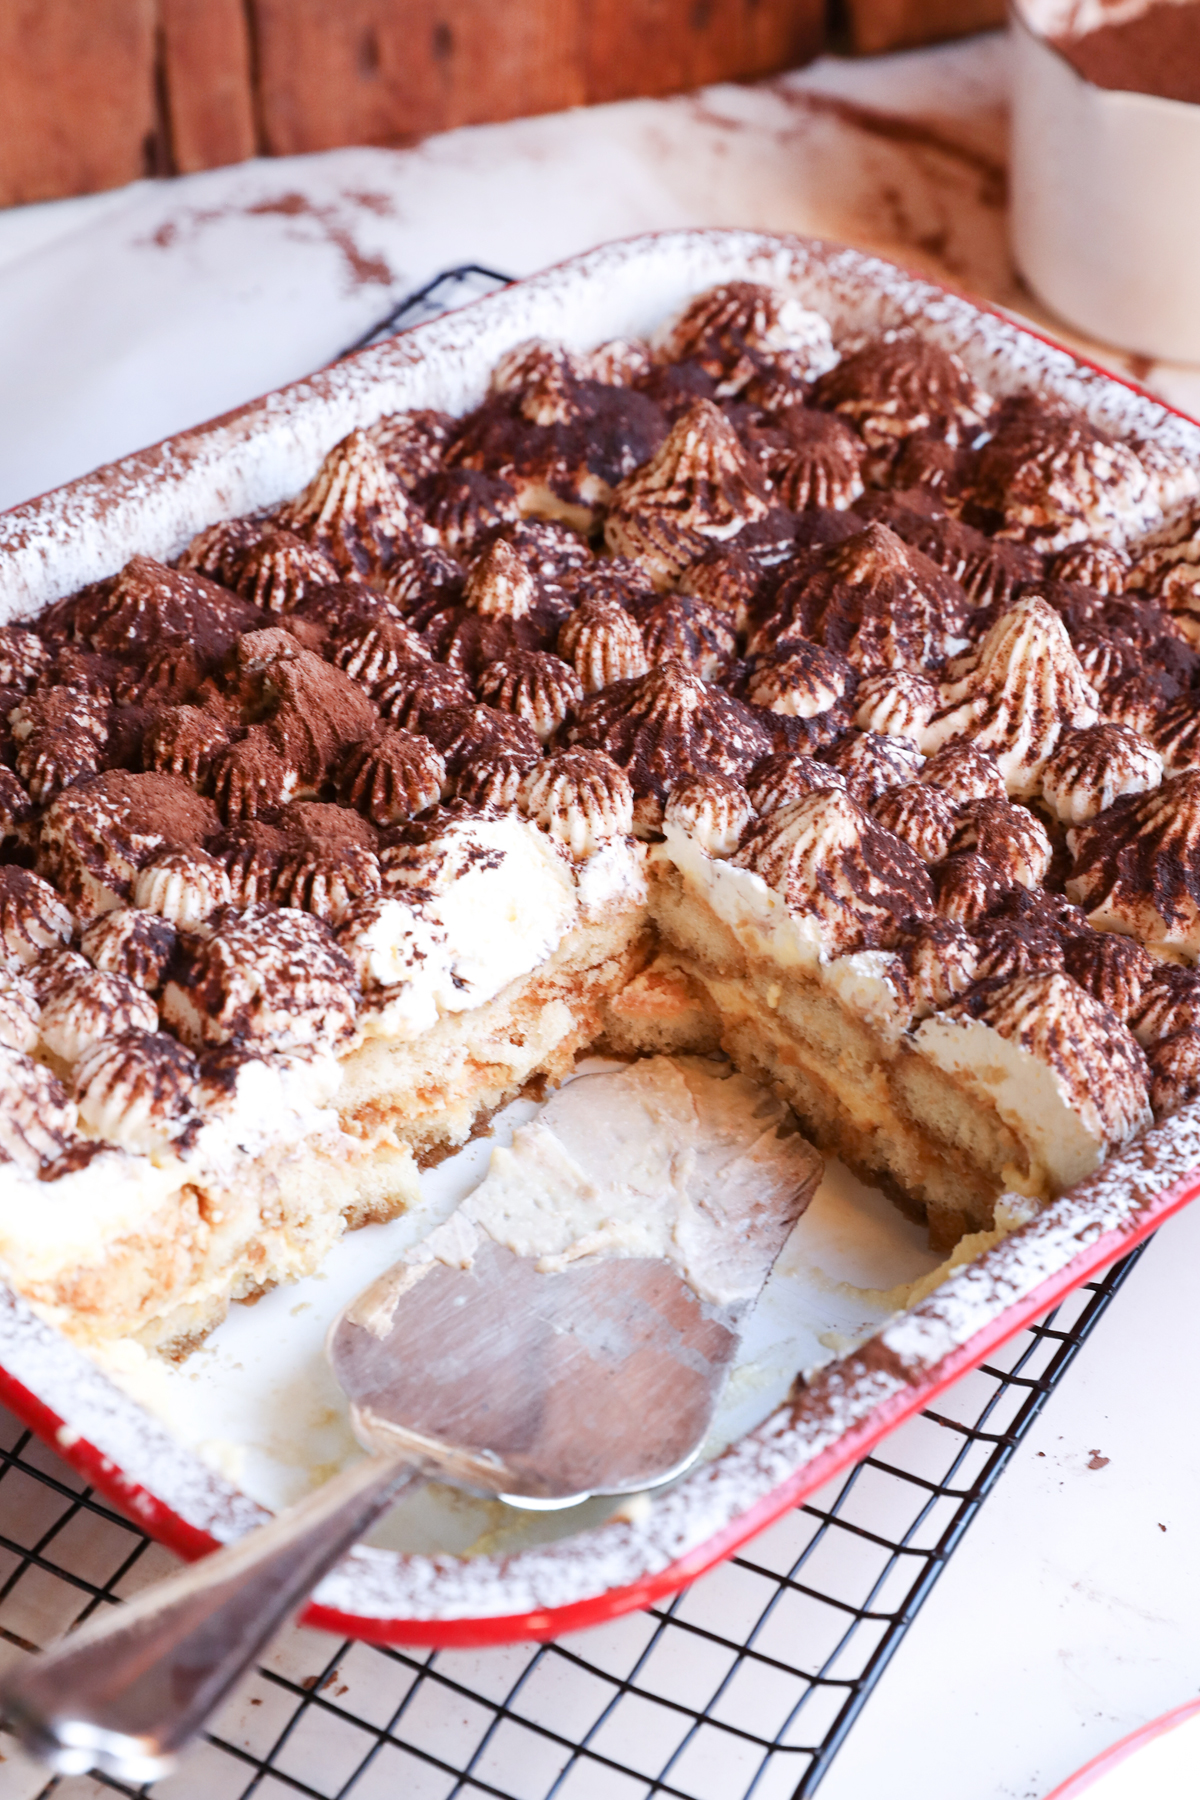
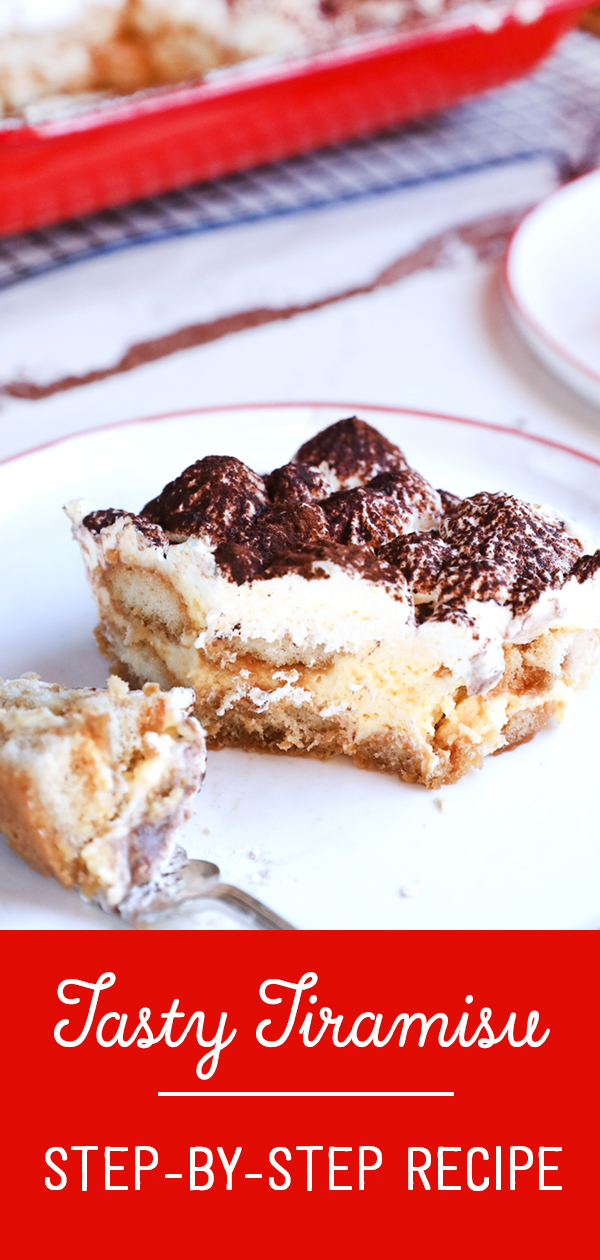
Now, what you must know about Tiramisu is that you can’t eat it straight away. Bummer, I know. We had to wait a whole 24 hours for tea time the following afternoon to enjoy it together with our families. I also had to safeguard it from the prying fingers of little boys aged 5, 8 and 9. And it actually endured quite well, except for one pesky little finger that managed to break through into one unsuspecting cocoa-dusted peak. So it survived mostly….only to be completely demolished the following day. How could one not, demolish this fine dessert, after all? Just look at the side view.
Demolishable (that is now a new word)
I wouldn’t say its a super quick recipe to make, BUT, it is easy. And the wonderful thing about this dessert is that you have to make it the day before eating it, so it is a top choice for entertaining. In fact, you should always plan to entertain when making this – you do not want Tiramisu greeting you every time you open the fridge. You know what happens after that “hello”. Yah!
I have written the recipe below in a printable format, but pictures and descriptions are below as well, in a step-by-step format.
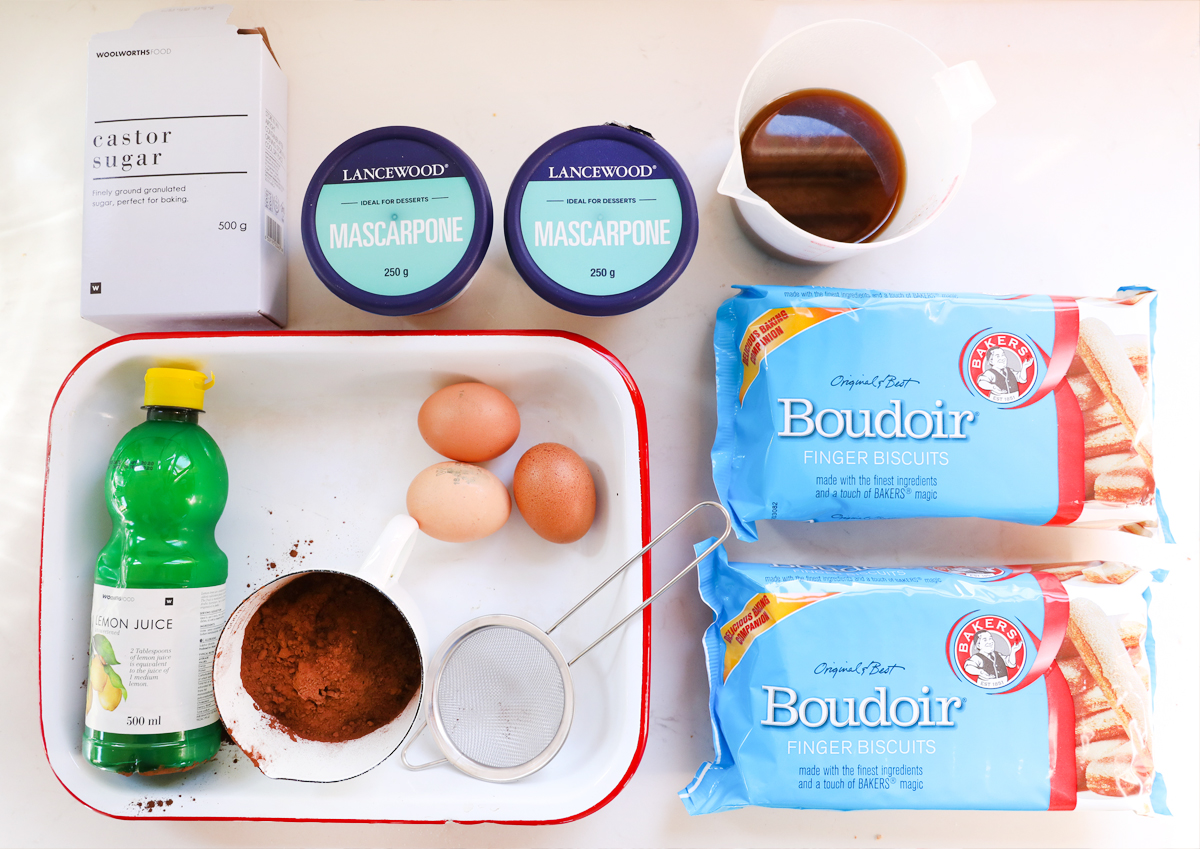
Step 1: First, start with these ingredients (see list of quantities in the recipe section below). Missing in the picture is 250ml whipping cream.
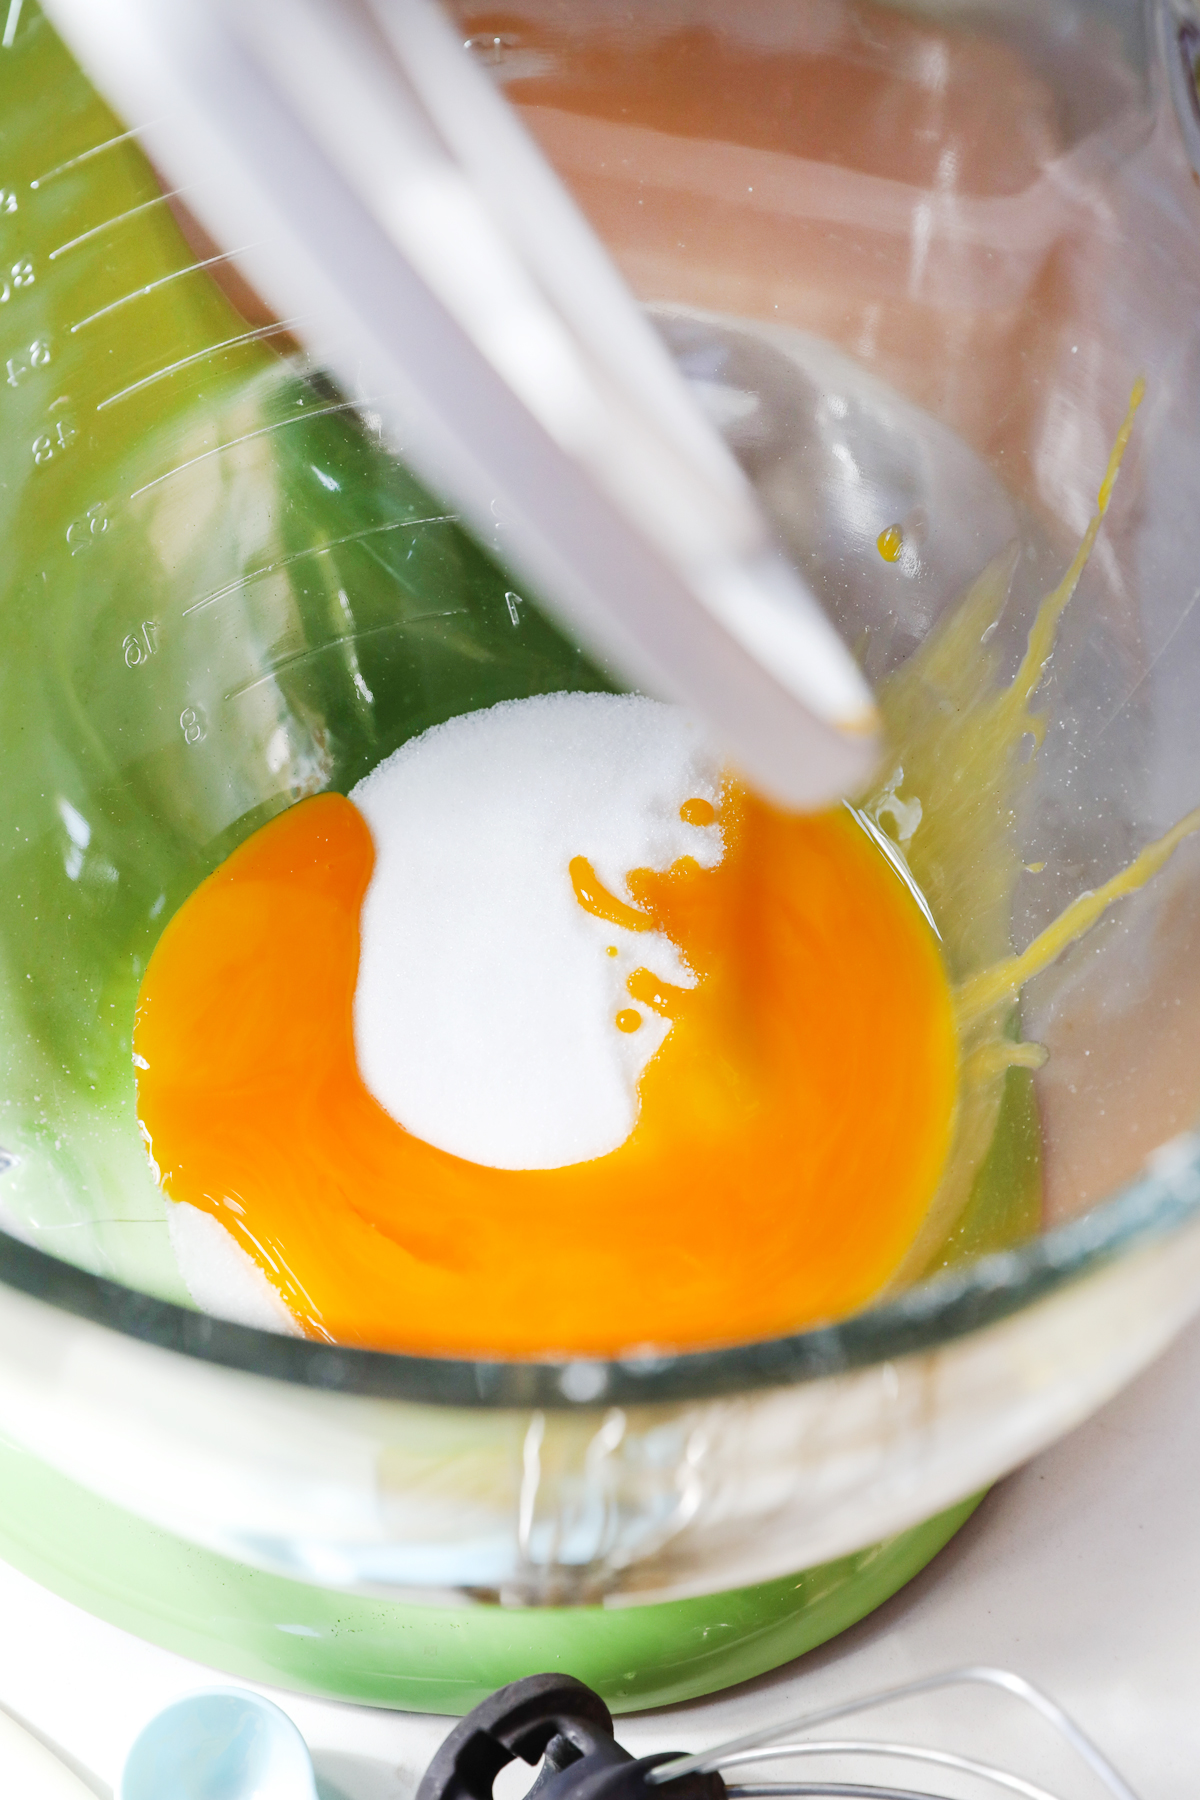
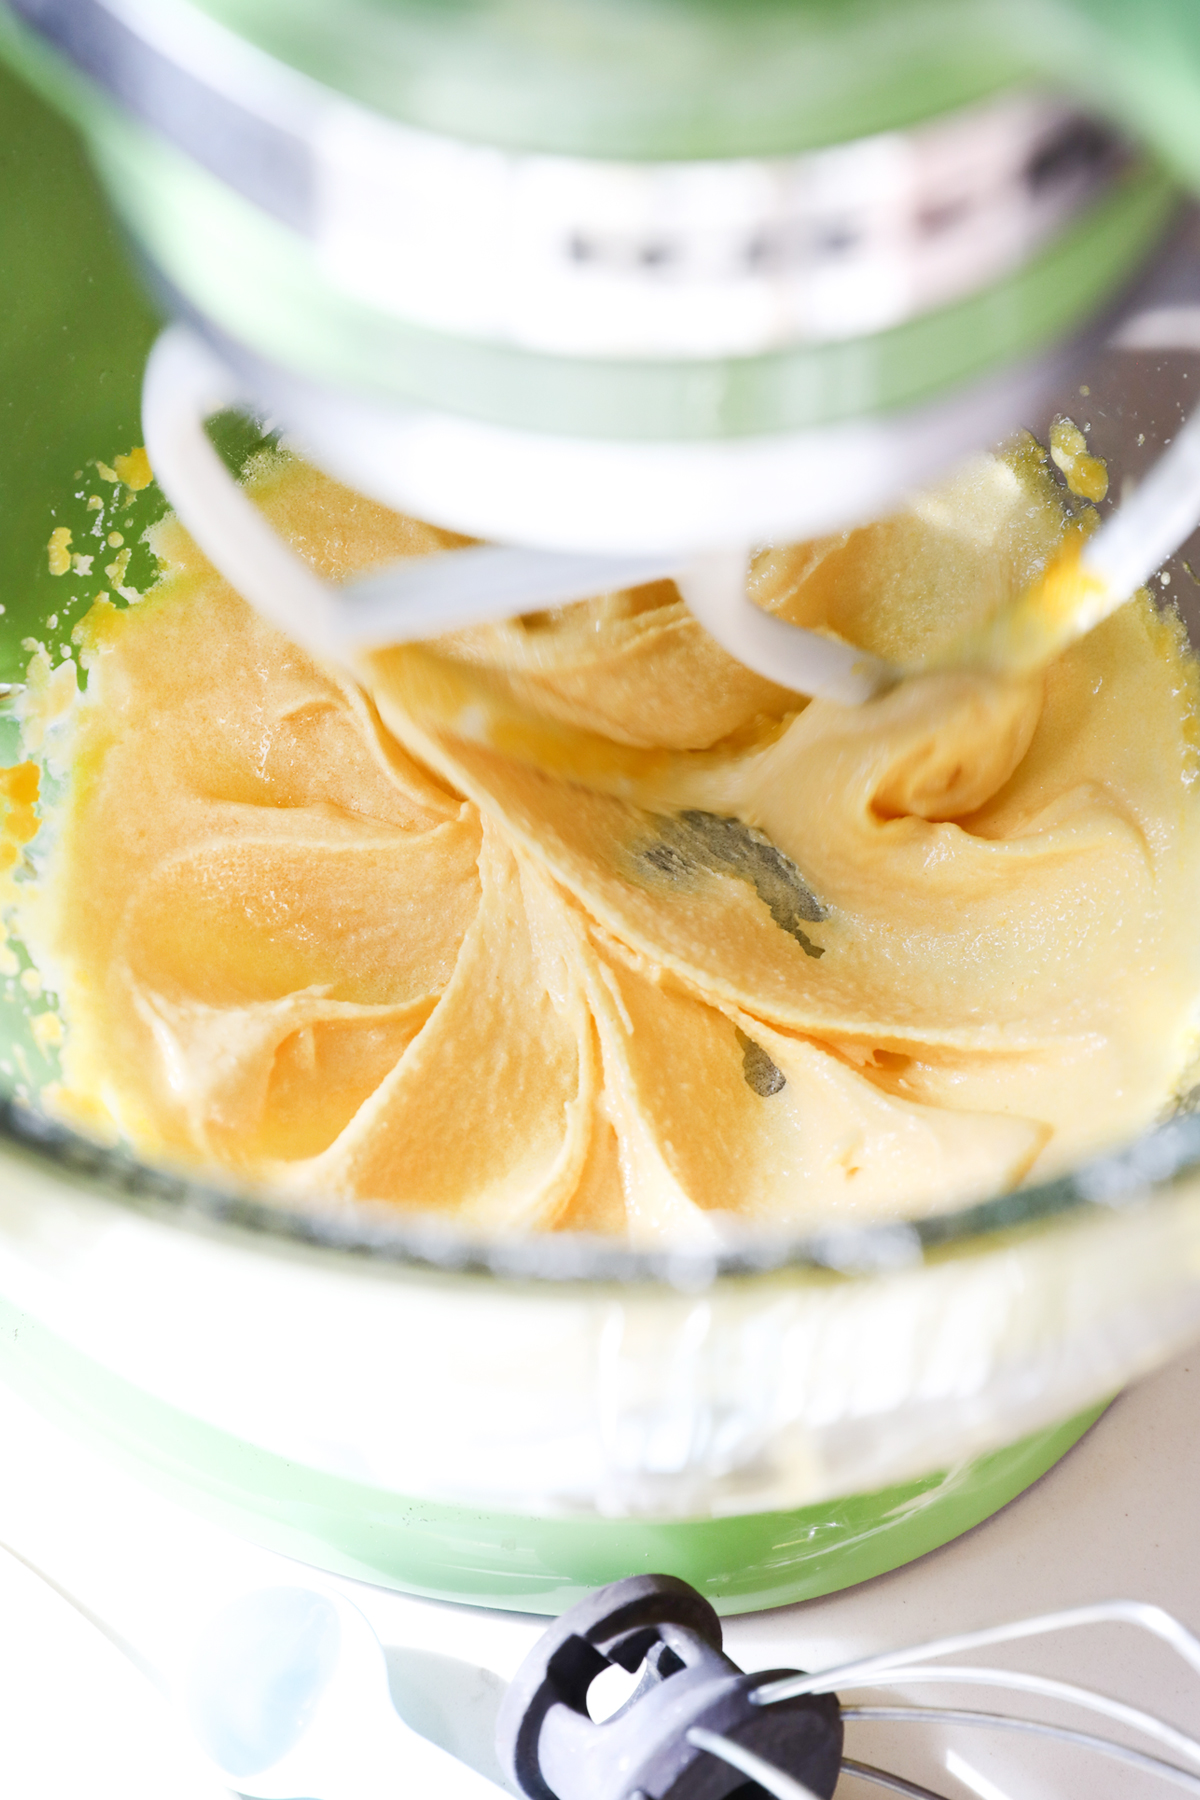
Step 2: Separate the egg yolks from the egg whites. In a mixing bowl, using a stand mixer or a handheld mixer, beat the egg yolks and the sugar together until creamy.
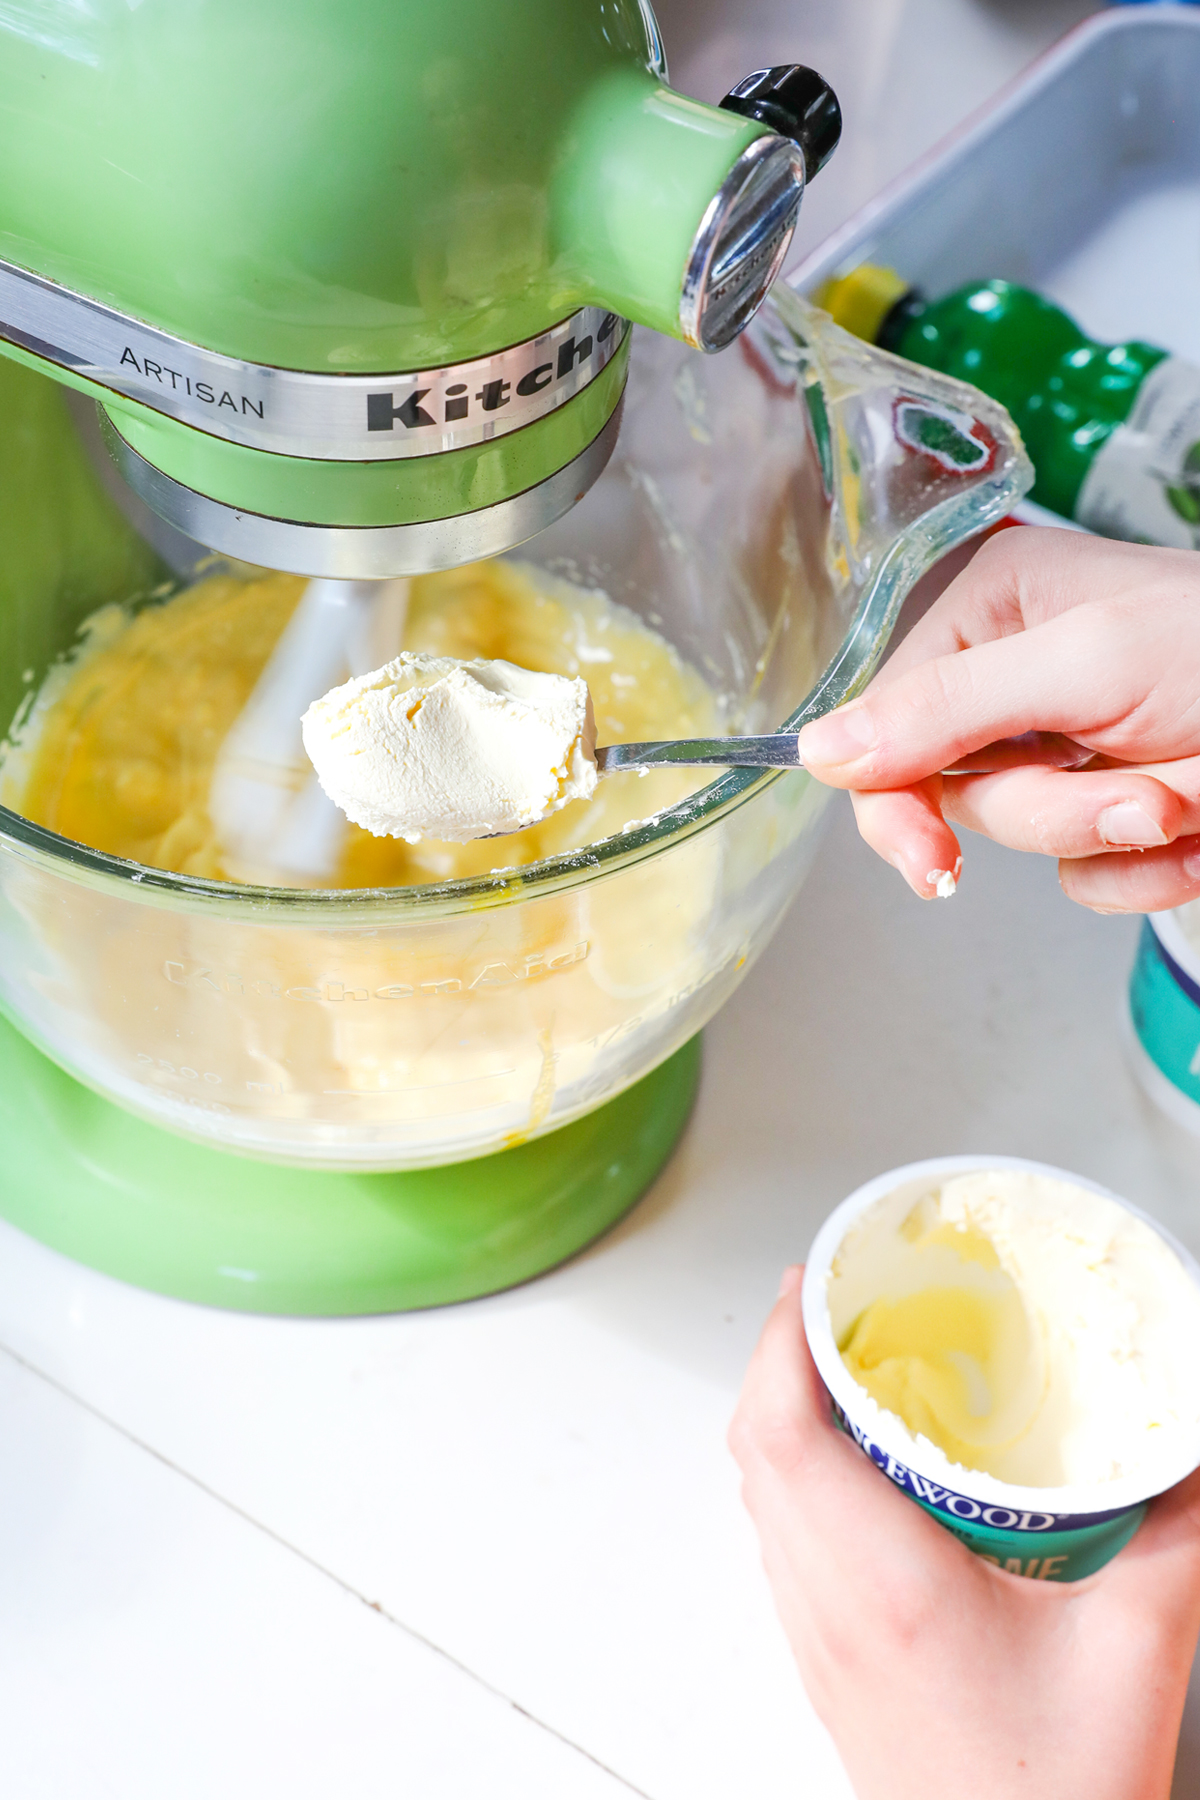
Step 3: Add the Mascarpone cheese – add 250g, mix until smooth and then add the next 250g and mix until smooth. The key here is to make sure your Mascarpone is at room temperature so that it blends easily. Set aside
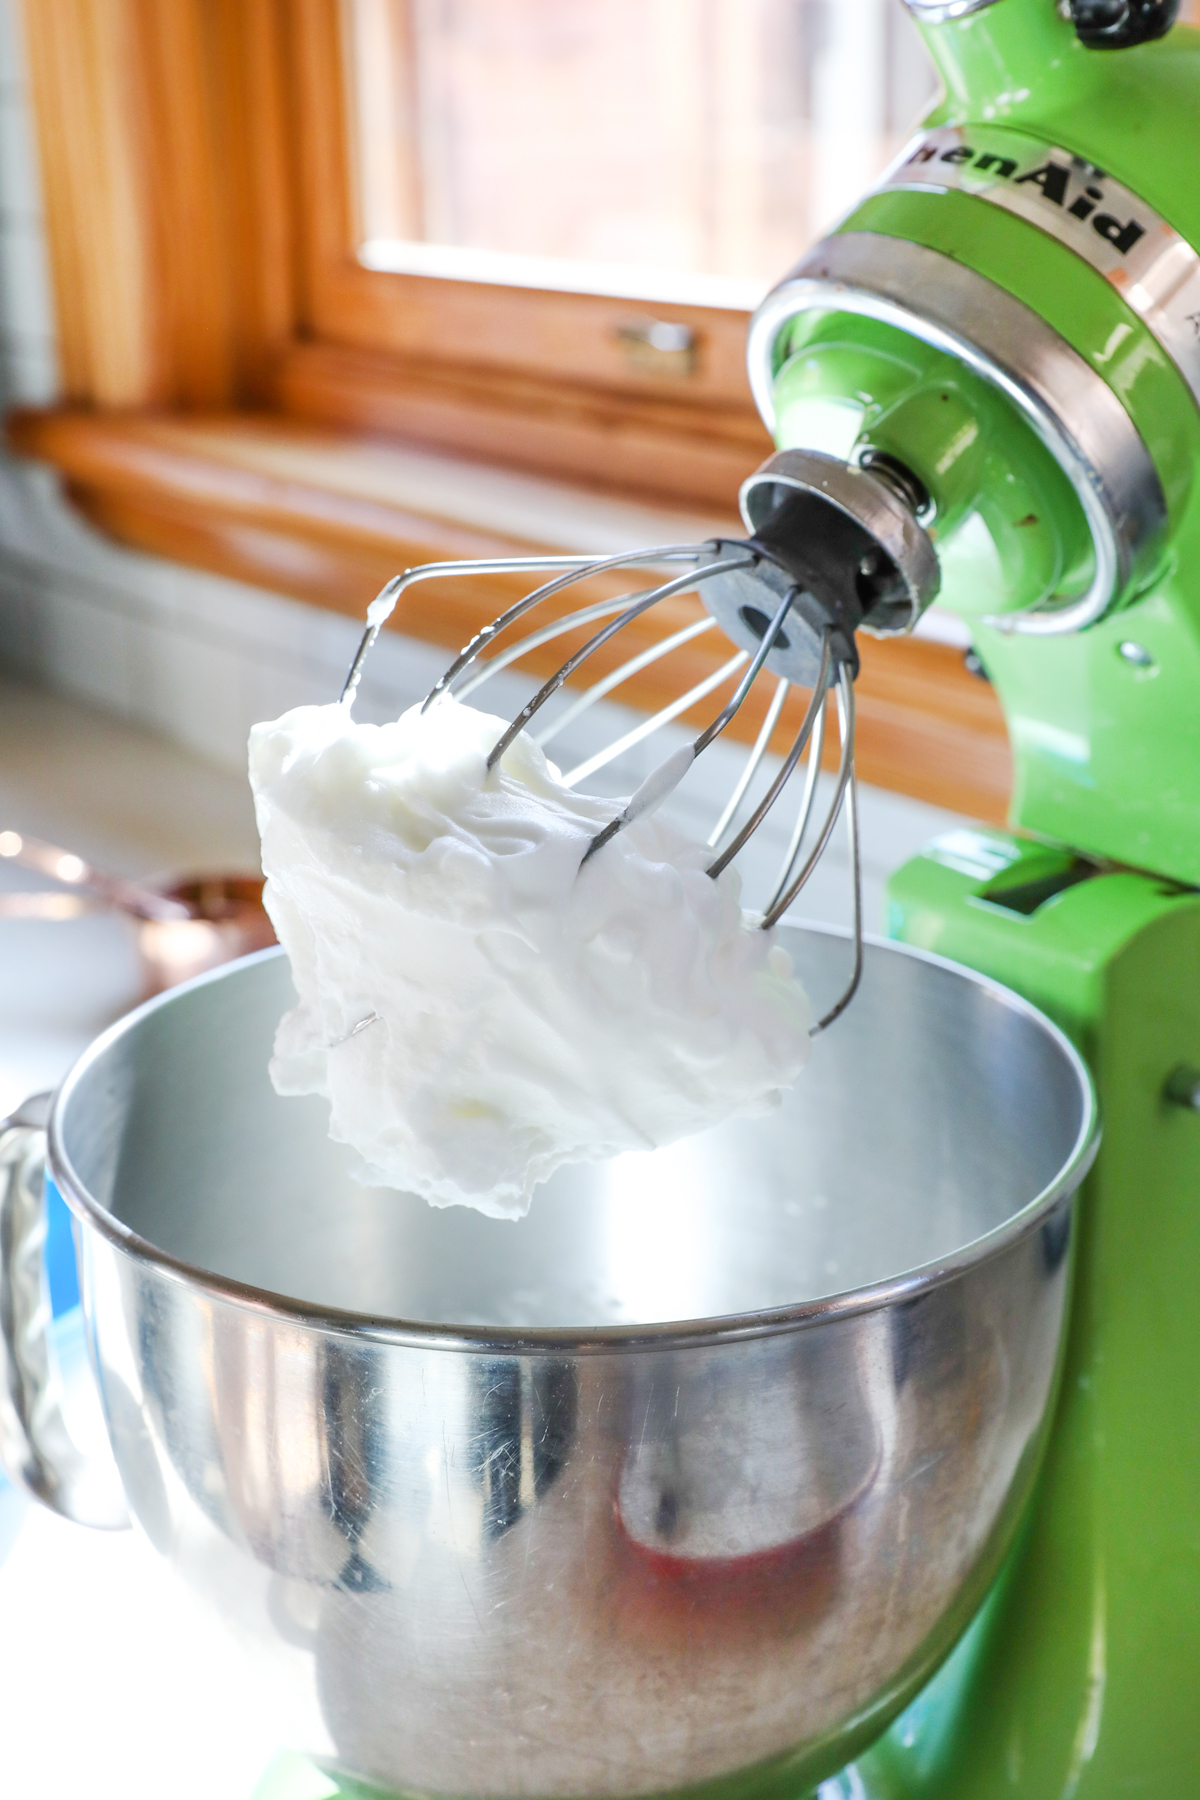
Step 4: In a separate bowl, add the egg whites and lemon juice together and whisk until light and frothy.
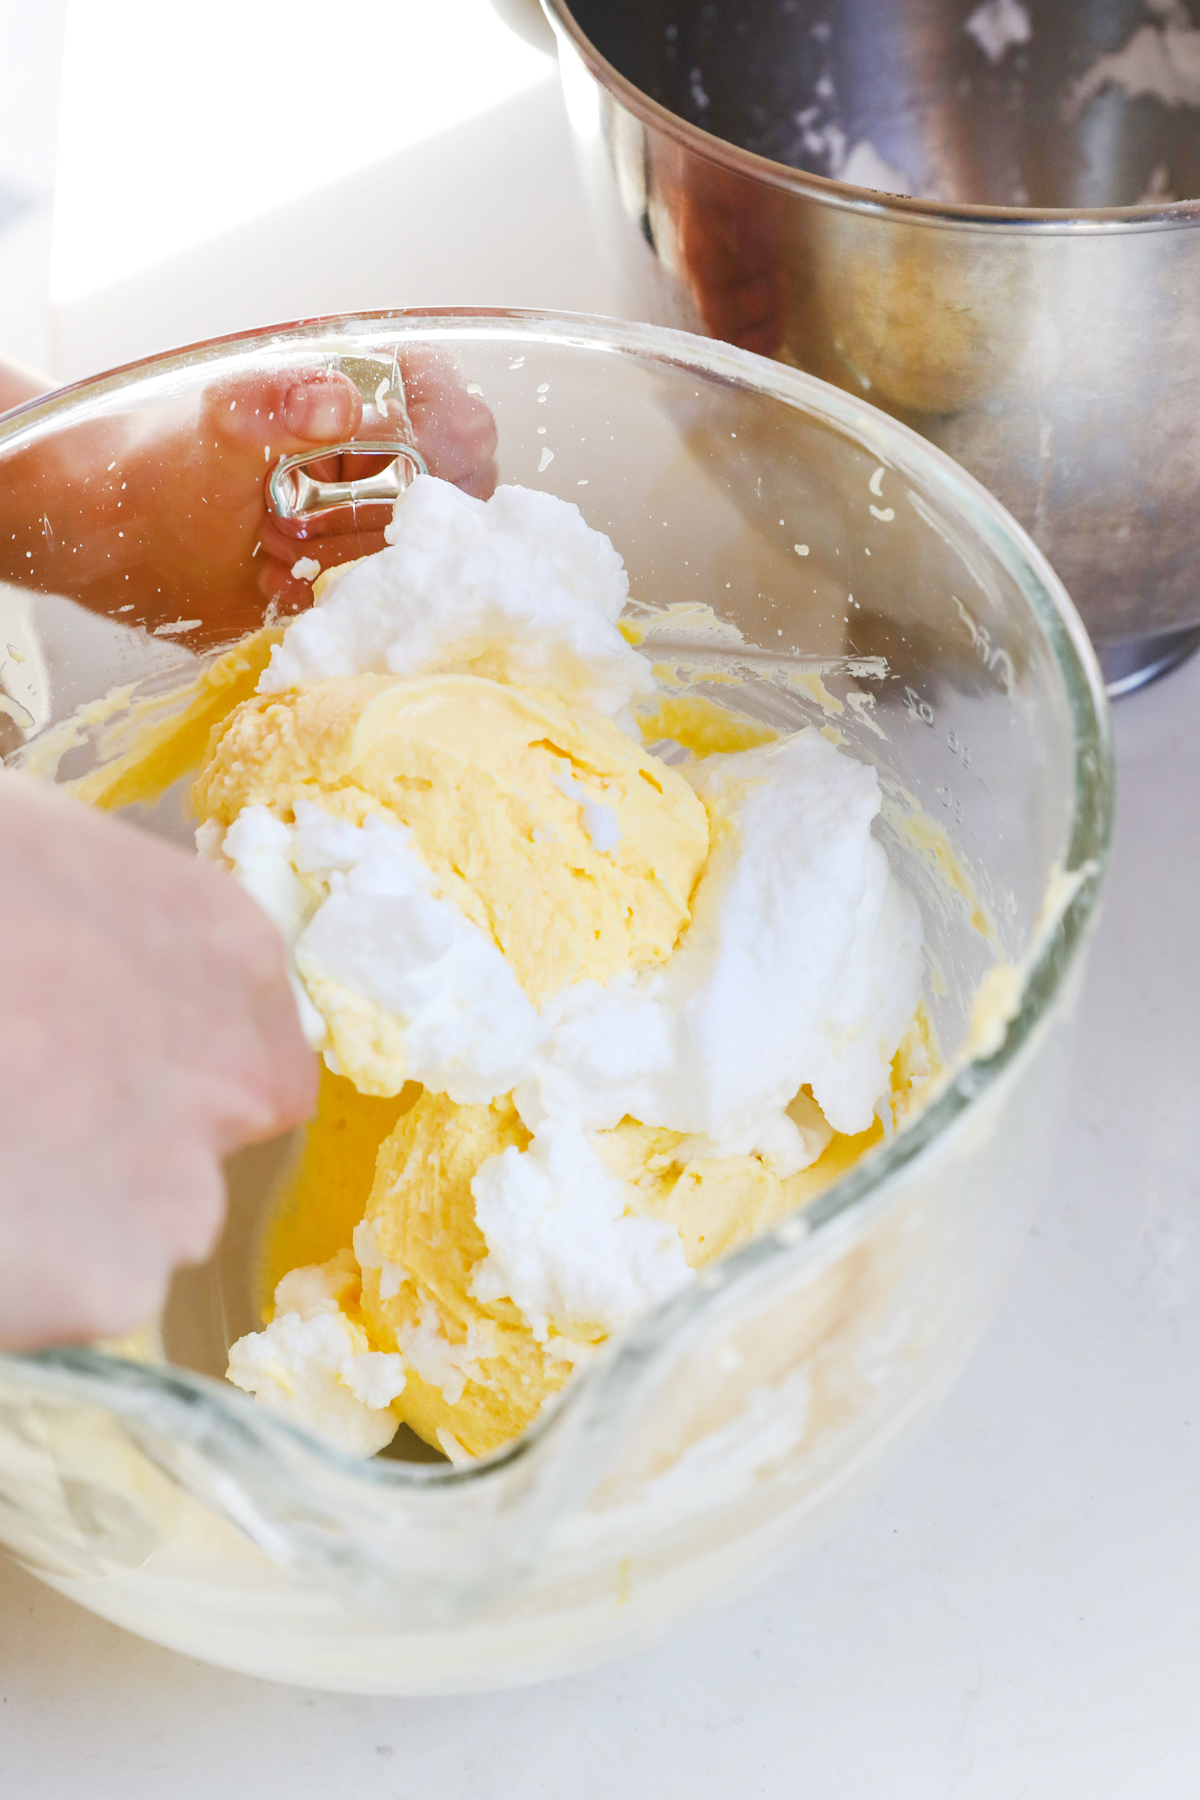
Step 5: Now fold the egg yolk mixture into the egg white mixture using a spatula. Set aside.
Step 6: Mix one cup of strong coffee and the liqueur (optional) together and place in a rectangular dish.

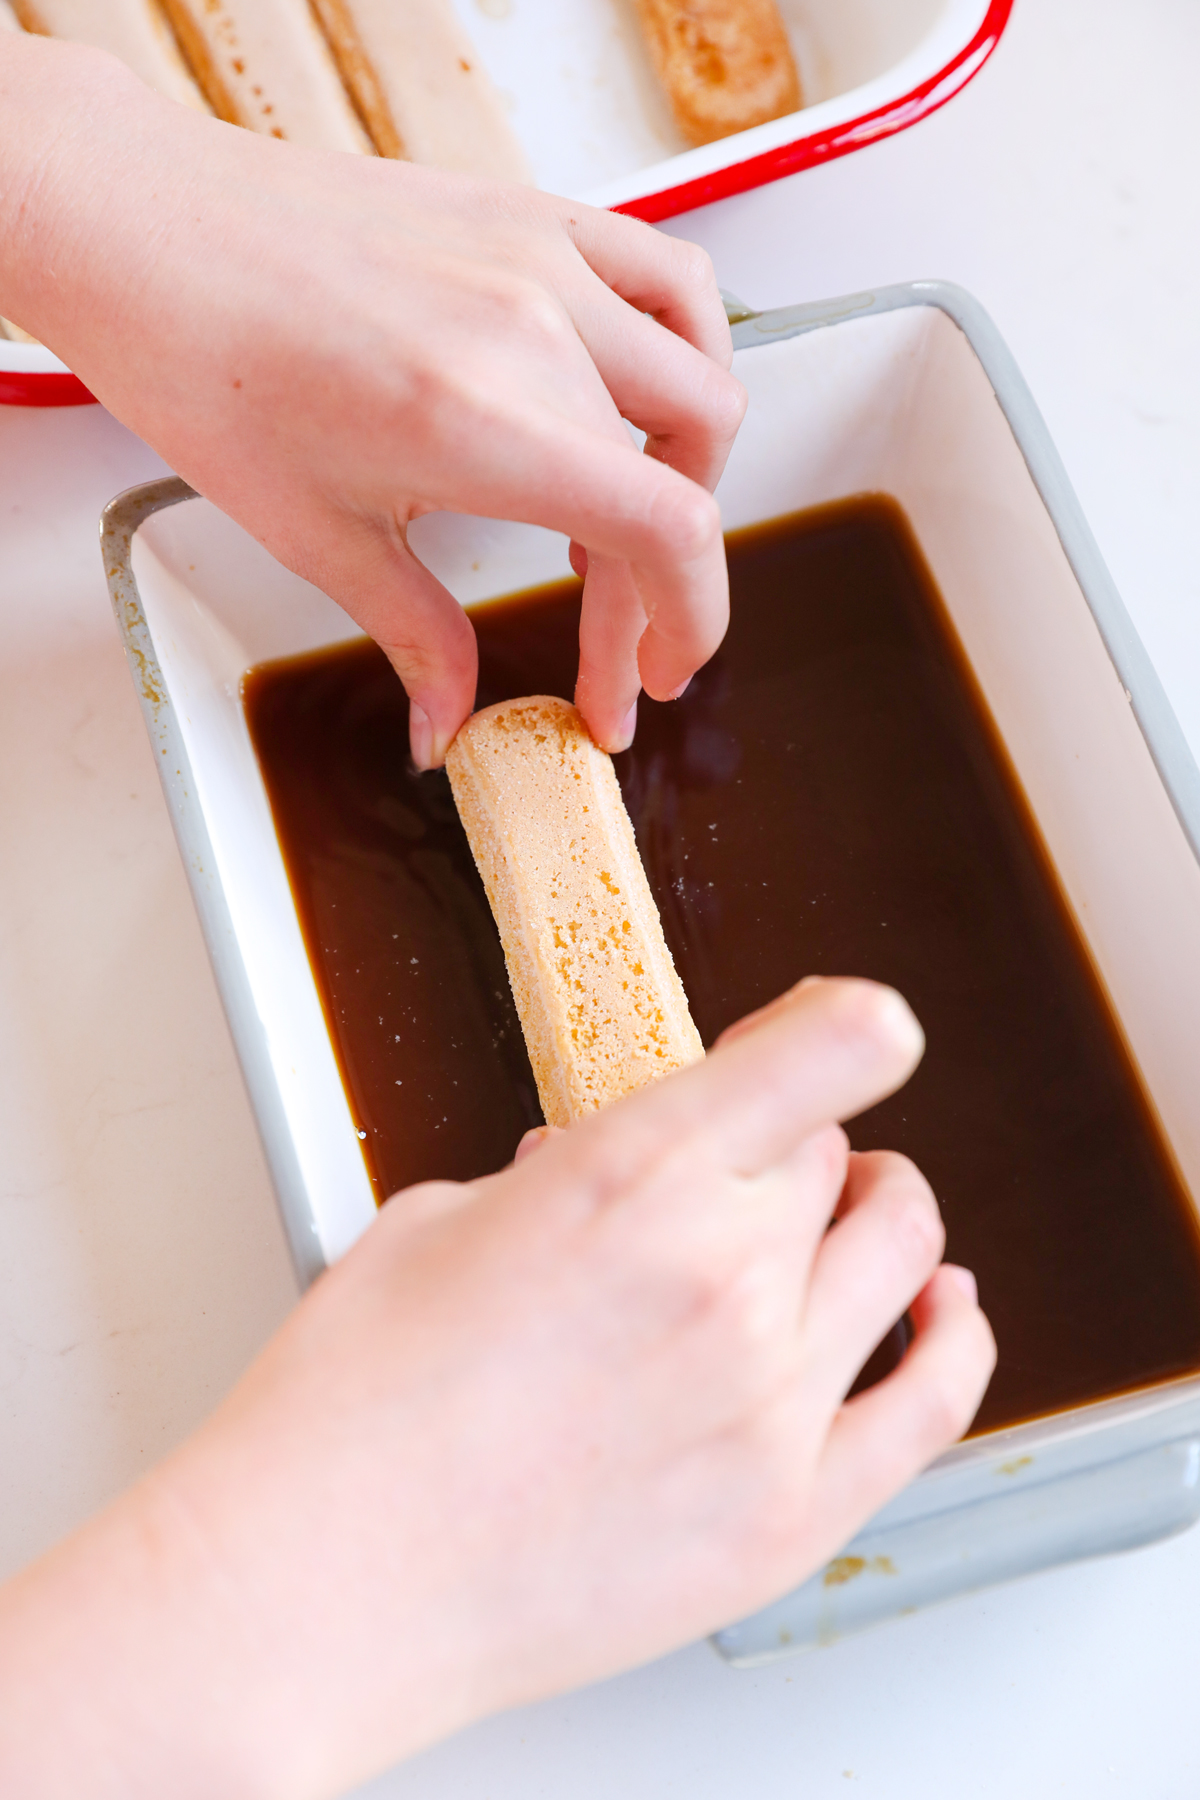
Step 7: Now quickly dip each side of the Ladyfinger into the coffee-liquor blend and place in a medium sized rectangular dish – your dessert dish. The secret here is to make it a very quick dip on each side, it’s literally less than half a second, a quick flick of the wrist to dip each side of the biscuit – you don’t want soggy biscuit. Nooooo!
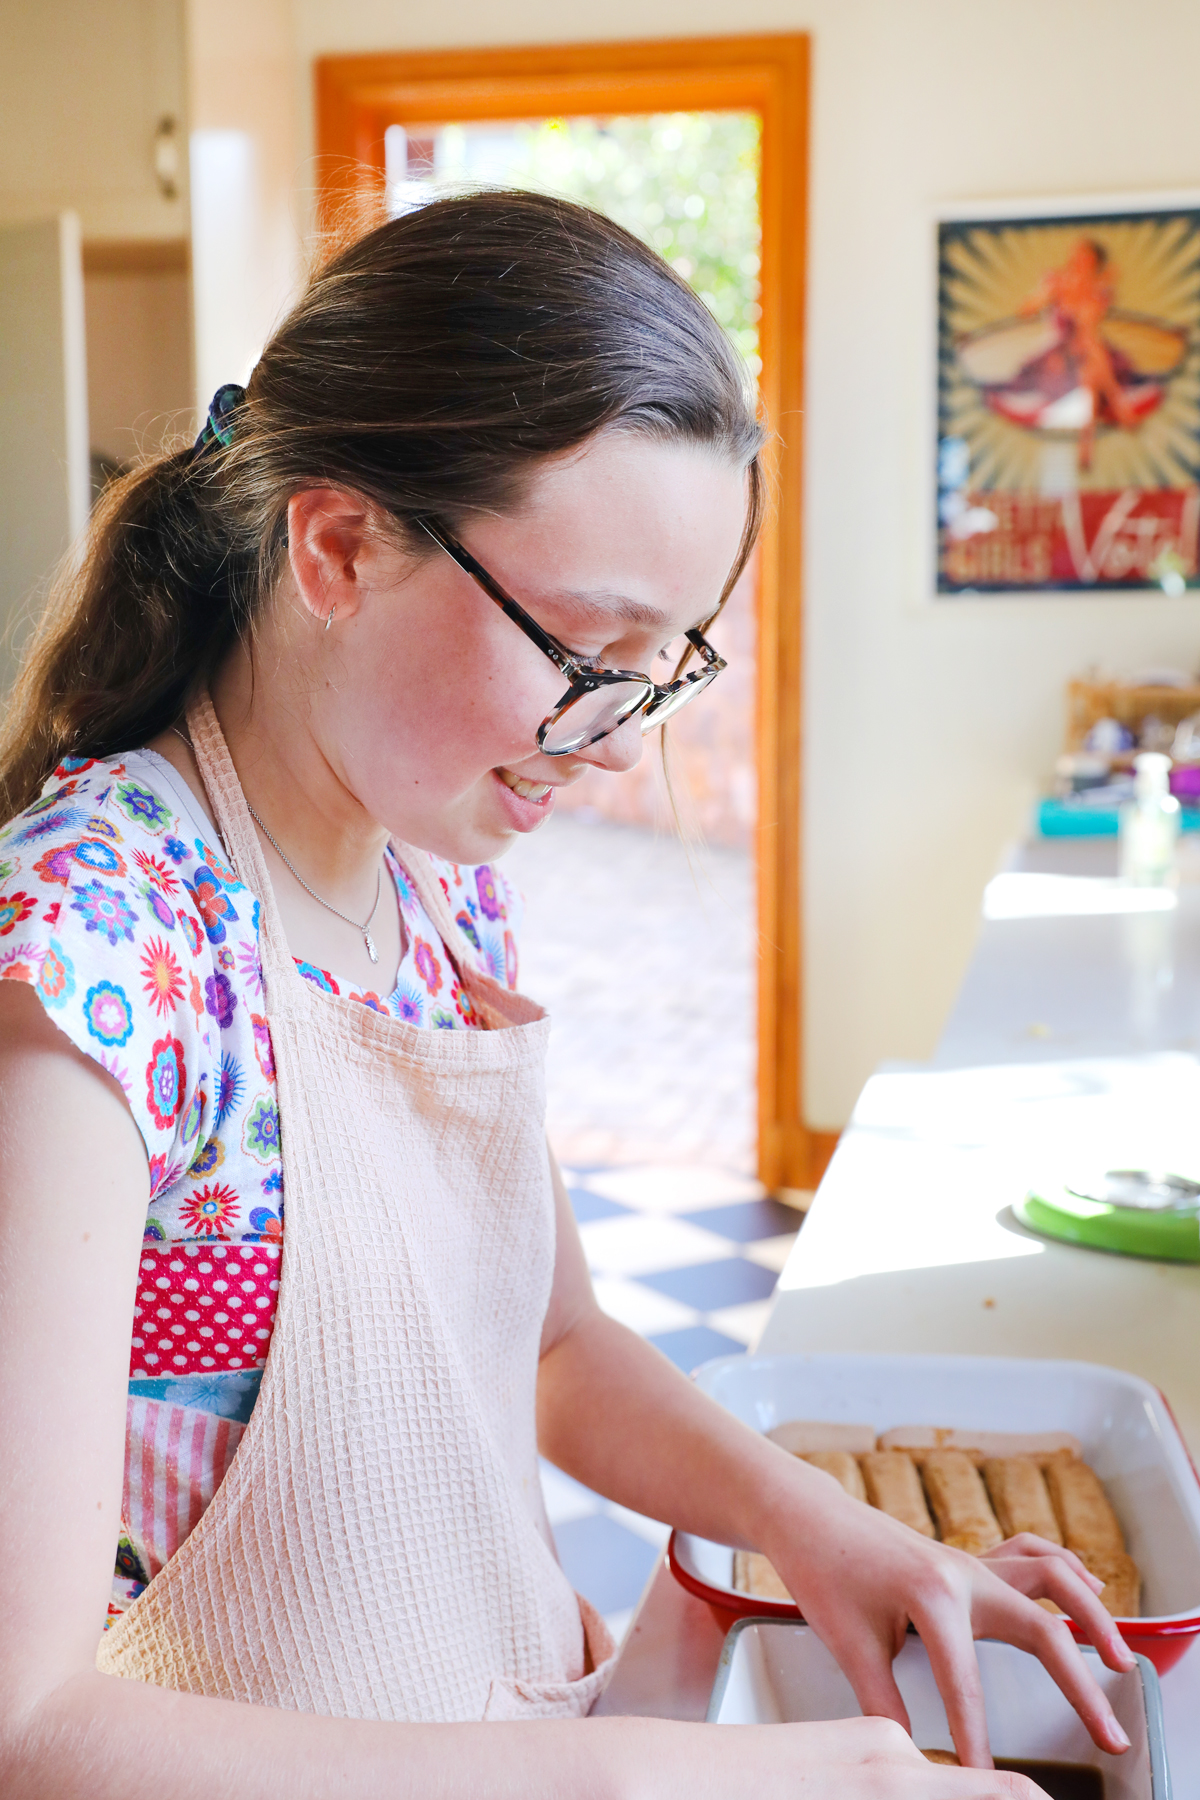
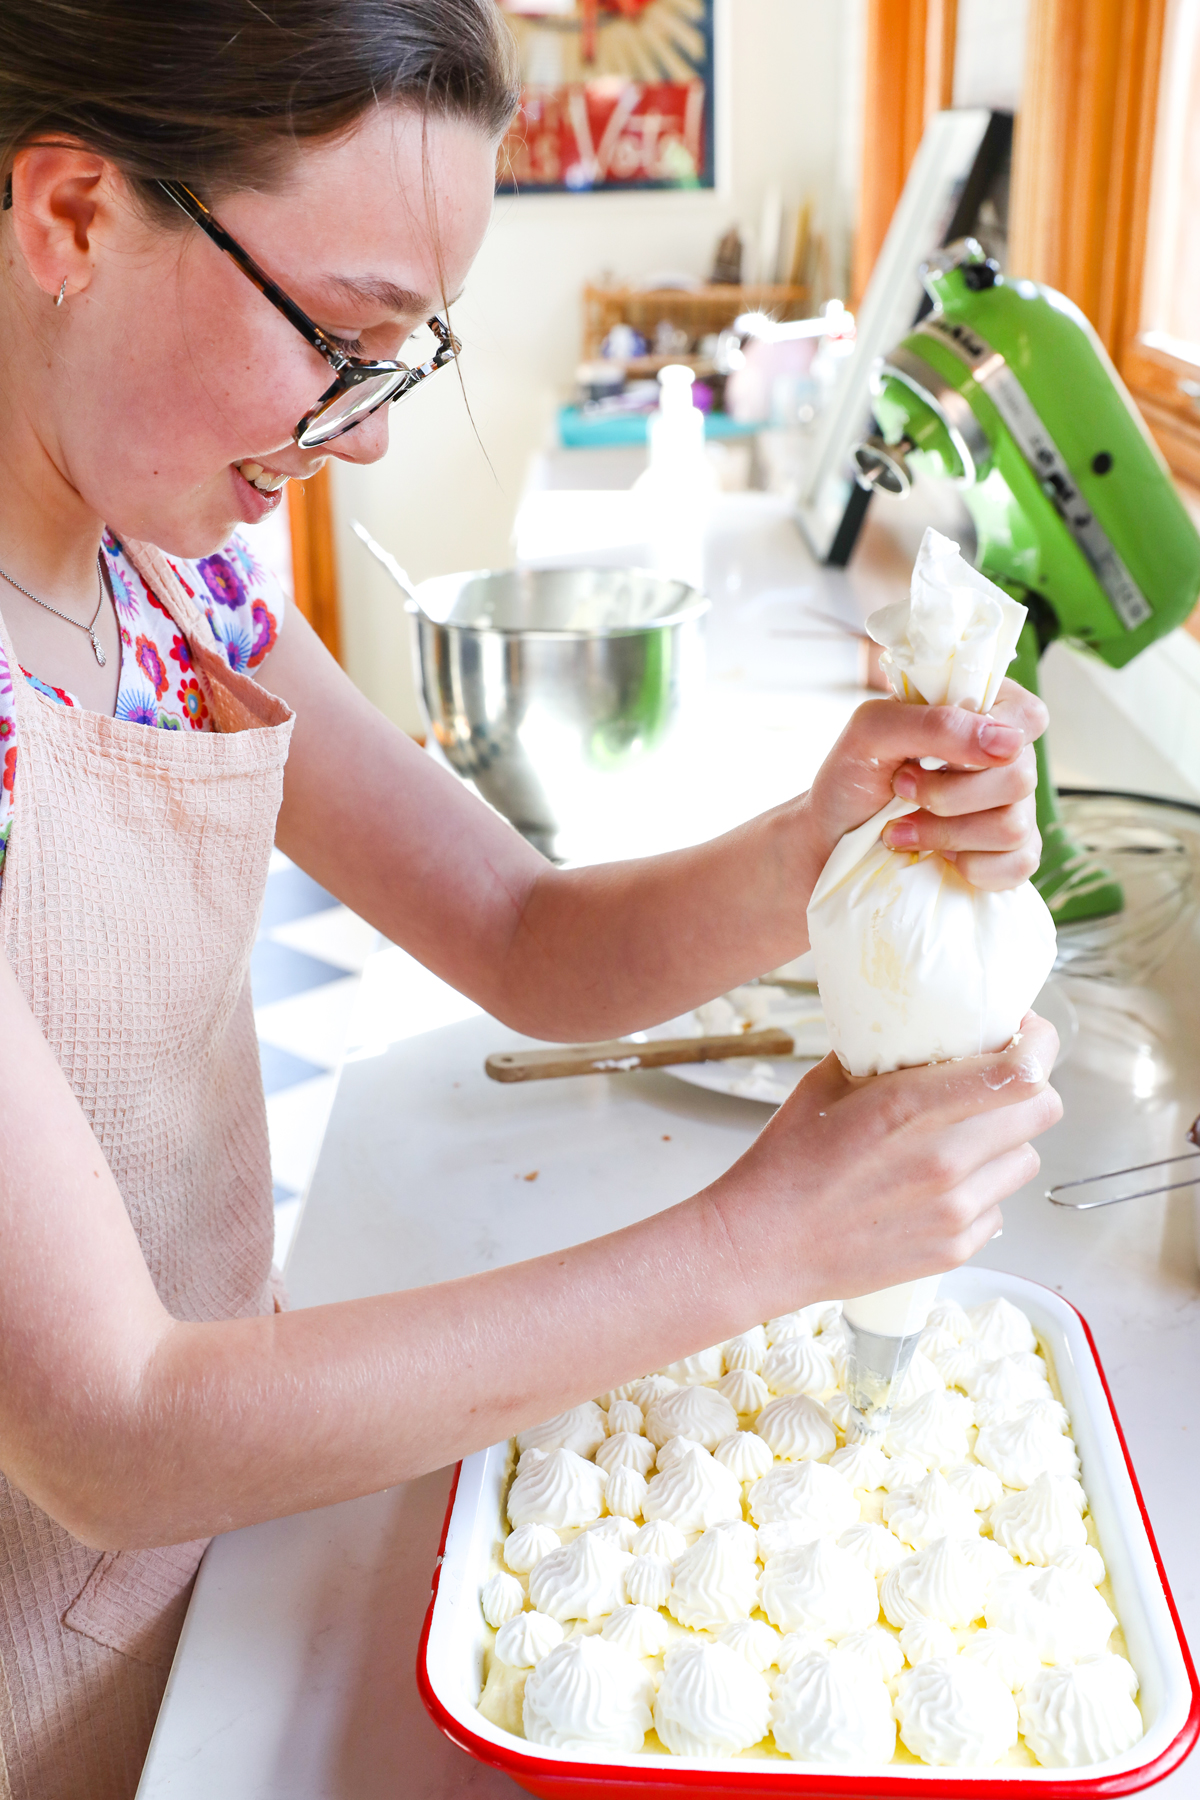
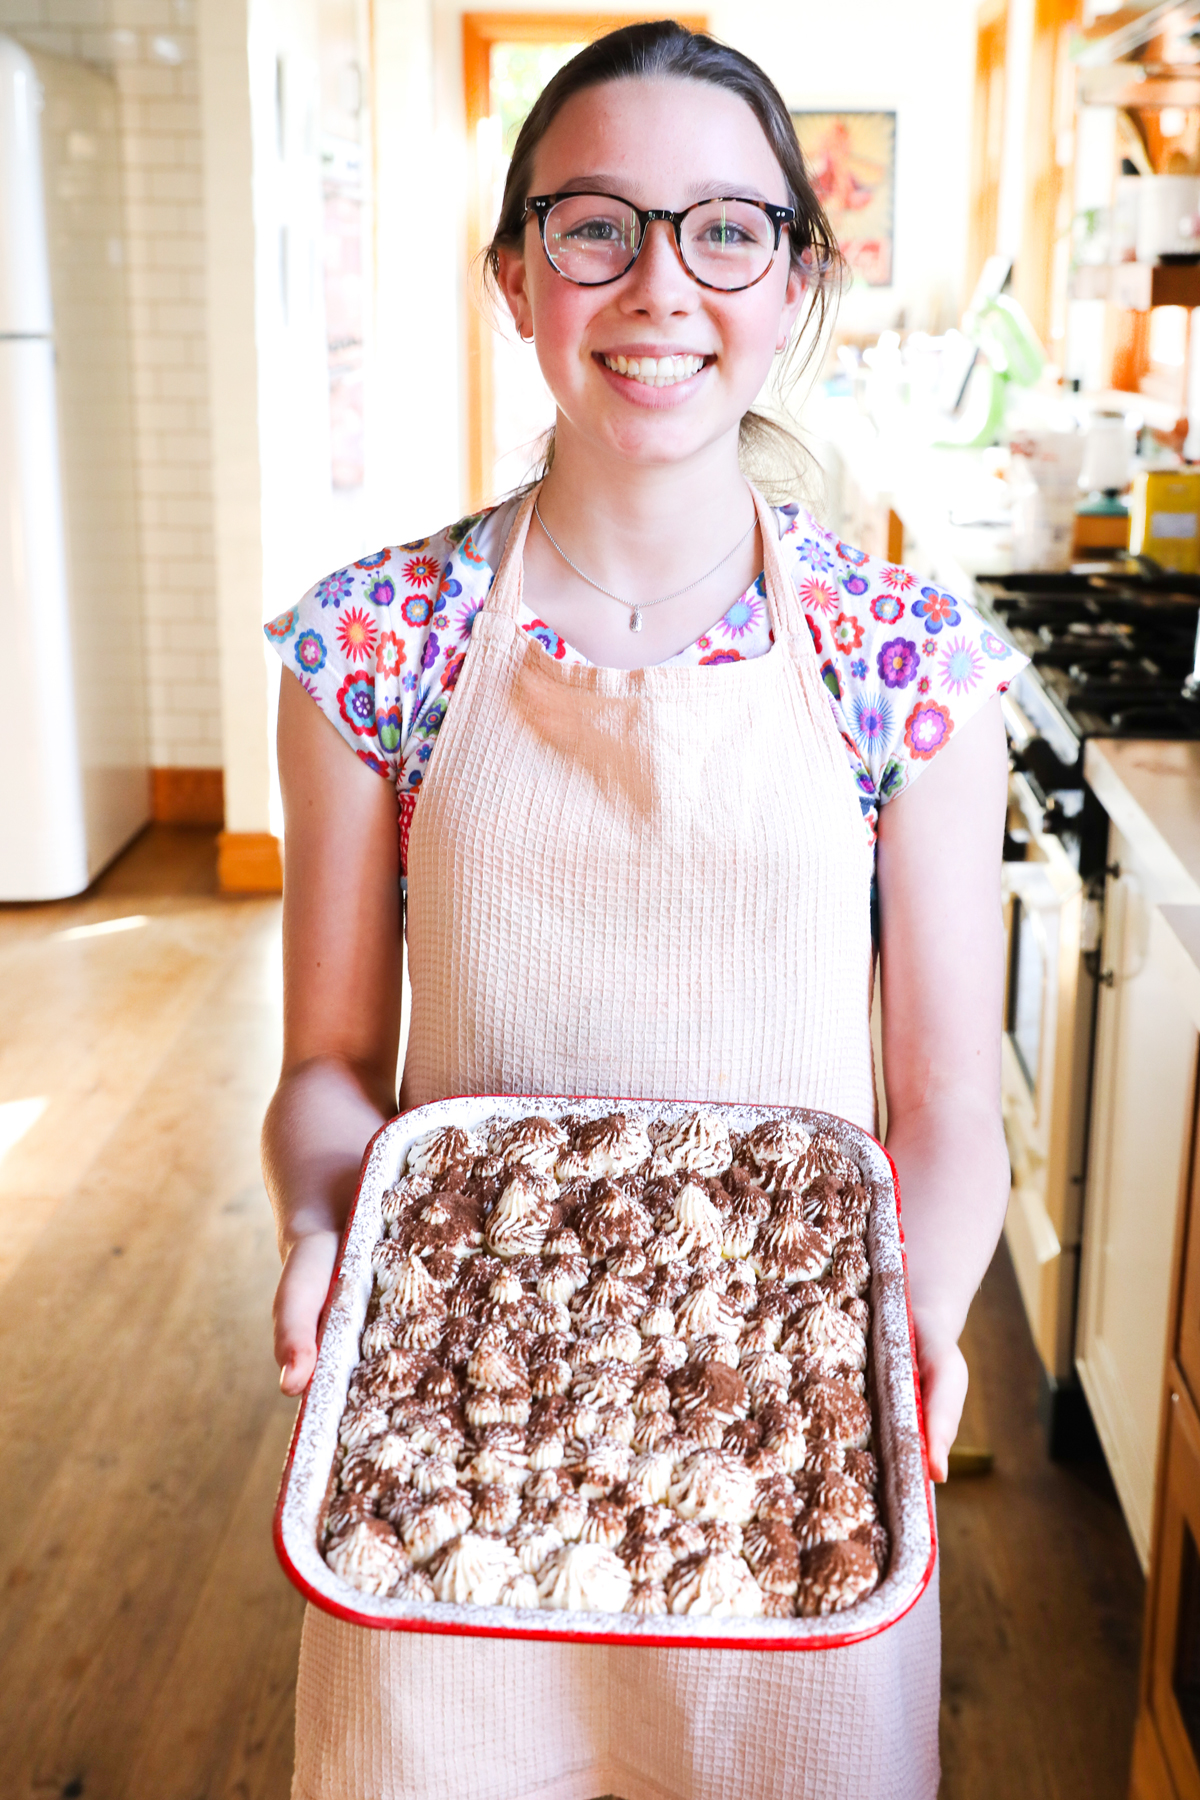
We’re not done yet but I just wanted you to meet Chloé, my darling baker neighbour! She is lovely. She understands how baking can bring joy to the world. She has also, at age 11, read more books than all of us combined, can play the piano and bakes the most insane chocolate cake ever (which I will share with you another time!). She is also responsible for teaching me important French words like, “On y Va” and “Maintenant” which mean “Let’s Go” and “Now” as well as terms of endearment like “mon petit chou” which means my little cabbage but really really means, my sweetheart. And “mon petit beurre” which is my little biscuit. Aaaaah! I love terms of endearment that relate to food.
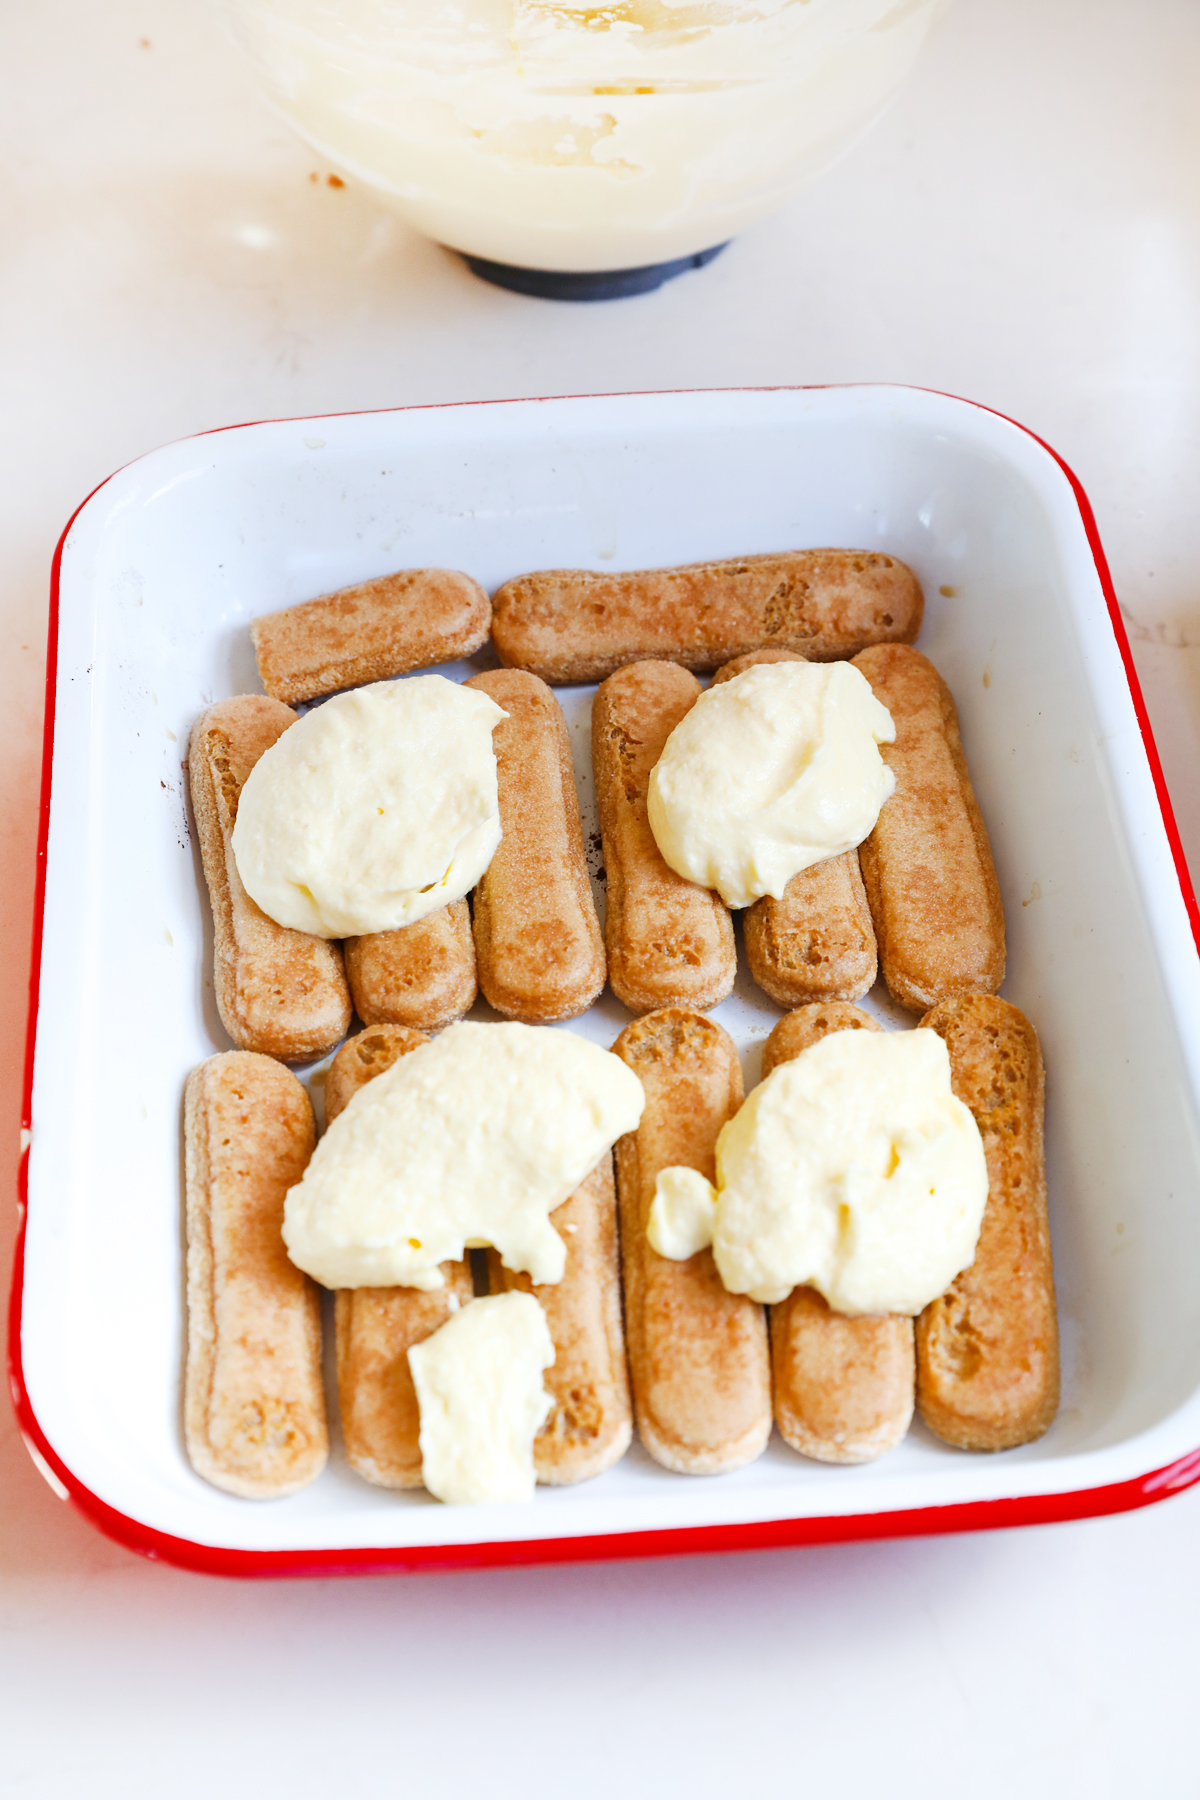
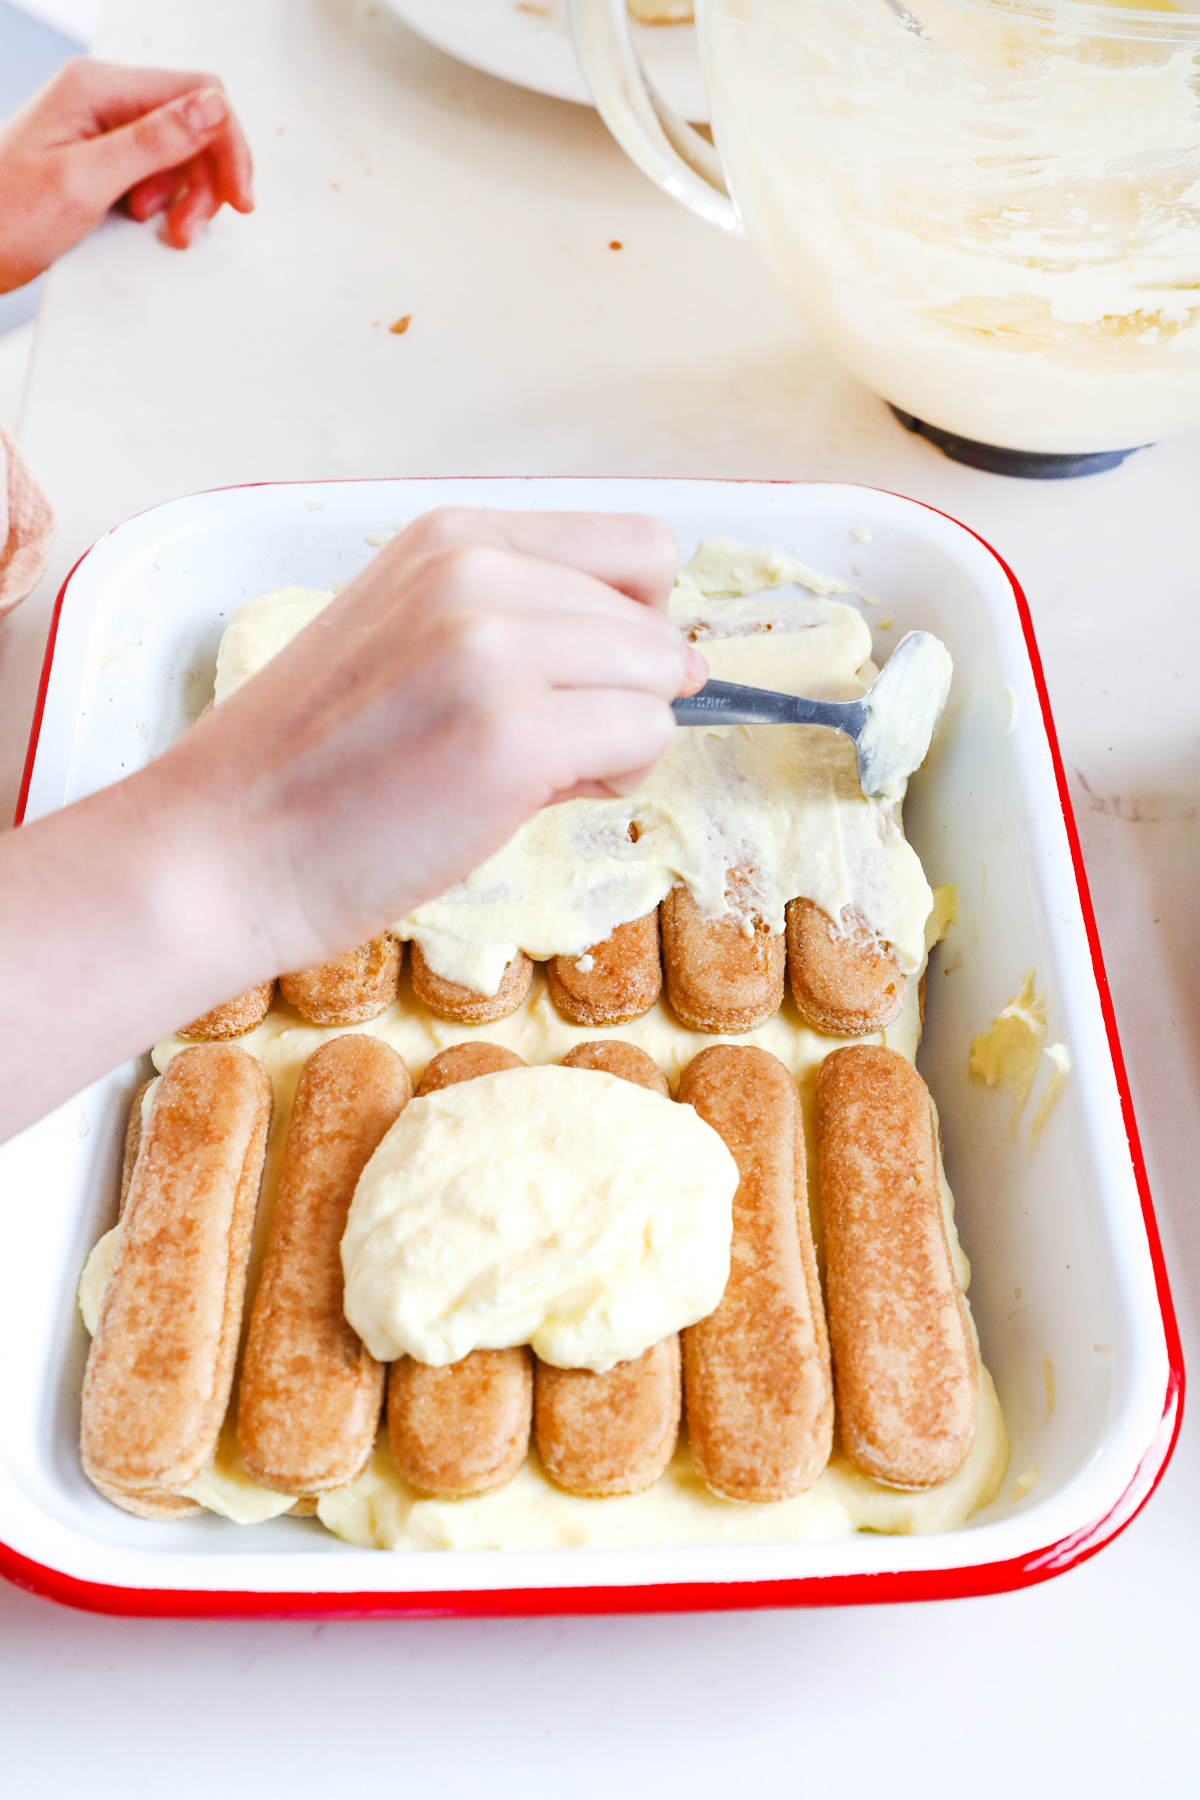
Step 8: Dip and lay the first layer of biscuits, then add half the egg-based filling on top of the biscuits and spread to cover the biscuits.
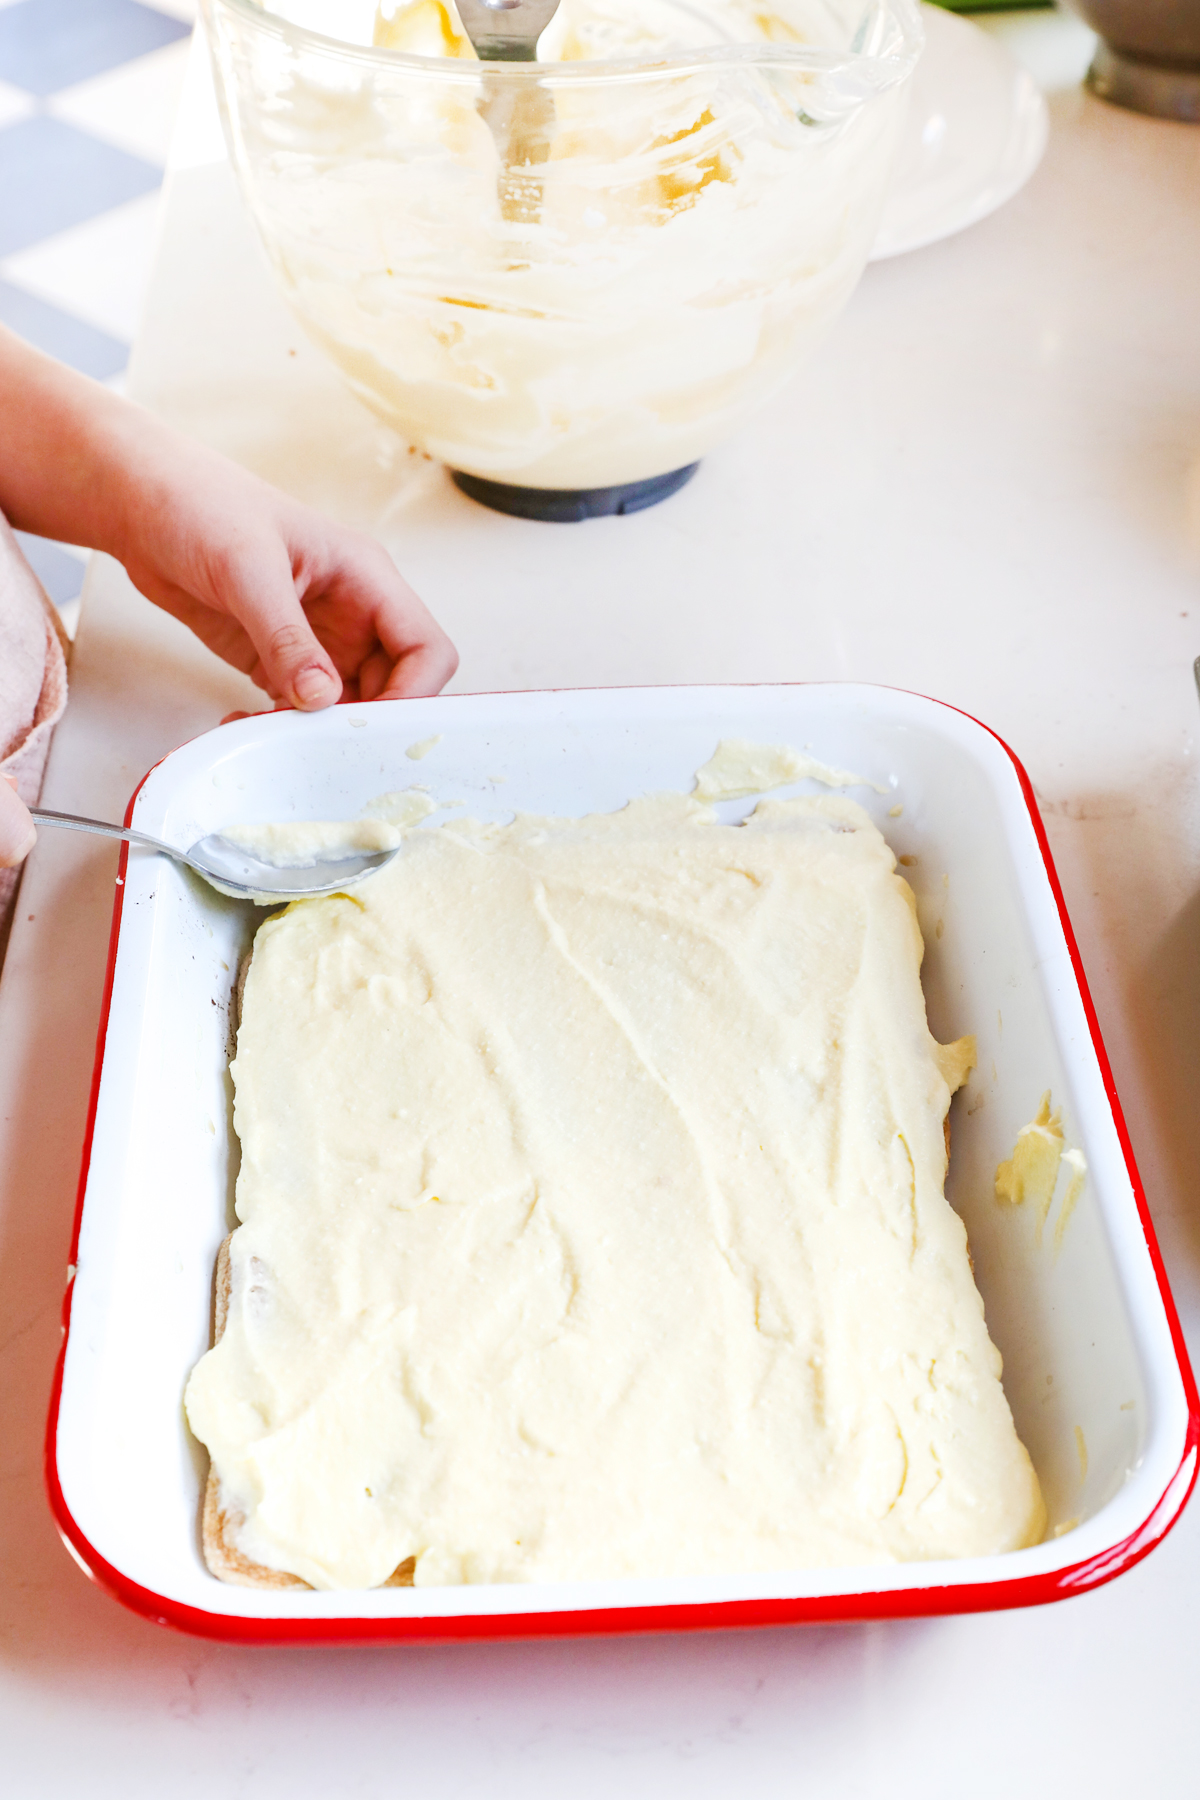
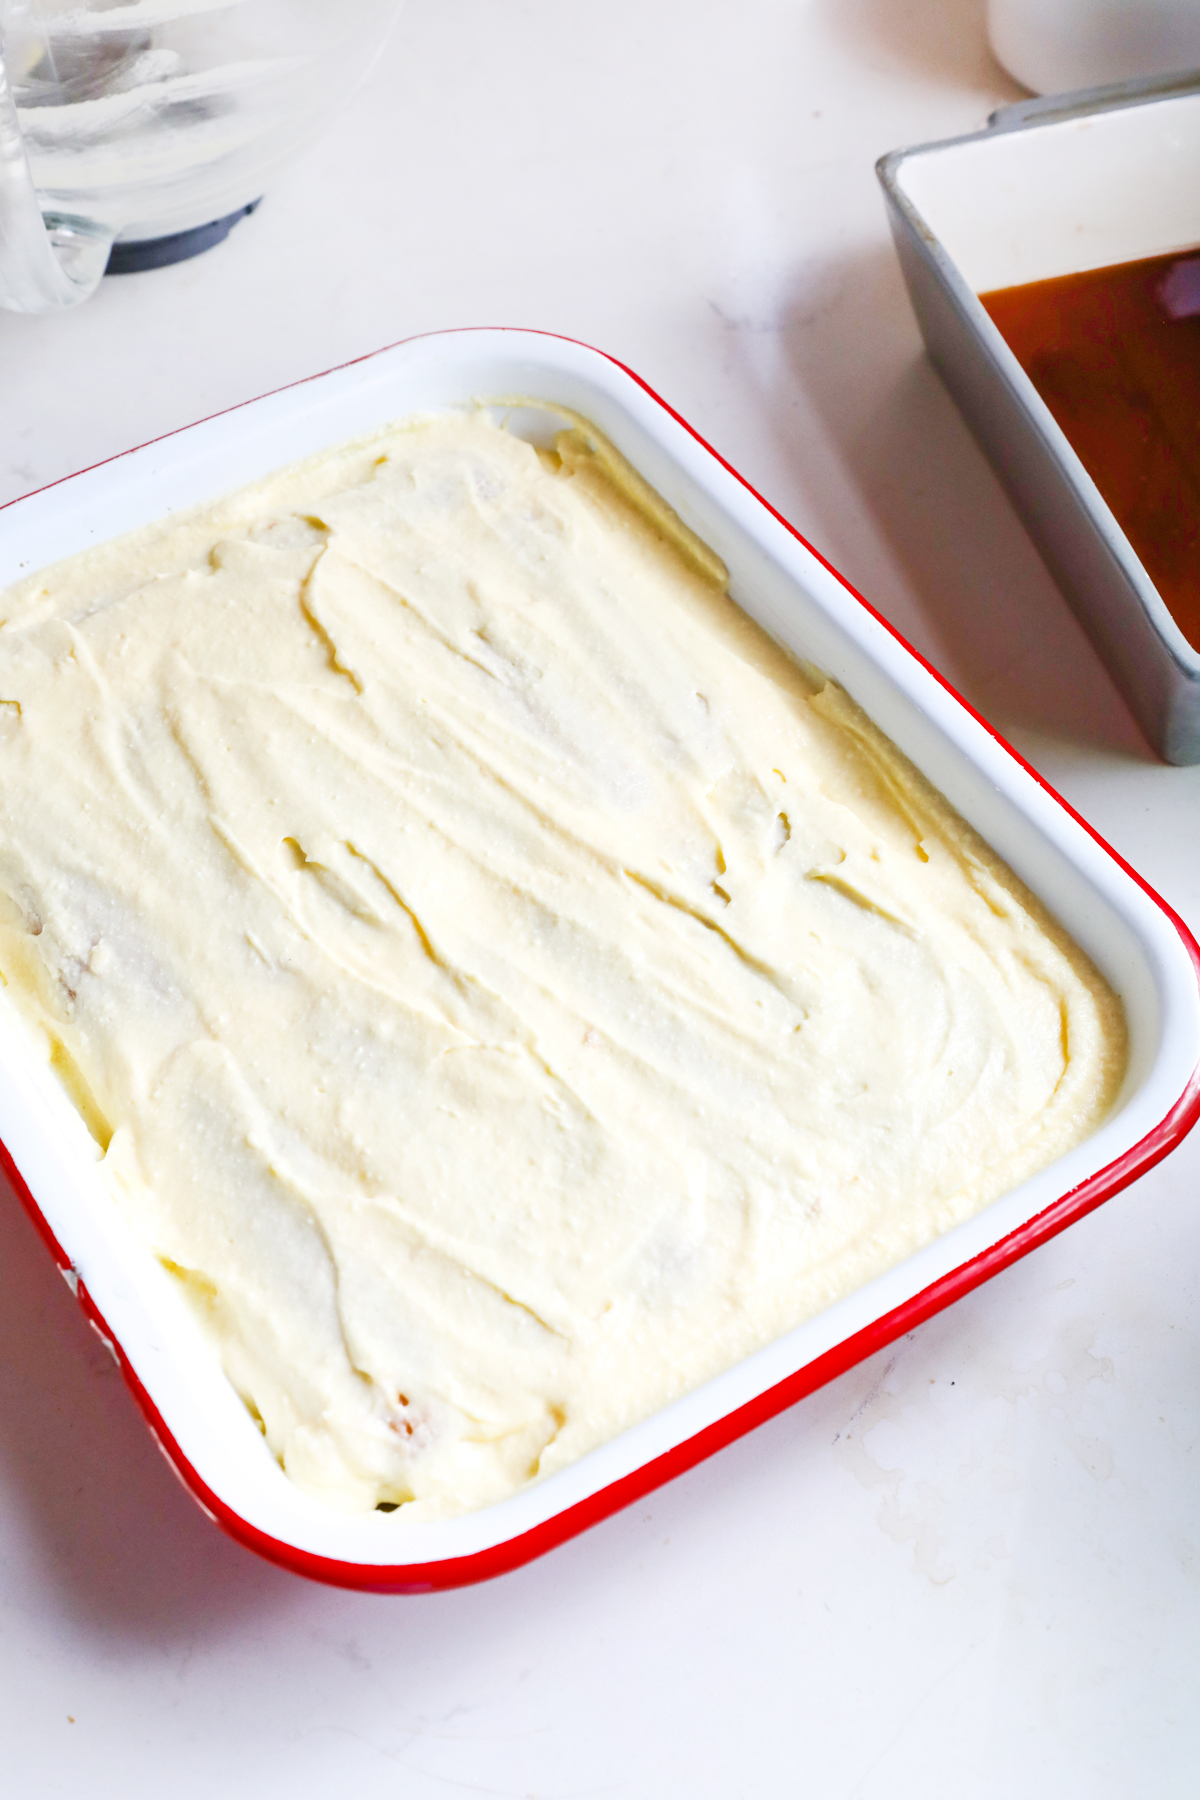
Step 9: Dip and lay the second layer of biscuits, then add the remaining egg-based filling on top of the biscuits and spread to cover the biscuits.
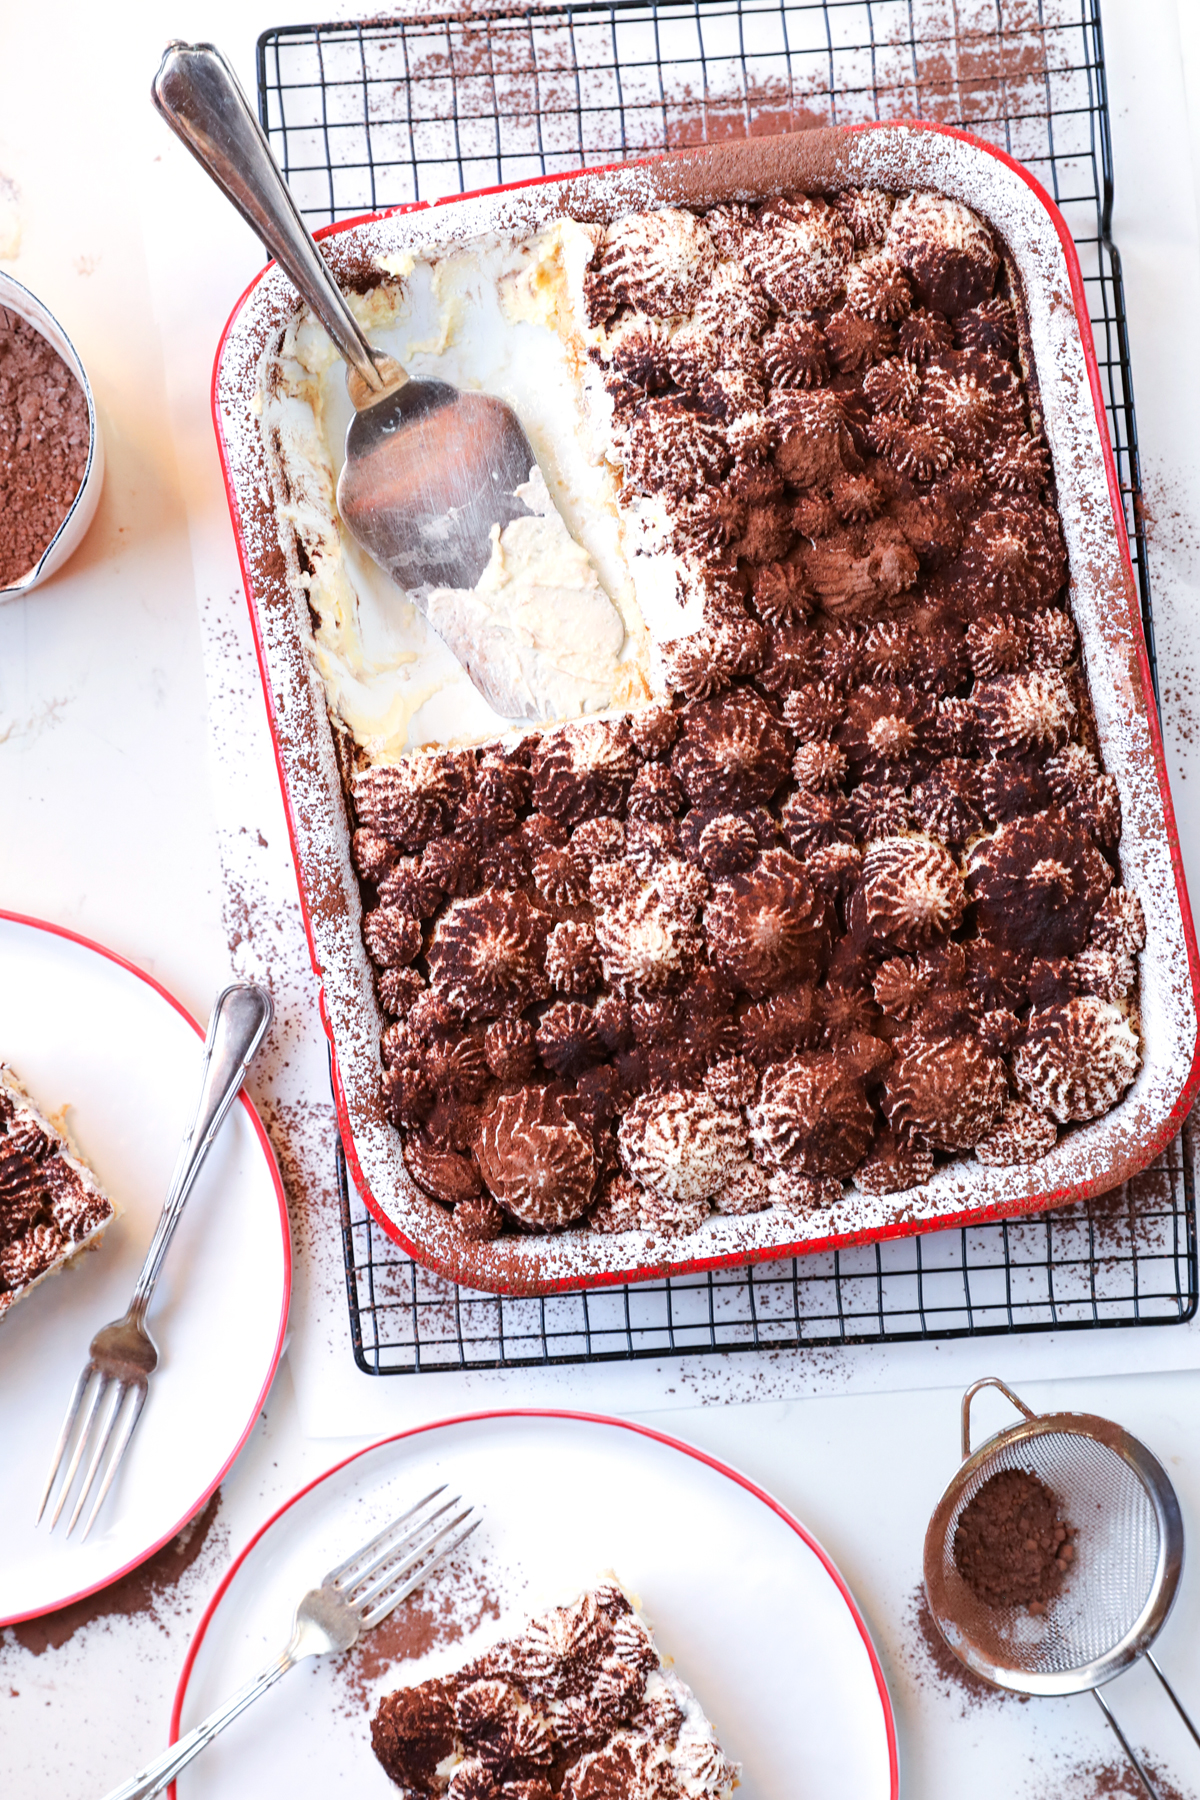
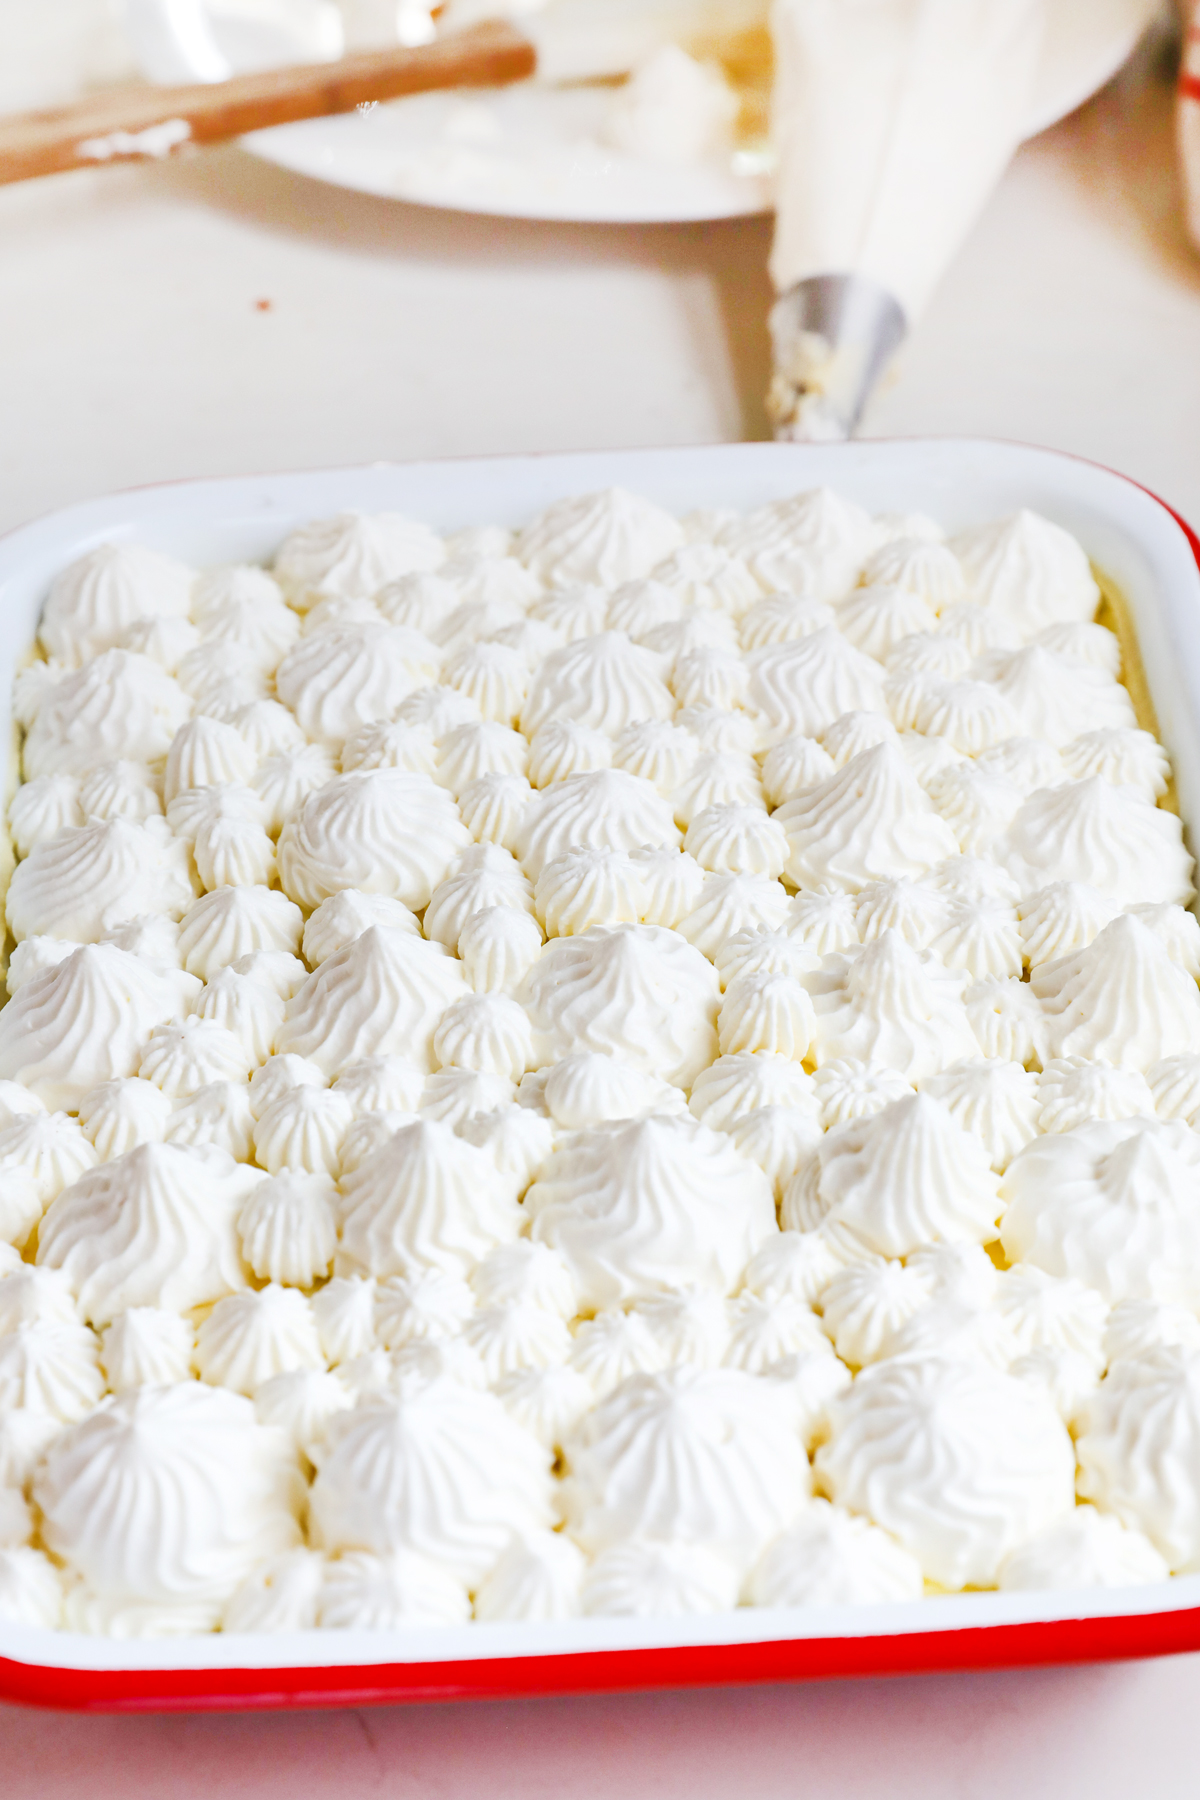
Step 10: Beat the cream until it can hold its shape, transfer the cream to a piping bag with a nozzle of your choice and pipe the cream over the top of the Tiramisu, making different sized peaks.
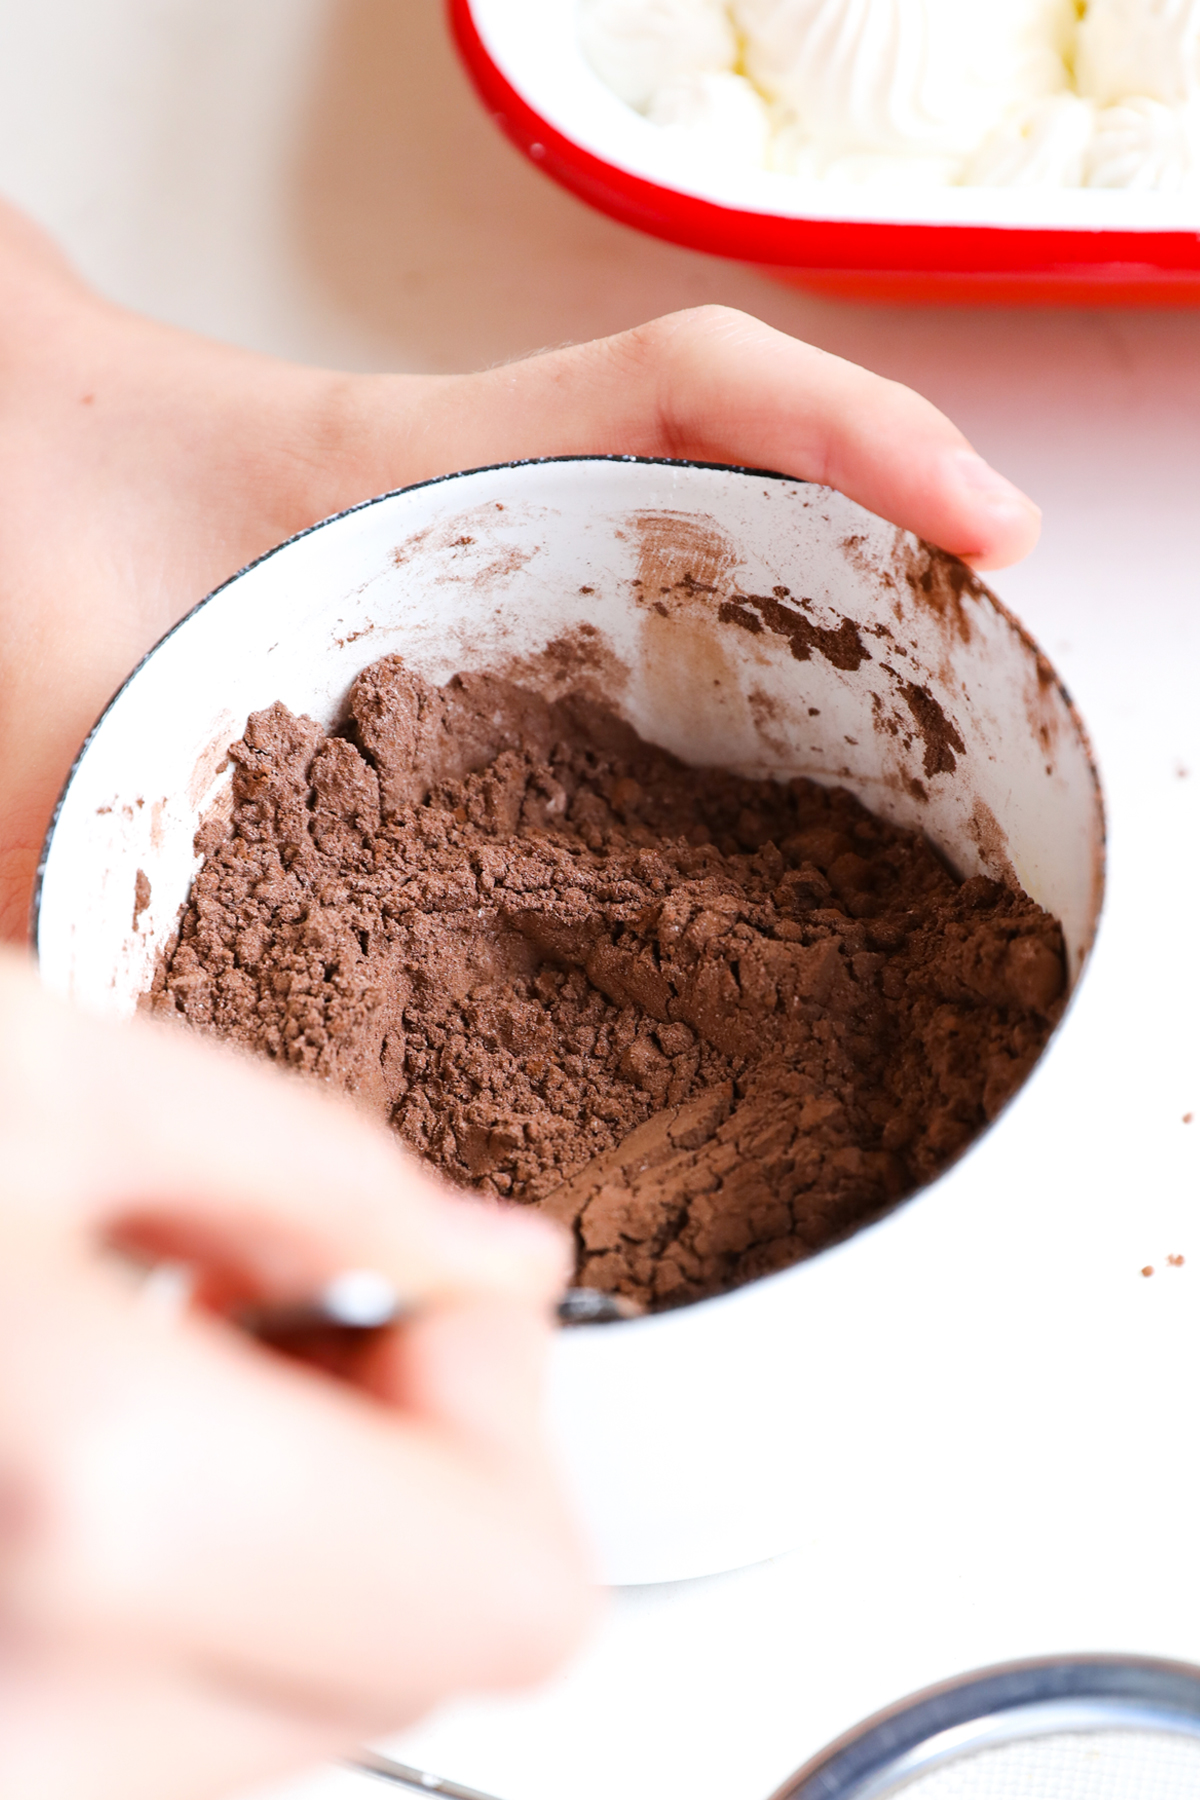
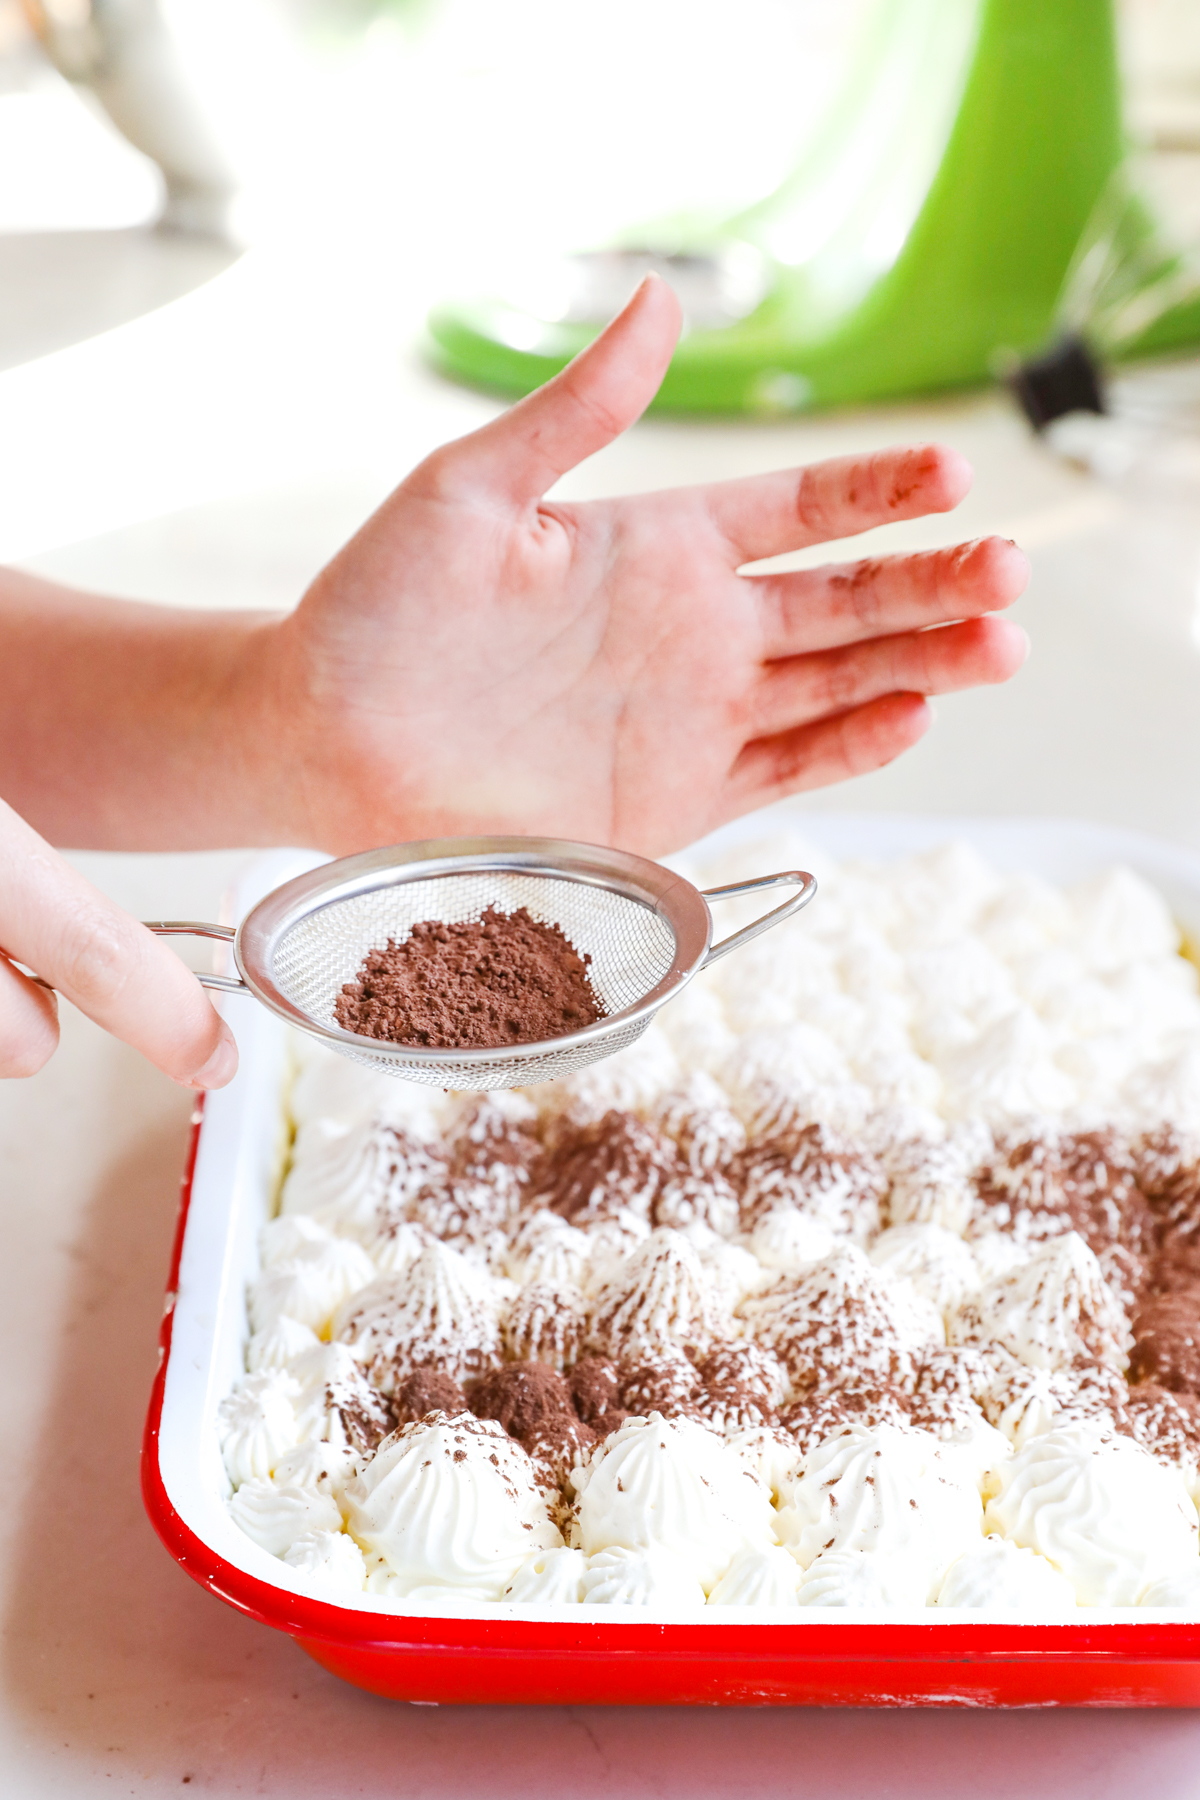
Step 11: Mix the cocoa powder with the icing sugar and using a sieve, sprinkle lightly over the top of the cream.
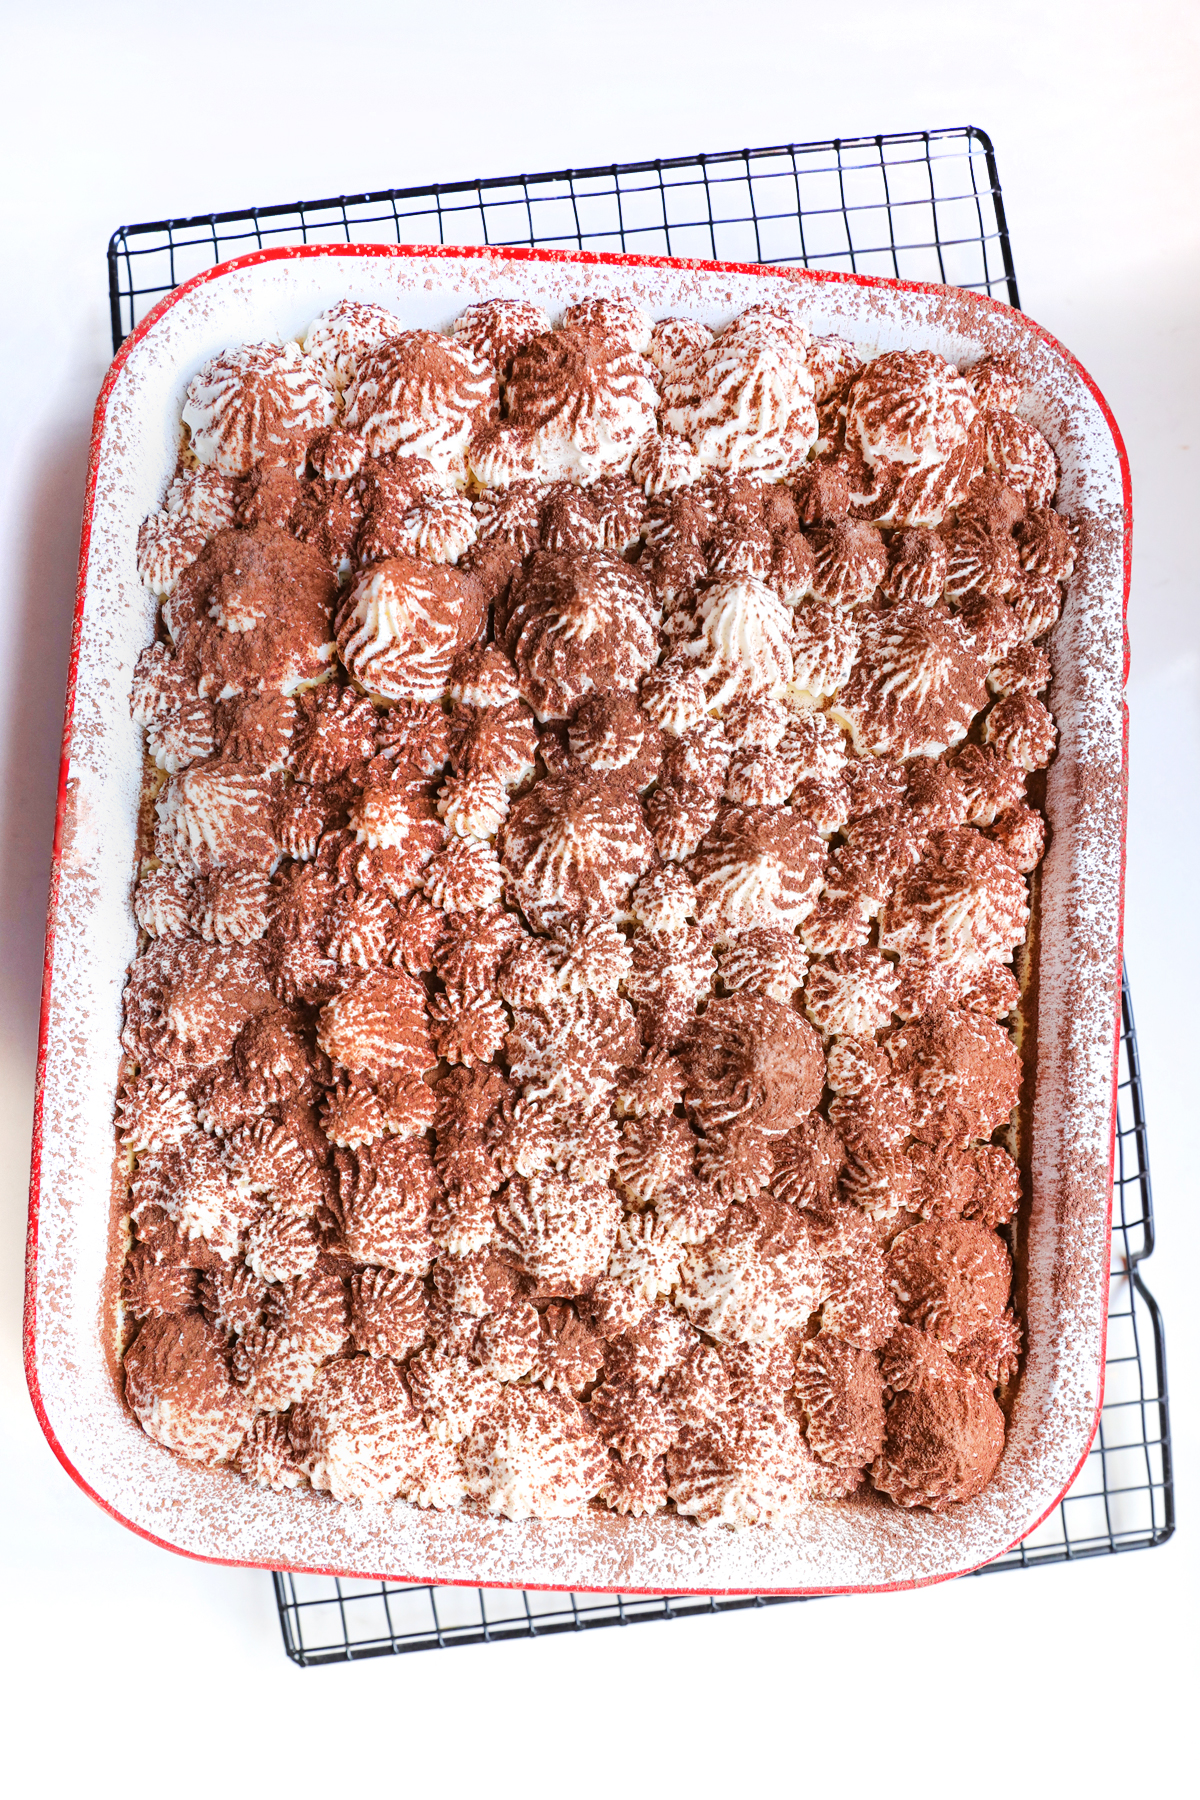
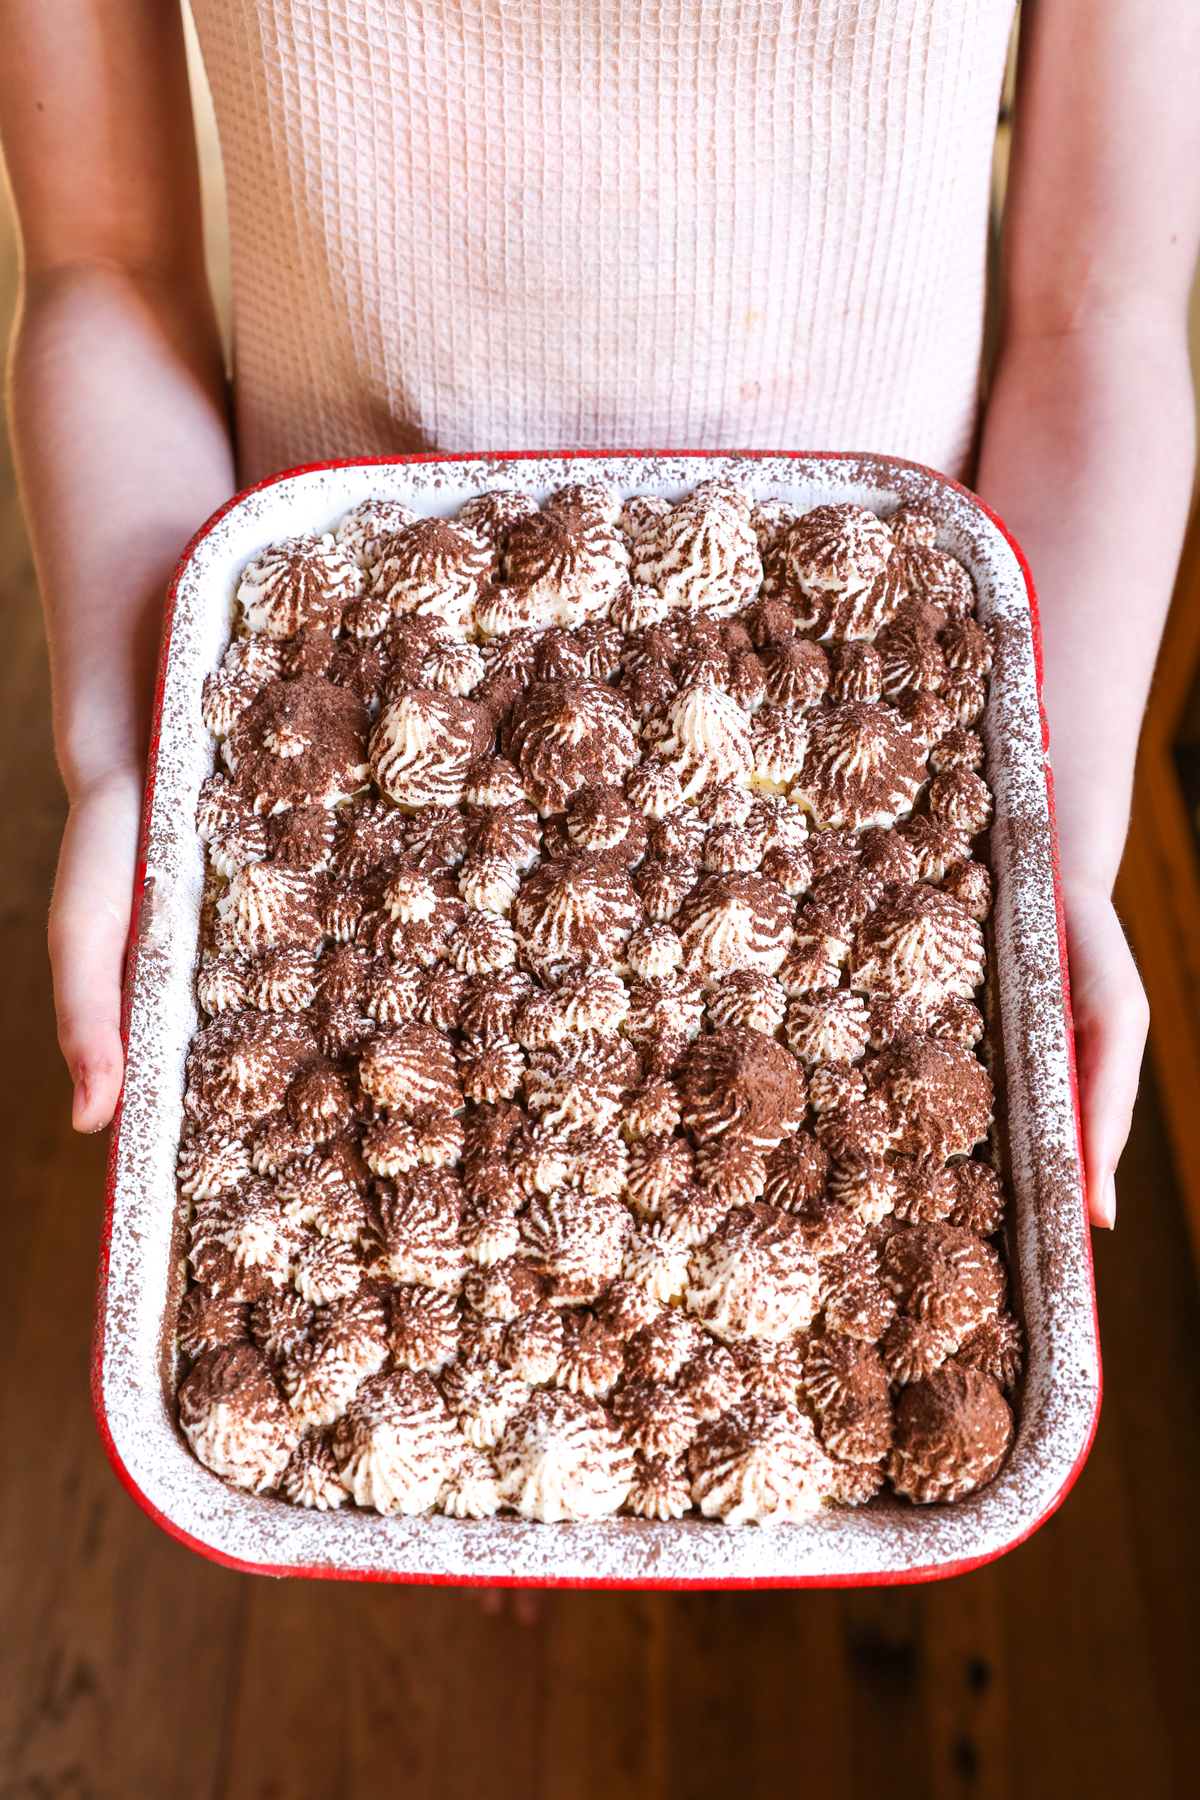
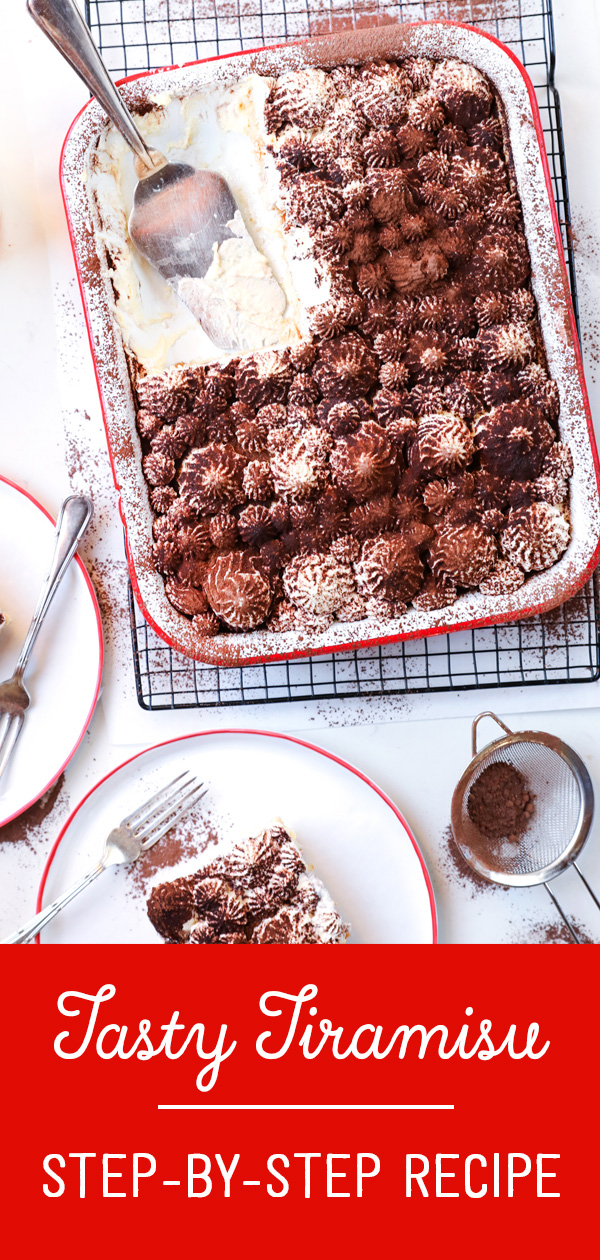
Step 12: And voila! Place in the fridge for at least 6 hours. We waited 24 hours to eat this Tiramisu and it was perfect, wasn’t it Chloé? Eleven years old and just whipped up a Tiramisu!
Tiramisu with piped cream and sprinkled with cocoa! So when are you going to make this?
I vote you make it today.
Definitely today. You will be wanting to eat this tomorrow.
Convinced?
Thank-you for a fun afternoon of baking Chloé!
Print Step-by-Step Tiramisu
- Total Time: 2 minute
Ingredients
- 3 eggs
- 1/2 cup castor sugar
- 500g mascarpone cheese (make sure it is at room temperature)
- 2 teaspoons lemon juice
- 28 Ladyfingers / Boudoir biscuits (need to purchase 2 packets)*
- 1 cup strong coffee
- 2 teaspoons Frangelico liqueur (optional)
- 2 cups whipping cream
- 2 tablespoons Cocoa powder
- 1 tablespoon Icing sugar
Instructions
- Separate the egg yolks from the egg whites.
- In a mixing bowl, using a stand mixer or a handheld mixer, beat the egg yolks and the sugar together until creamy.
- Add the Mascarpone cheese – add 250g then mix until smooth and then add the next 250g and mix until smooth. The key here is to make sure your Mascarpone is at room temperature so that it blends easily. Set aside.
- In a separate bowl, add the egg whites and lemon juice together and whisk until light and frothy.
- Now fold the egg yolk mixture into the egg white mixture using a spatula. This is the Tiramisu filling. Set aside.
- Mix one cup of strong coffee and the liqueur (optional) together and place in a rectangular dish/container for dipping.
- With half the biscuits (although you may need more or less), quickly dip each side of the Ladyfinger into the coffee-liquor blend and place in a medium sized rectangular dish. Repeat until the base is covered in biscuits. The secret here is to make it a very quick dip on each side, it’s literally less than half a second, a quick flick of the wrist to dip each side. You don’t want soggy biscuits.
- Add half the egg-based filling on top of the biscuits and spread to cover the biscuits.
- Repeat another round of dipping and laying the biscuits. Add the rest of the filling and spread over to cover all the gaps and make a smooth “top”.
- Beat the cream until it can hold its shape, transfer the cream to a piping bag with a nozzle of your choice and pipe the cream over the top of the Tiramisu, making different size “peaks”.
- Mix the cocoa powder with the icing sugar and using a sieve, sprinkle lightly over the top of the cream.
- Place in the fridge for at least 6 hours. (We waited 24 hours to eat this Tiramisu and it was perfect.)
Notes
* you may need a little more than 28 biscuits or slightly less, depending on your size dish.
- Prep Time: 30 mins
- Cook Time: 6-12 hours
If you liked this dessert recipe, you’ll like these too:
recipe adapted from Marmiton